
Bubbles are one of the most common questions we hear about here at ArtResin - the good news is that they're usually easy to prevent.
Understanding what causes bubbles in epoxy resin is the first step to avoiding them altogether.
In most cases, resin bubbles appear for 4 simple reasons:
- Resin best practices weren't followed
- The temperature was too cold
- The resin was poured too thick
- Air was released from the surface being resined
Below, we'll walk you through what causes resin bubbles, how to prevent them and, where possible, how to fix them.
Let's take a look.
1. Not Following Best Practices When Using Resin:
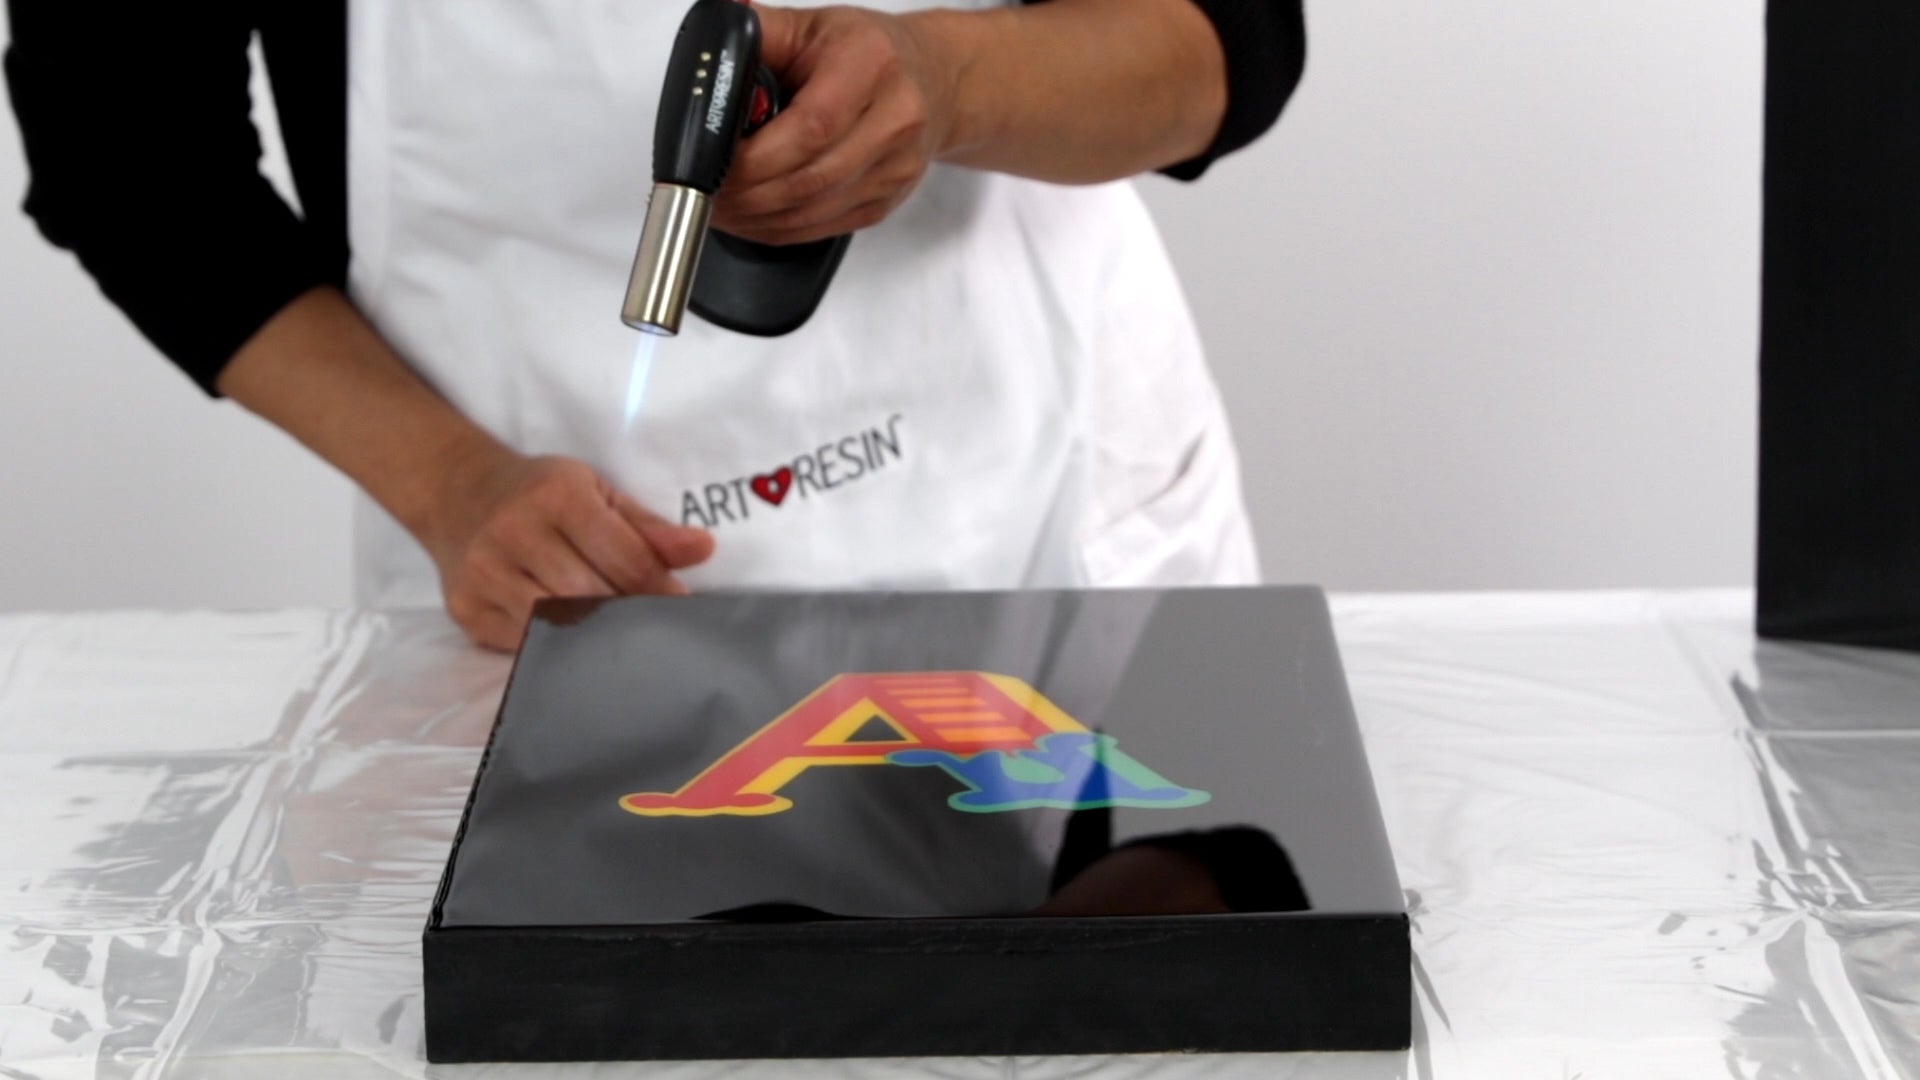
Using a Torch:
When you mix the resin and hardener, you create a lot of bubbles as you stir: these bubbles need to be eliminated after you pour or they'll cure right into your artwork.
The best way to get rid of bubbles is with a torch: the flame heats the resin surface up instantly, thinning the resin out and allowing bubbles to escape.
If you're intimidated by the idea of using a torch ... please don't be. Nothing is as effective as a flame for getting rid of bubbles and once you use one, you'll wonder what you ever did without it!
To help you, ArtResin has an easy to use handheld Maker's Studio Torch, plus an Artist's Propane Torch Head for larger jobs.
💡 To learn more, see our blog How To Use A Torch On Epoxy Resin.
Do heat guns help?
Heat guns can be useful in certain resin techniques such as flow art, where they're often used to create cells.
When it comes to eliminating bubbles, however, a heat gun isn't the best tool. It doesn't get hot enough to release bubbles quickly, so needs to be used longer - this can overheat the resin, causing surface wrinkles or curing issues. The airflow can also push resin around and even blow dust into your wet resin.
For efficient bubble removal, we always recommend using a torch.
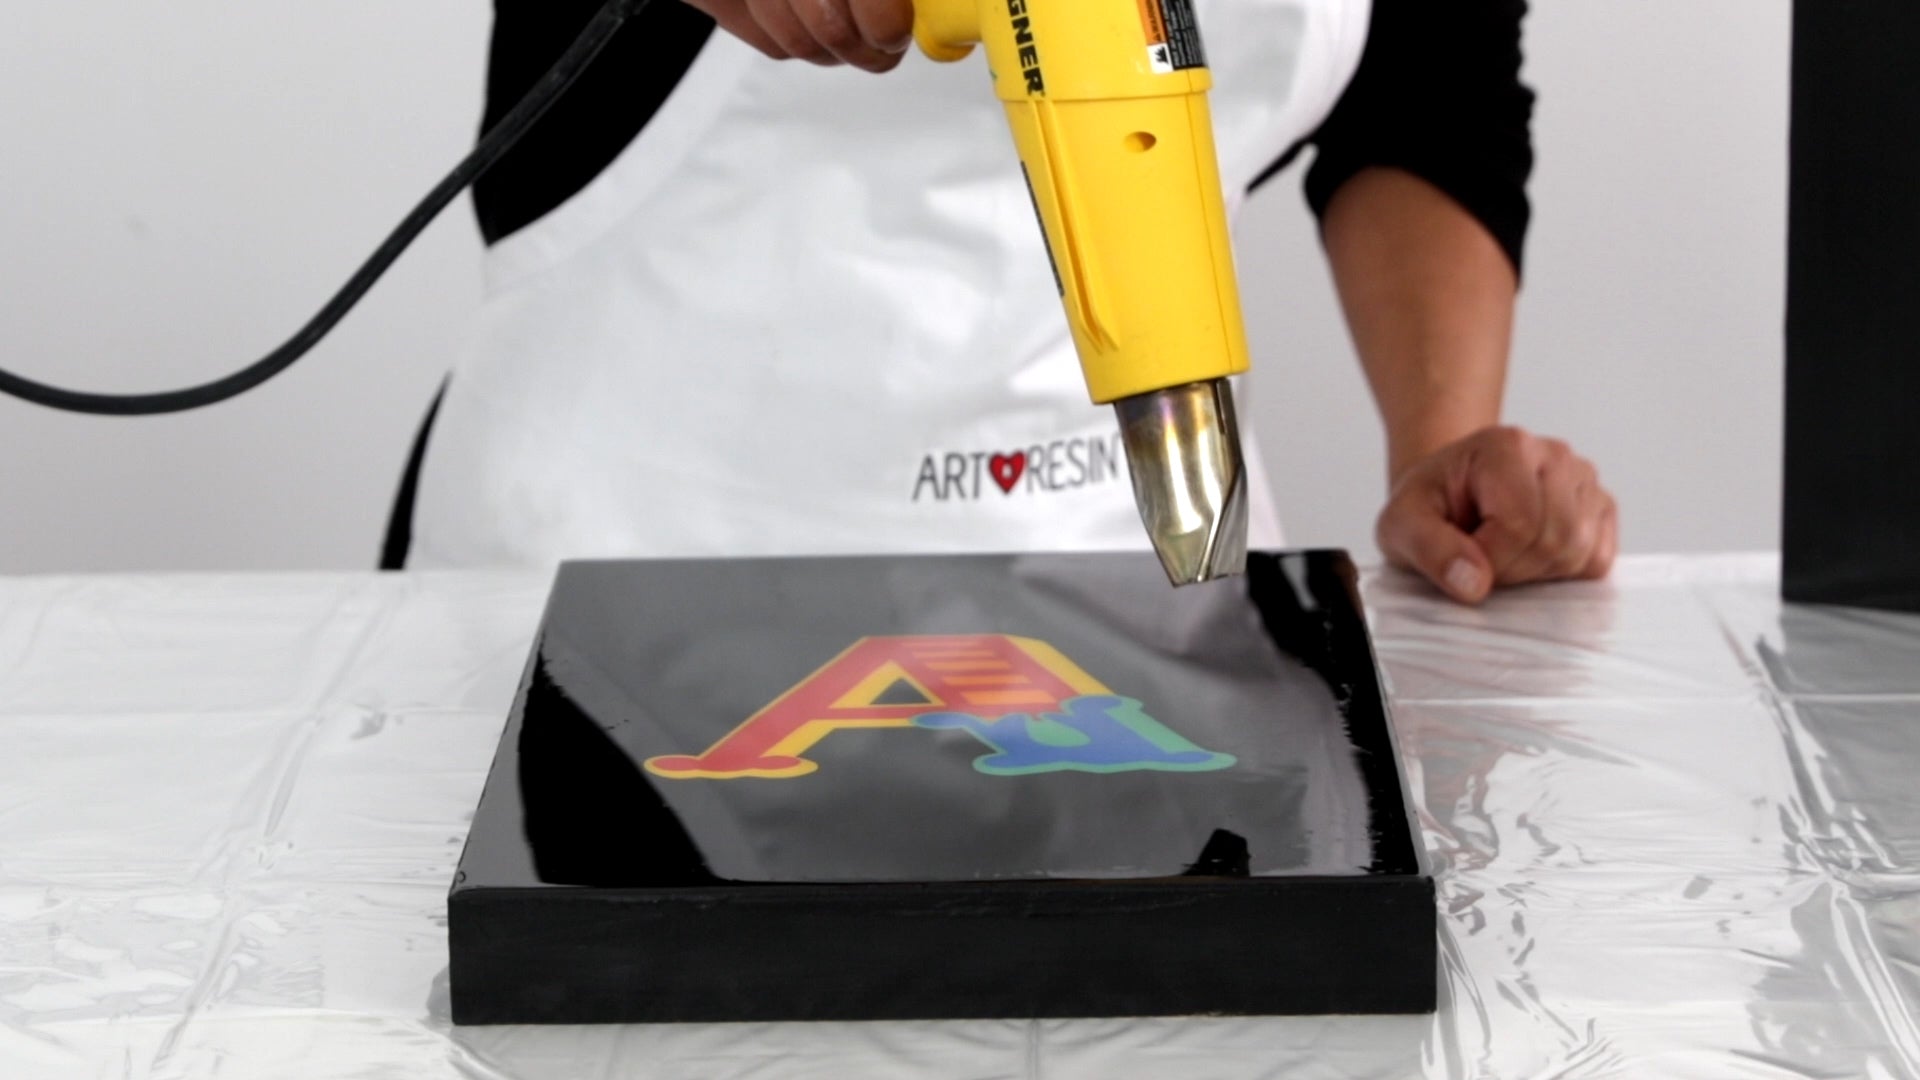
💡 TIP: There are a couple of exceptions:
When working with silicone molds or solvents, like alcohol ink, a torch is not recommended. The flame can be too intense and may damage the mold or can create a safety risk with flammable materials.
In these cases, a heat gun is the safer, better choice to release bubbles.
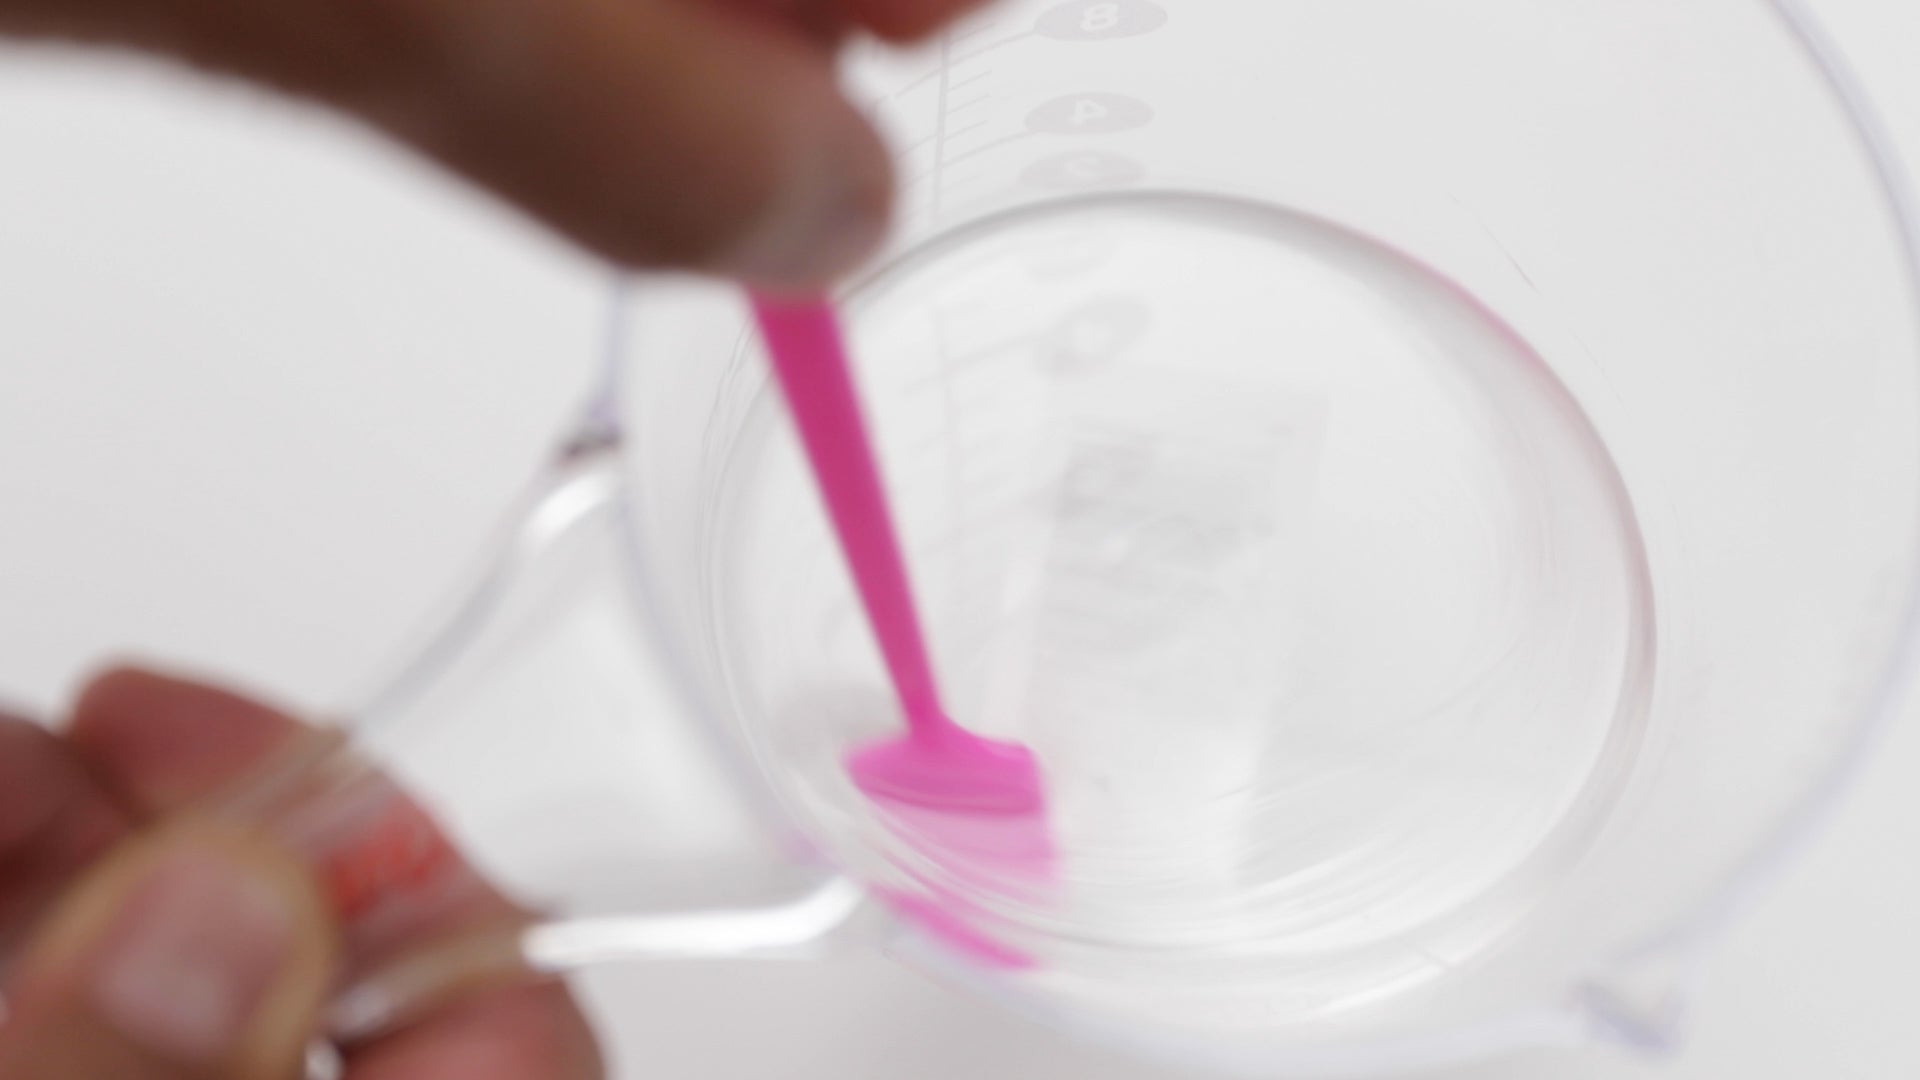
Whipping Your Resin:
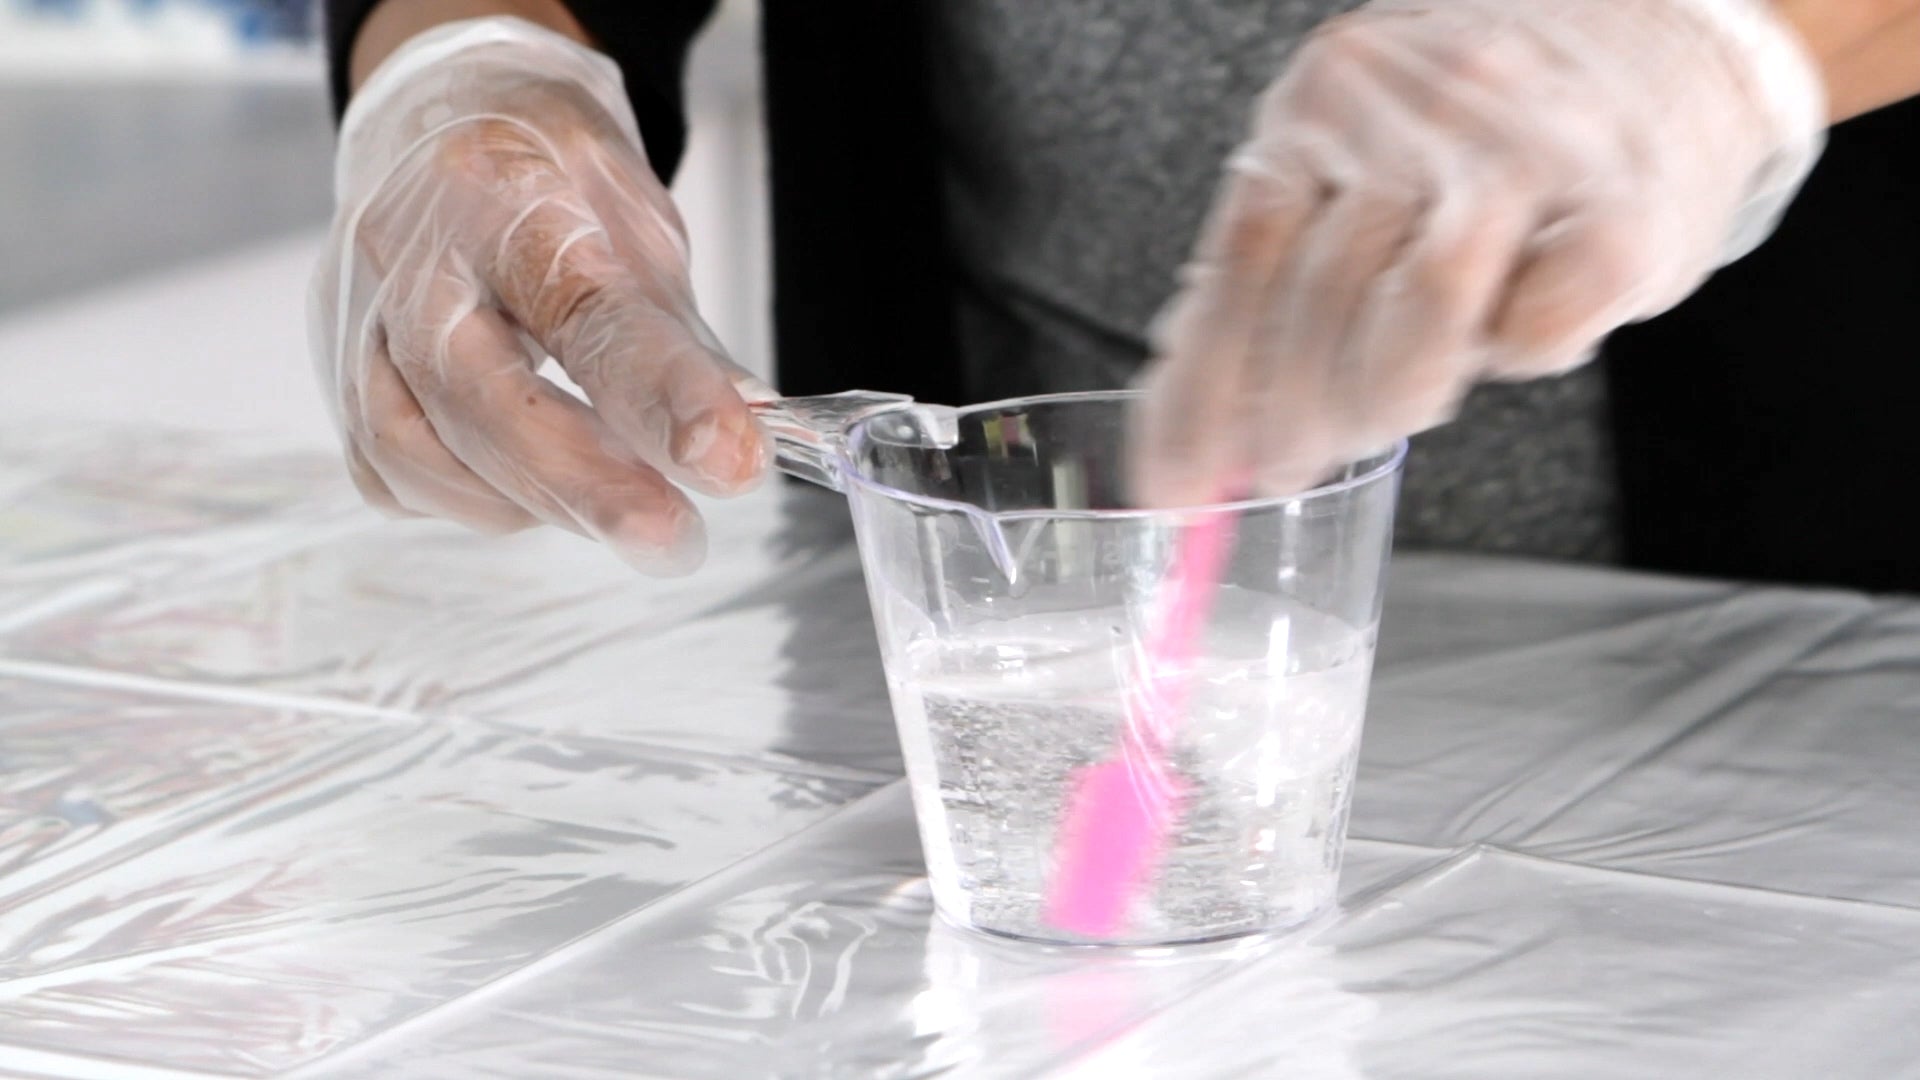
Mixing resin is where the magic starts. As you stir, a chemical reaction begins between the resin and hardener that will eventually turn the liquid mixture into a solid.
It's important to mix thoroughly for at least 3 minutes, but resist the urge to whip your resin as if you're beating eggs. Whipping the resin introduces far more bubbles than necessary and can lead to over torching, which may cause surface issues once cured.
Instead, stir slowly and deliberately, scraping the sides and bottom of your mixing container as you go. You'll get a few bubbles (that's normal), but nothing a quick pass or two with the torch can't take care of.
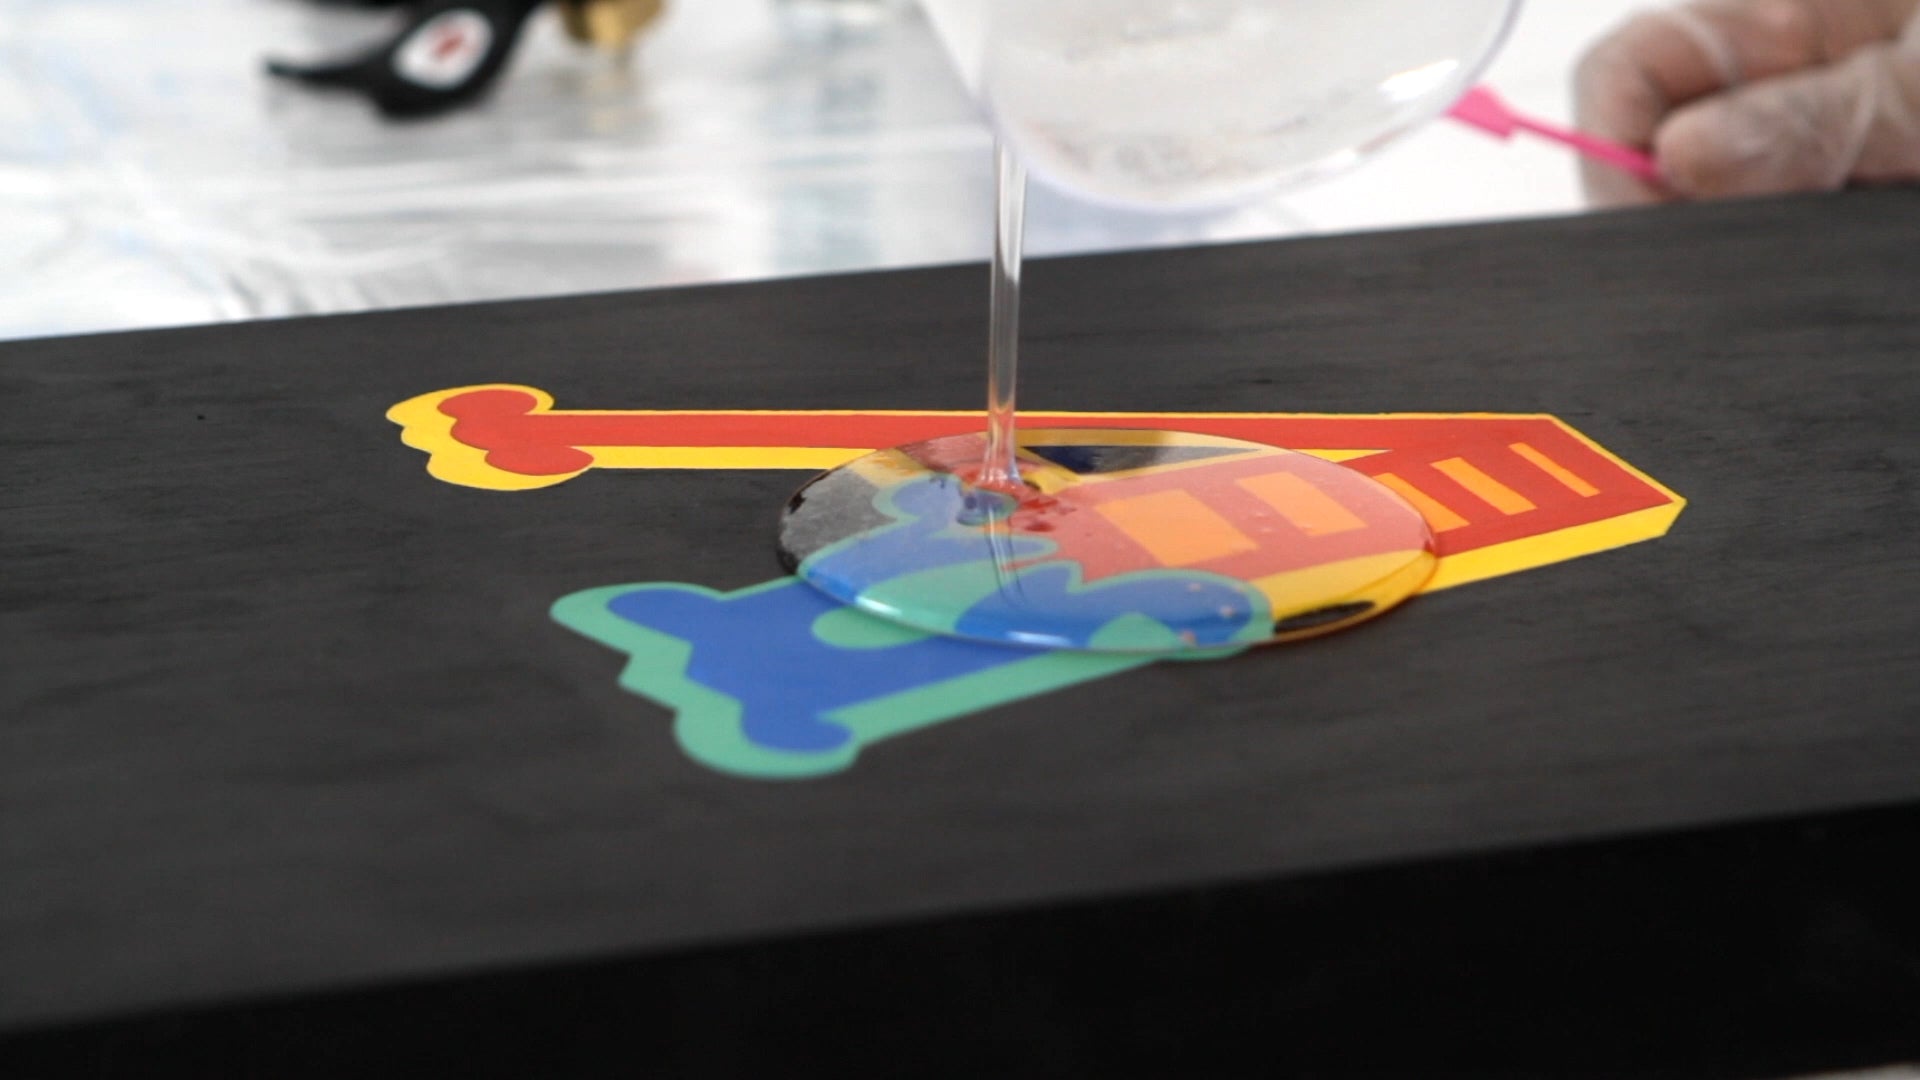
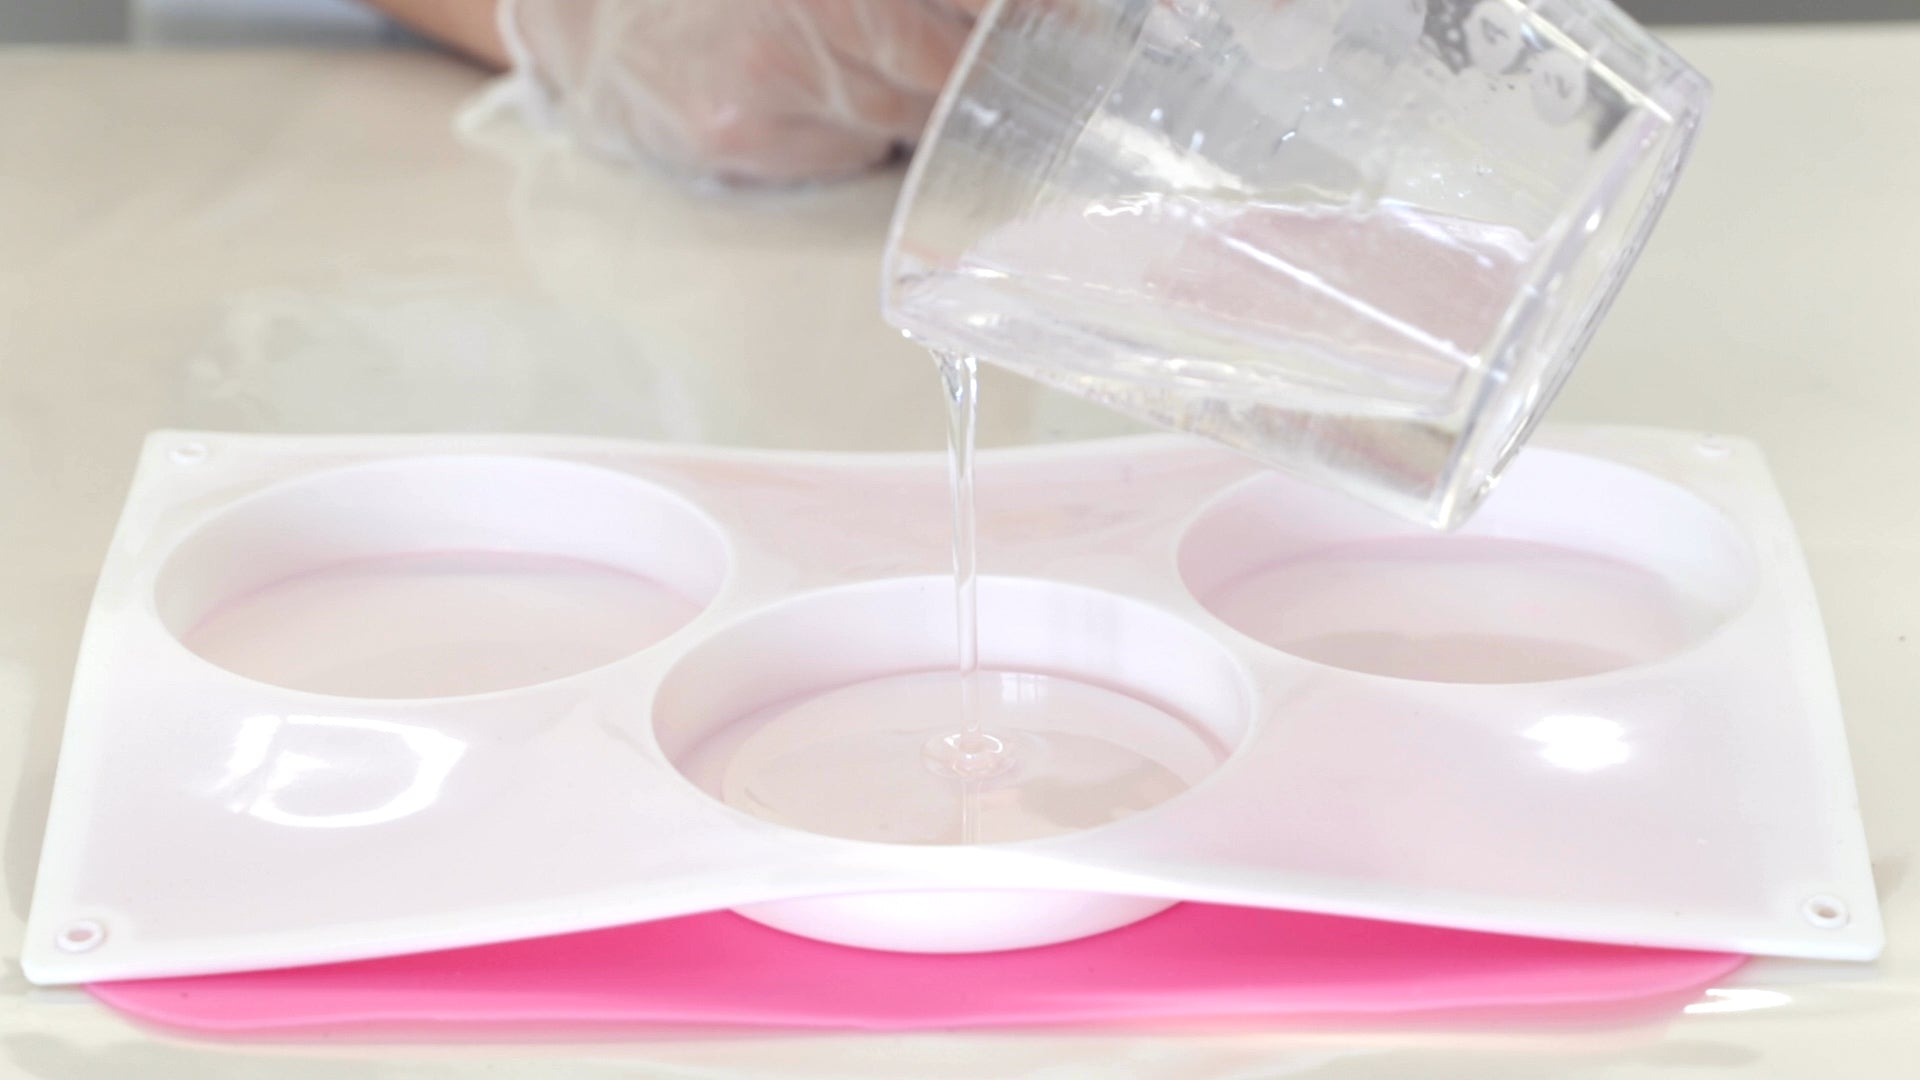
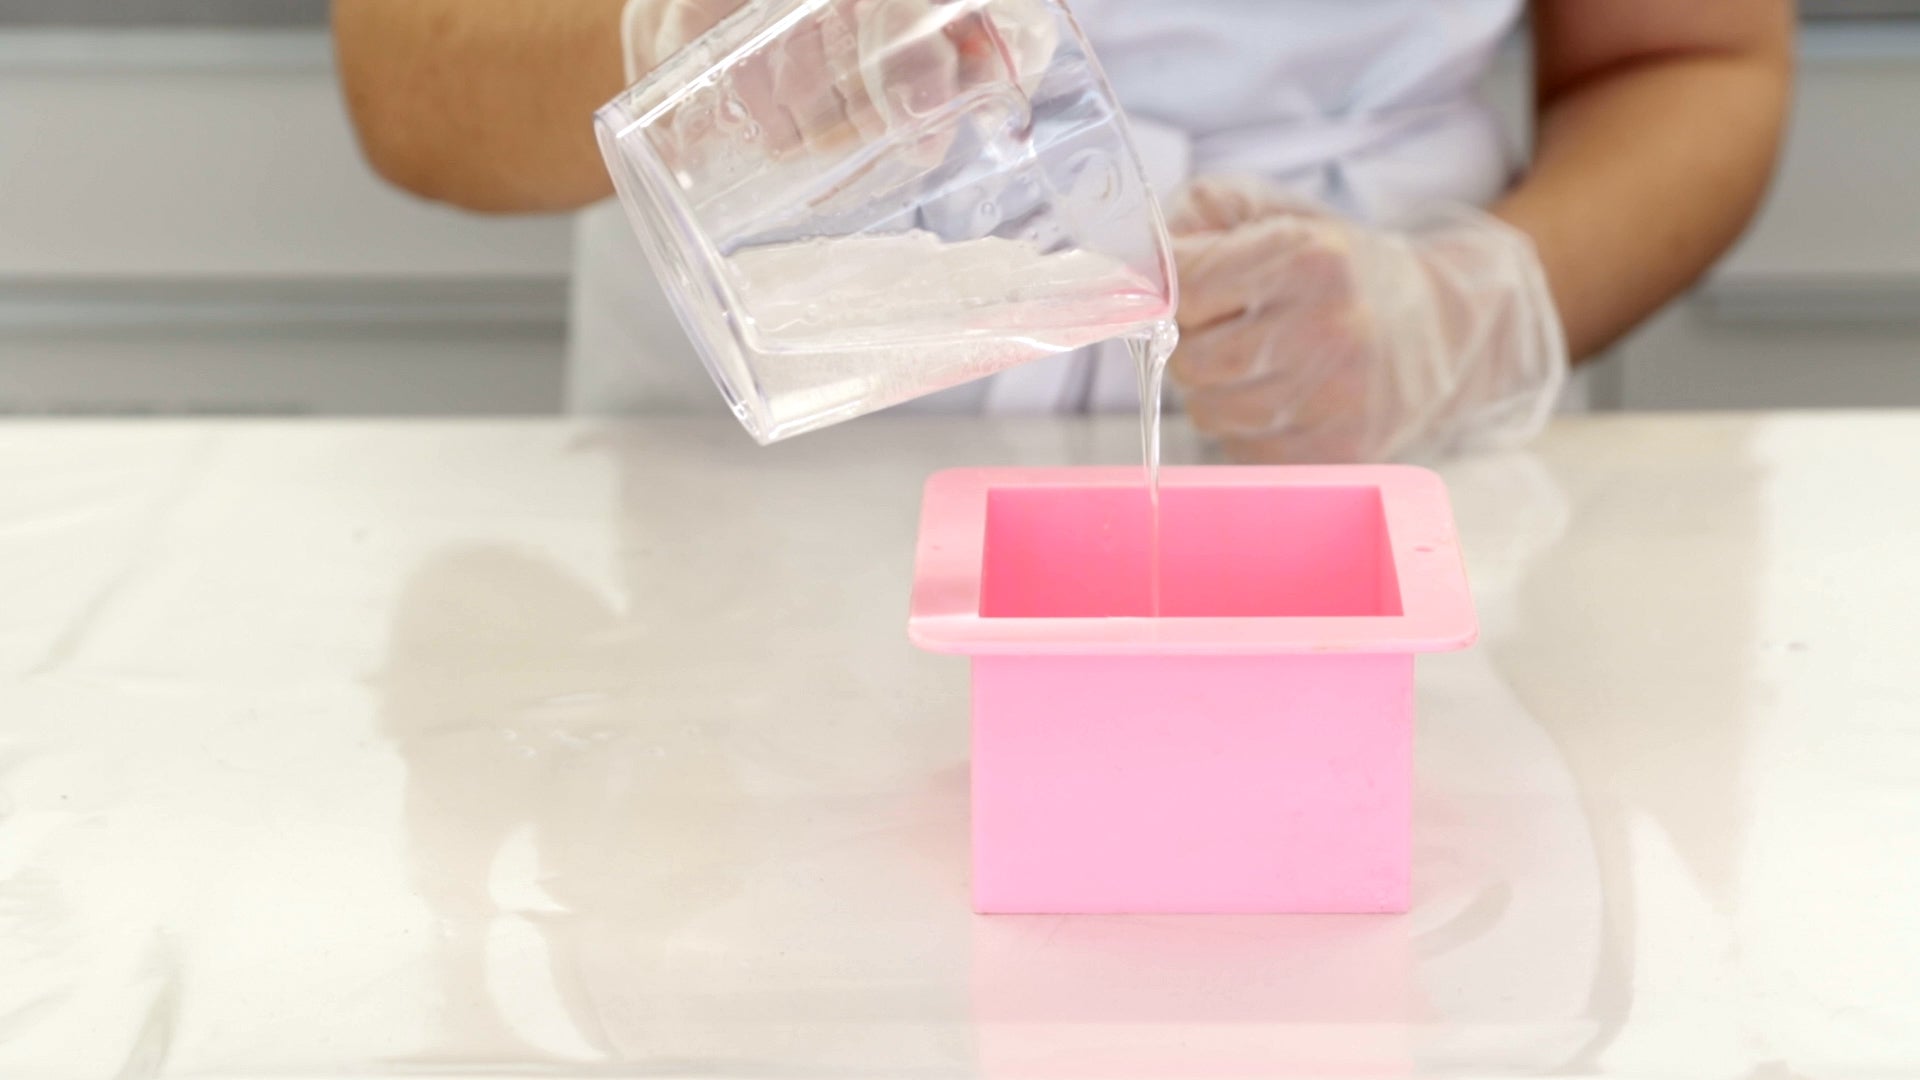
Dumping Out Your Resin:
Just like whipping resin can introduce extra bubbles, dumping it quickly onto your artwork can do the same. Instead, bring your mixing container close to the surface and pour the resin mixture slowly and steadily.
2. Cold Temperatures:
Did you know that ArtResin epoxy resin loves warm temperatures?
It's true!
The ideal temperature for both your ArtResin and your workspace is slightly warmer than room temperature: 75-85°F (24-30°C).
At this temperature, ArtResin stays crystal clear, with a honey-like consistency, and pours and spreads with ease. Cold resin, on the other hand, becomes thick, difficult to work with and takes on a cloudy, milky appearance.
You'll know your resin is too cold when it has a taffy like consistency that's difficult to pour and spread.

Cold resin looks frothy or milky due to thousands of tiny microbubbles that are nearly impossible to torch out.

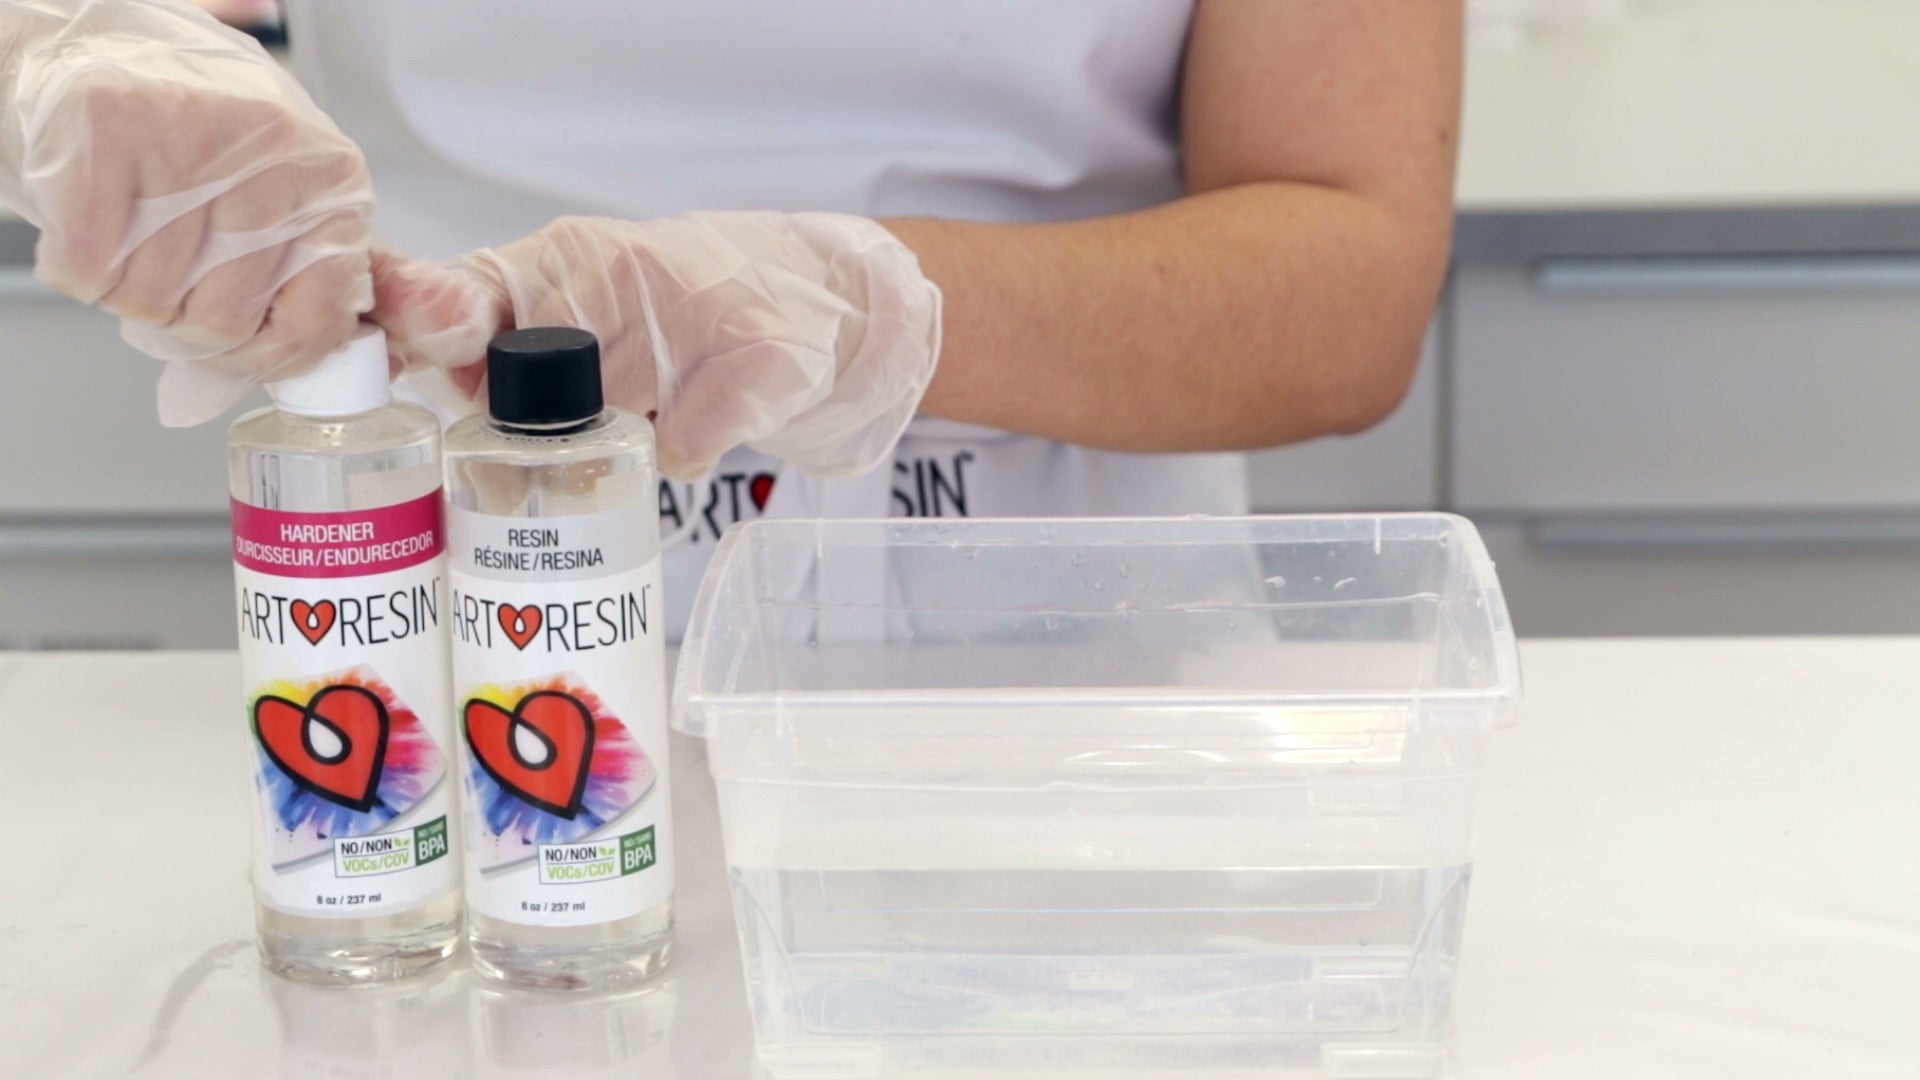
If your resin is cold, warm it to room temperature before using it. You can do this by letting the resin bottles sit out or by using a warm water bath.
Place the tightly capped resin and hardener bottles in a container of warm (not hot) water - about the temperature you'd use for a baby's bath.
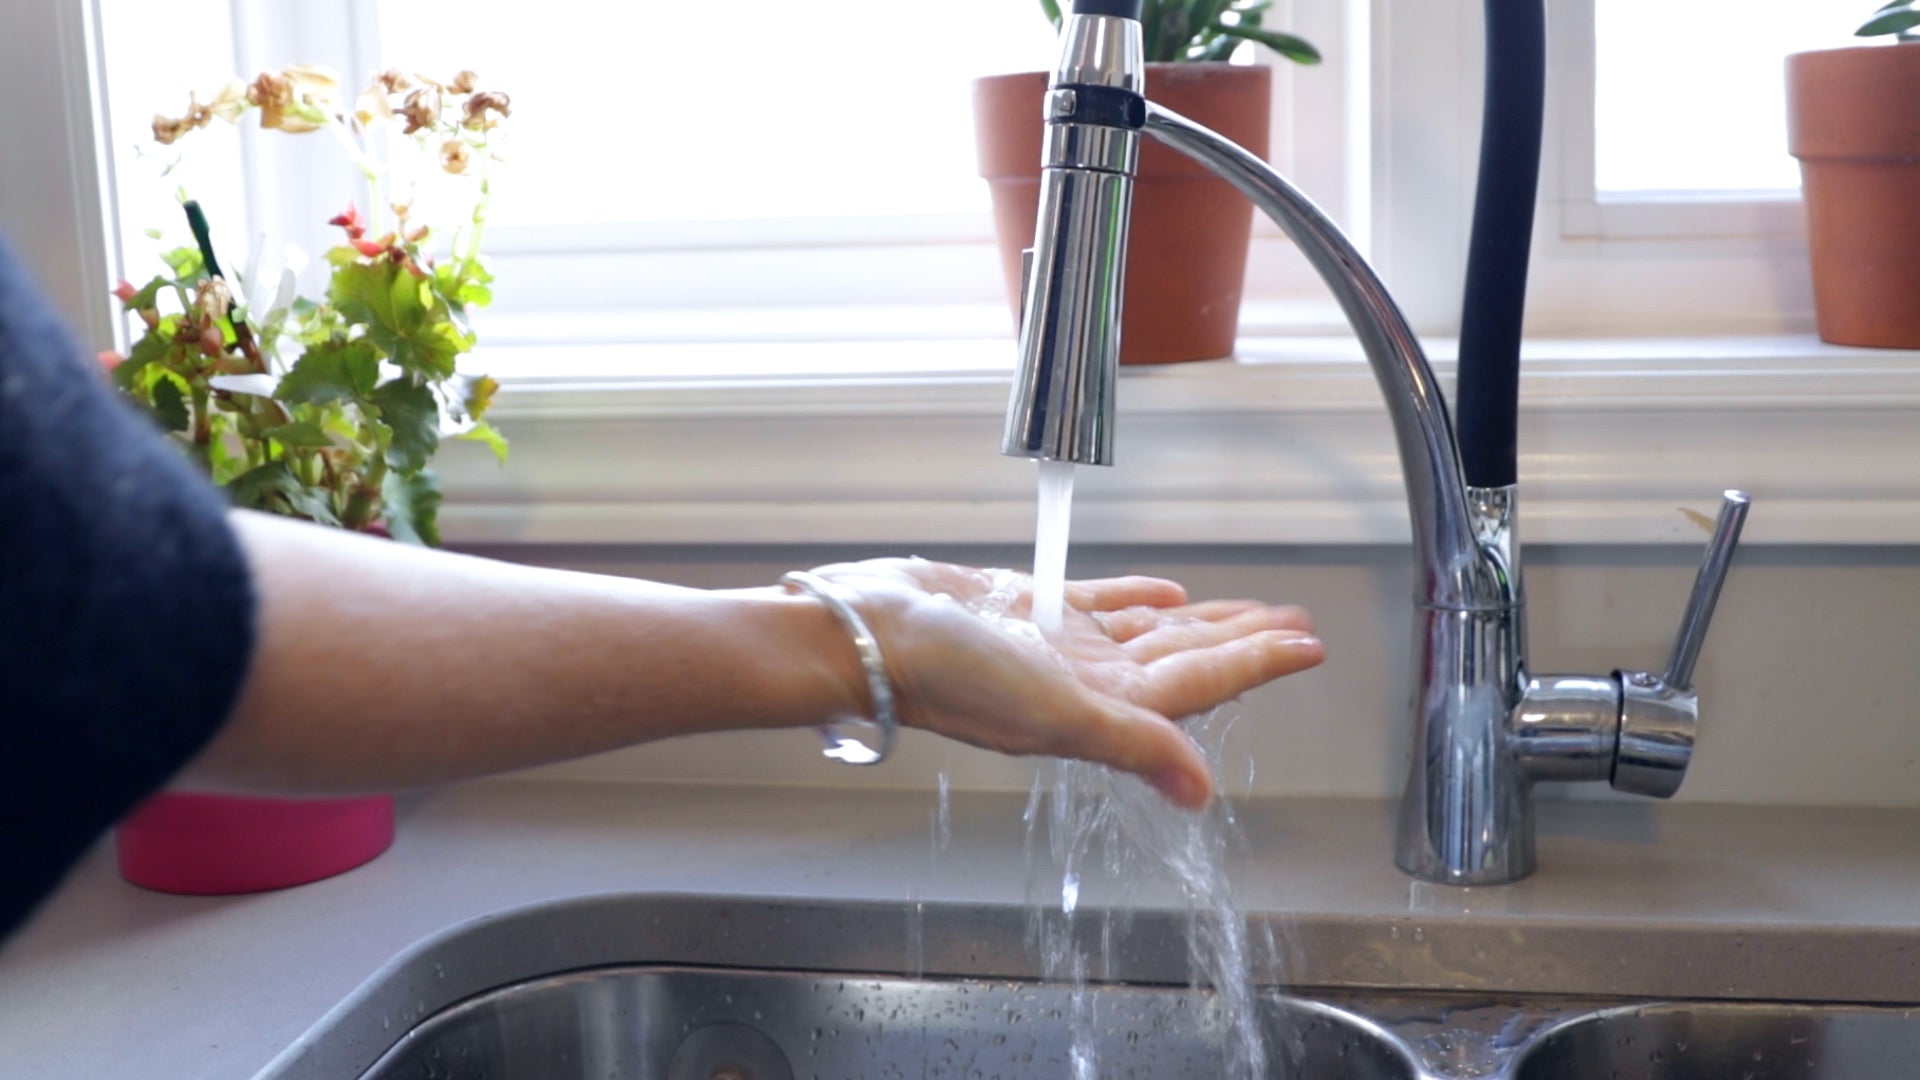
Because heat speeds up curing, always warm the bottles BEFORE you measure and mix to avoid premature curing.
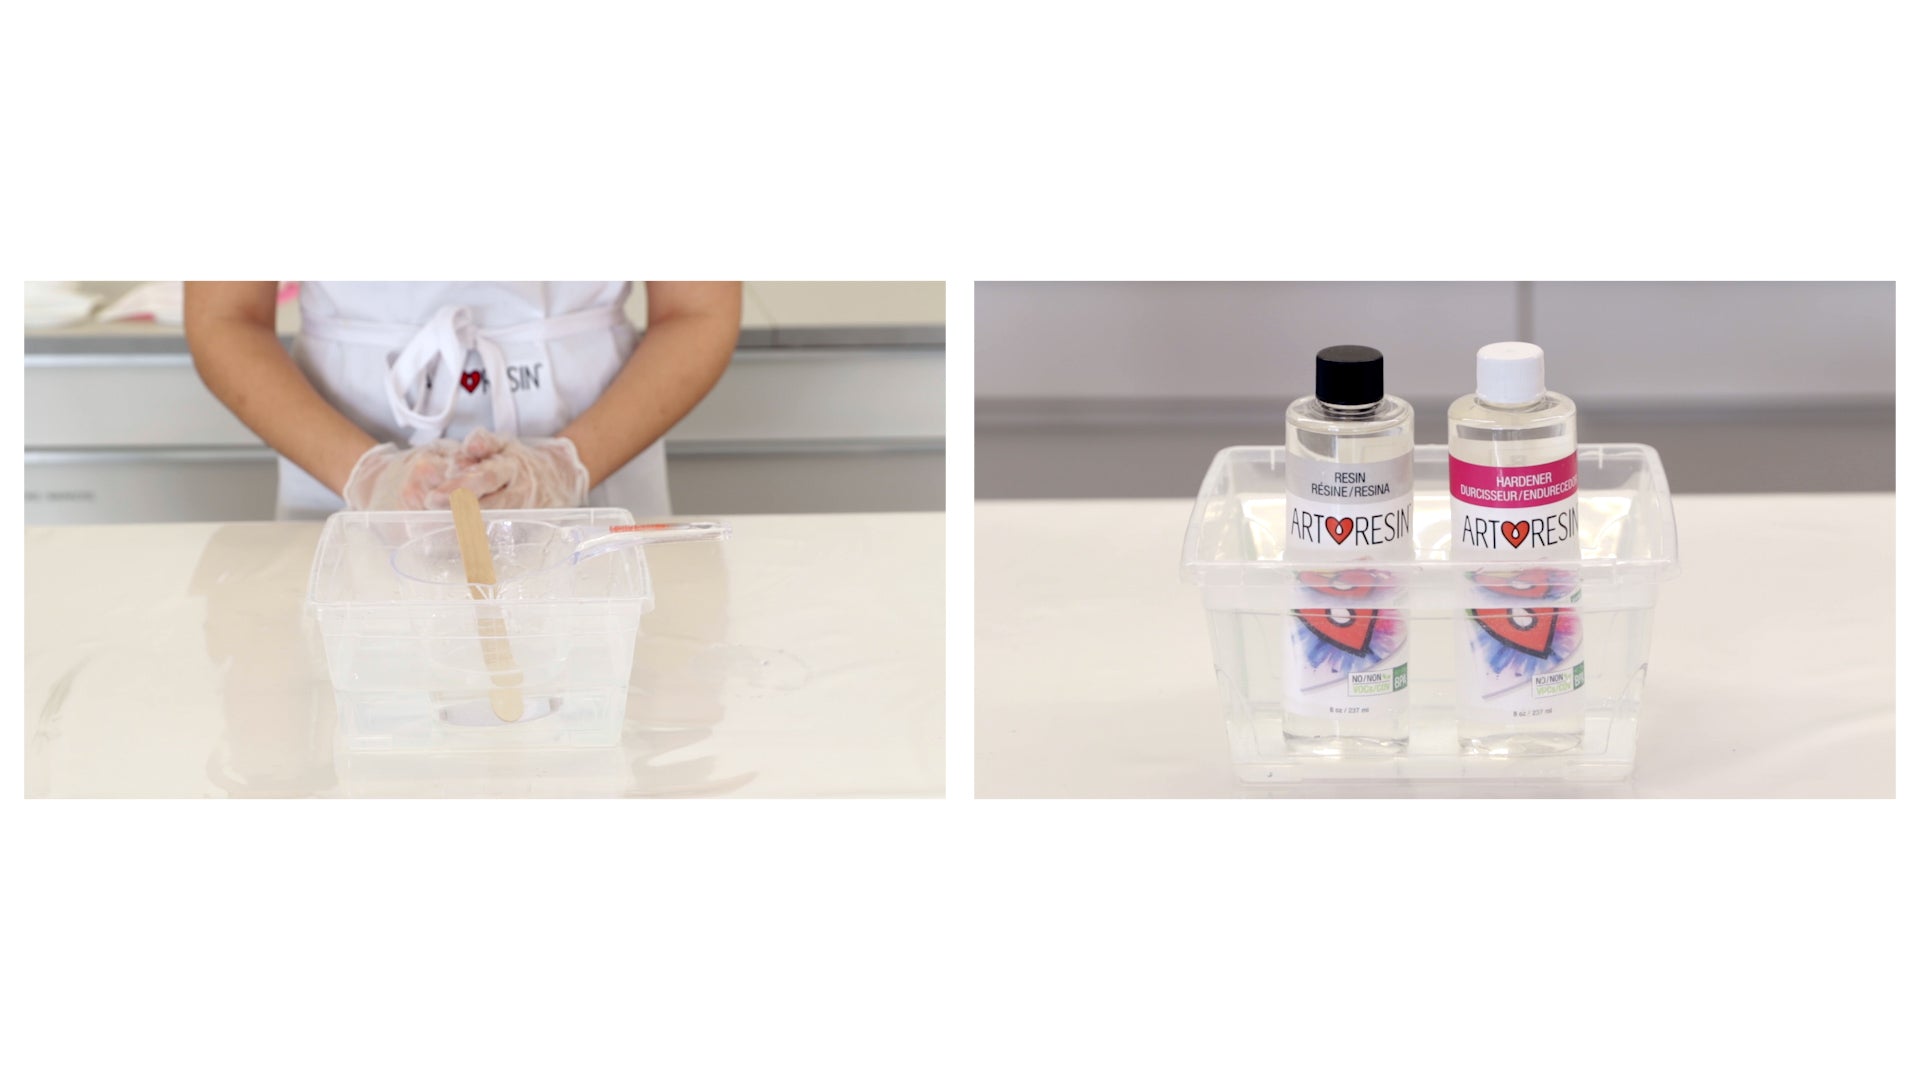
Leave the caps on while warming to prevent water from getting into the resin or hardener: even a small amount of water can cause a cloudy cure.
Don't submerge the bottles, and dry them thoroughly before you open them.
Resin that's at room temperature or slightly warmer is smooth, clear and easy to pour and spread.
💡 TIP: If you're using a warm water bath, keep in mind that heat promotes a faster cure. Your usual 45 minute working time window will be reduced by about 10 minutes, and the resin may thicken or begin curing in the cup if it's left sitting out while you get your artwork and tools ready. Have your artwork and supplies fully prepped, then measure, mix and pour right away. Don't let warm resin sit in the mixing cup!
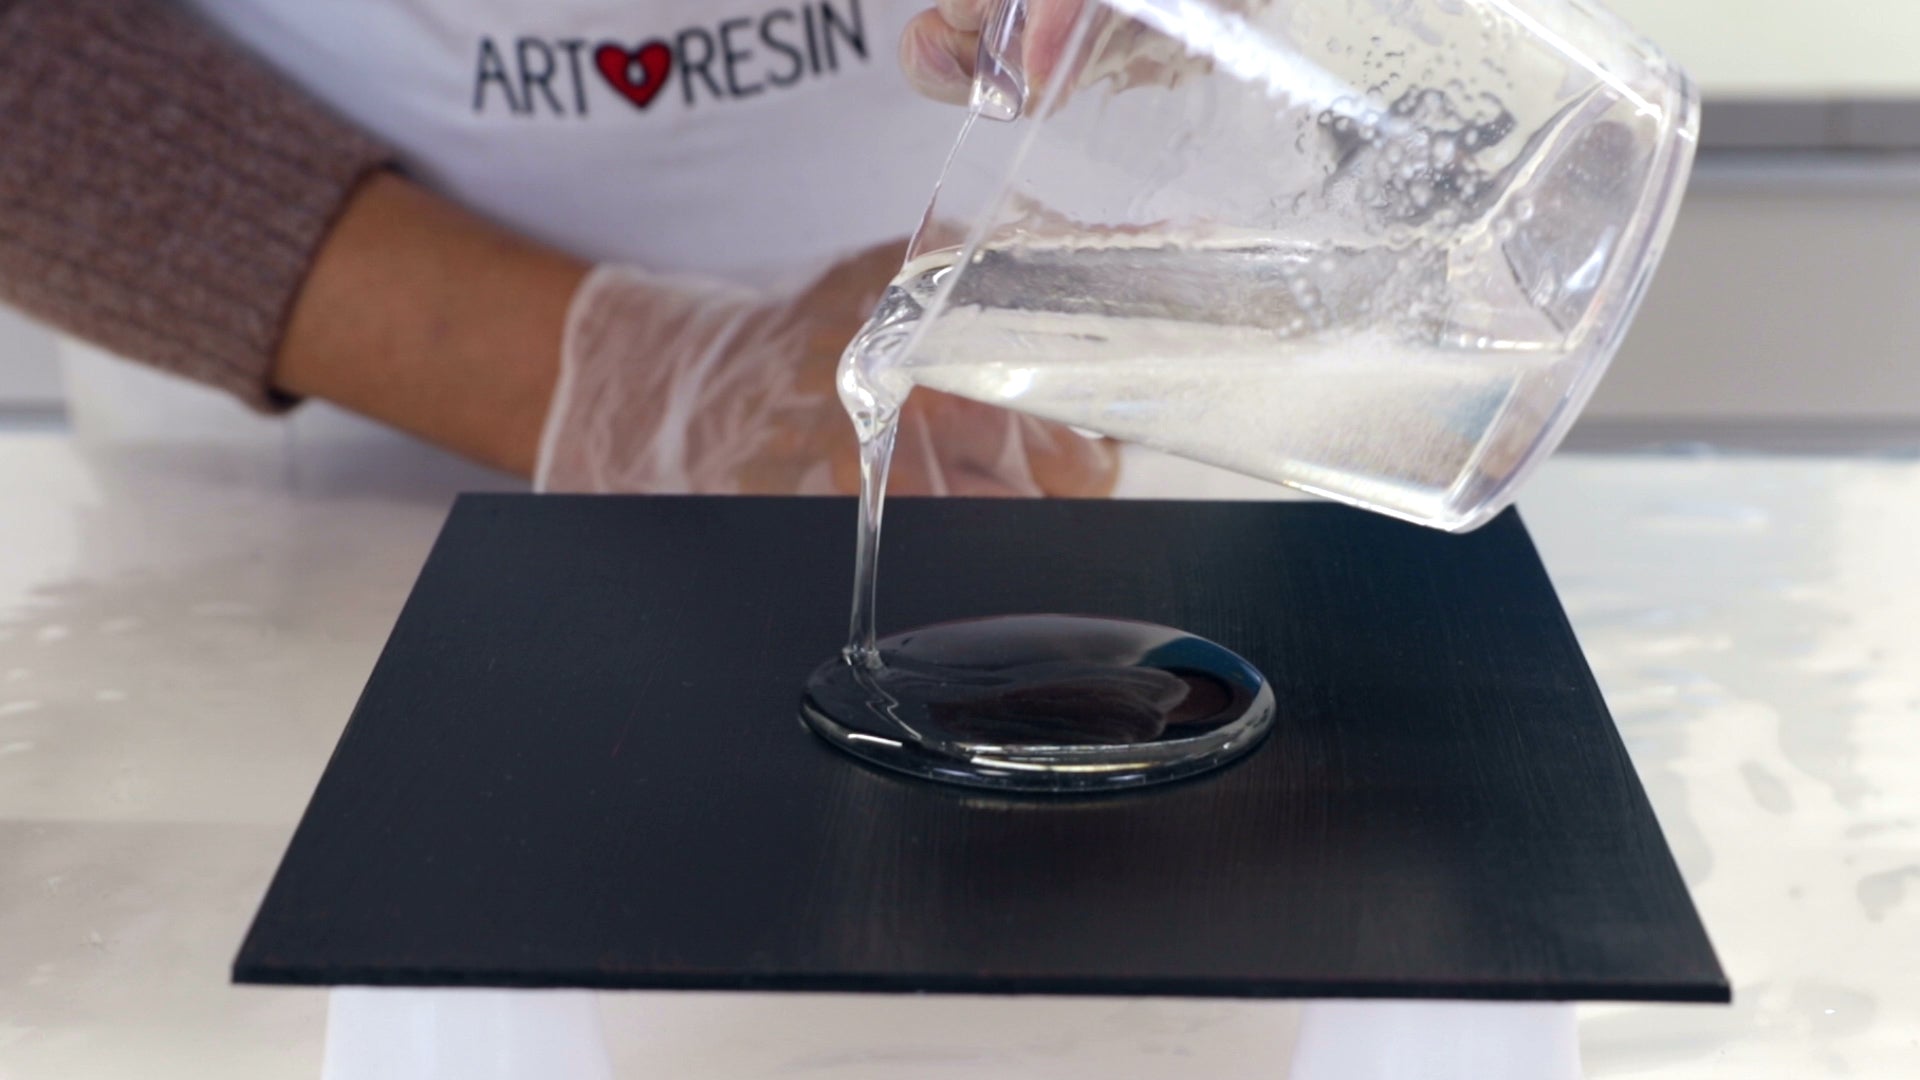
3. Pouring Too Thick:
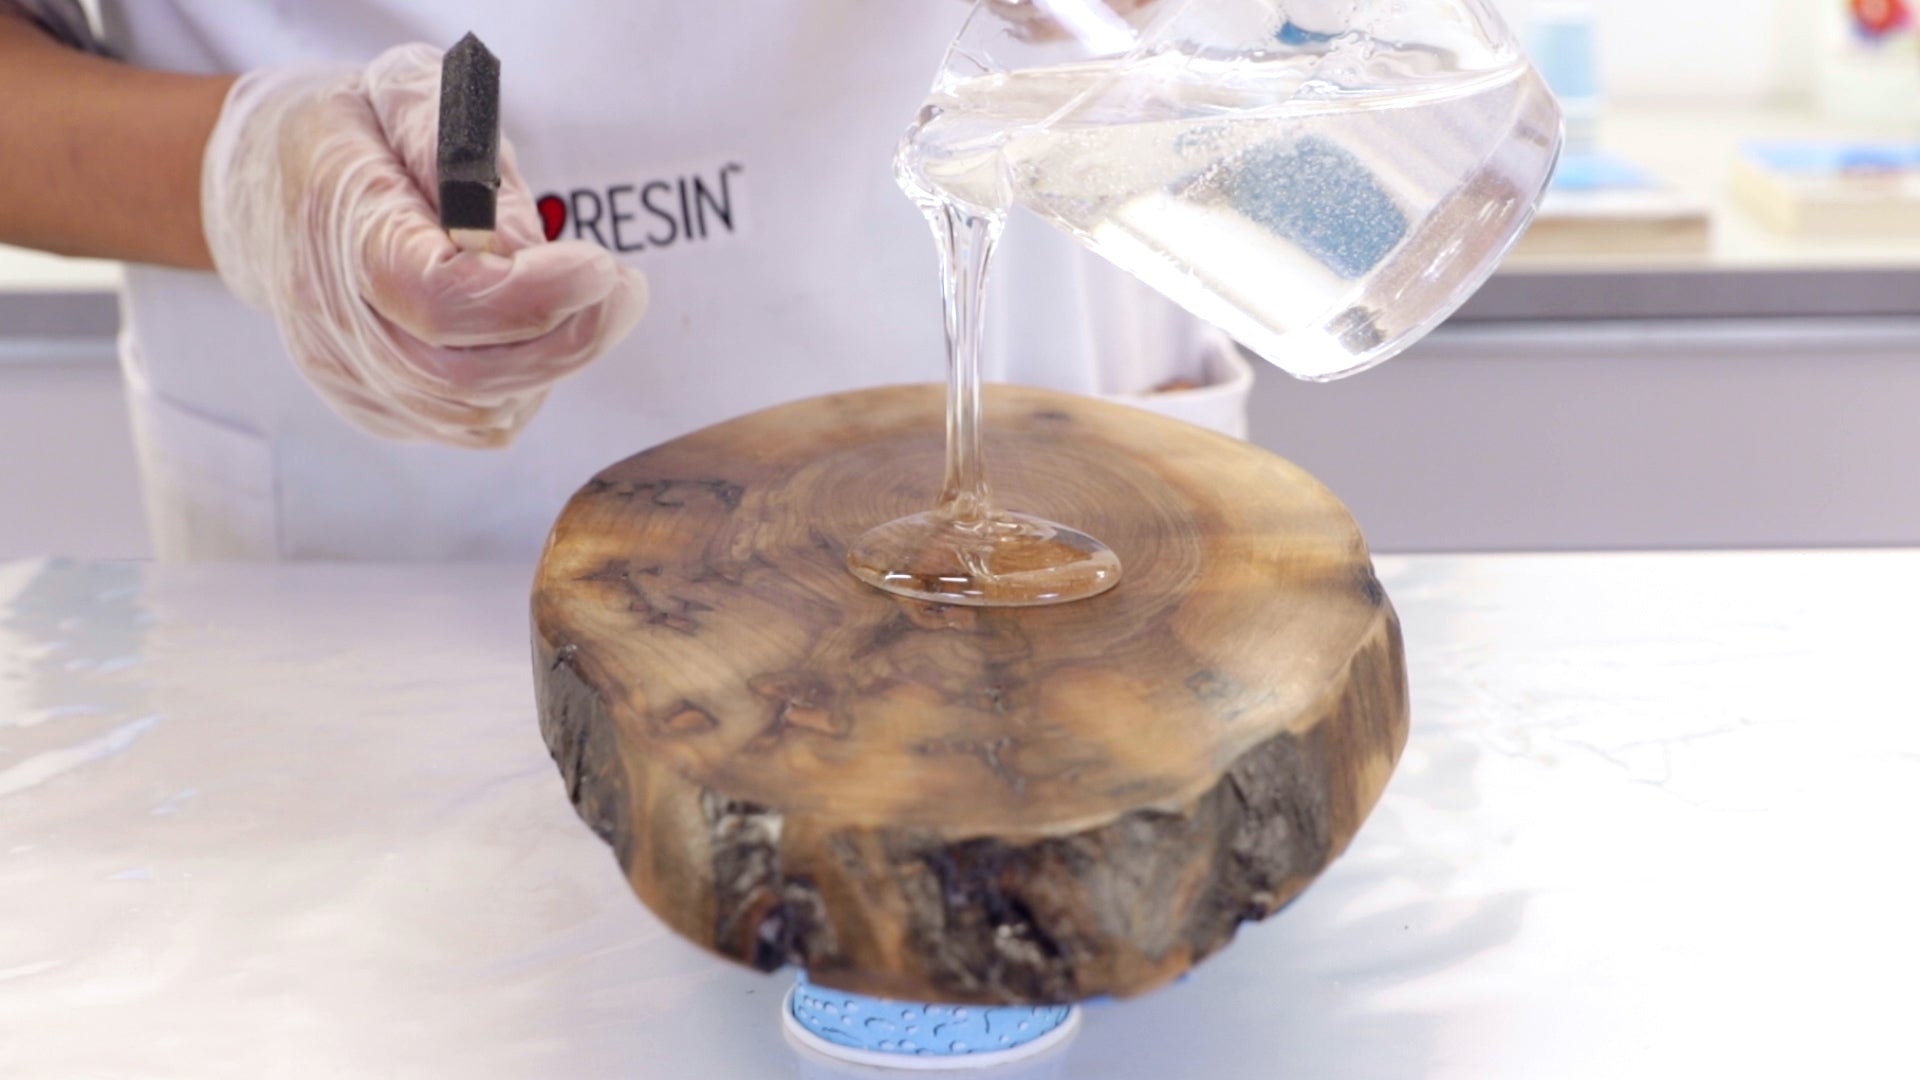
ArtResin is designed as a surface coating for artwork and works best when poured in thin layers. Thinner pours give bubbles the chance to rise to the surface, where they can be easily torched away.
The maximum recommended pour thickness is 1/8" (3 mm). When ArtResin is poured thicker than this, bubbles can become trapped below the surface and remain visible once the resin cures.
If you'd like a thicker resin layer of ArtResin, pour in multiple thin layers, waiting 3-5 hours between each pour.
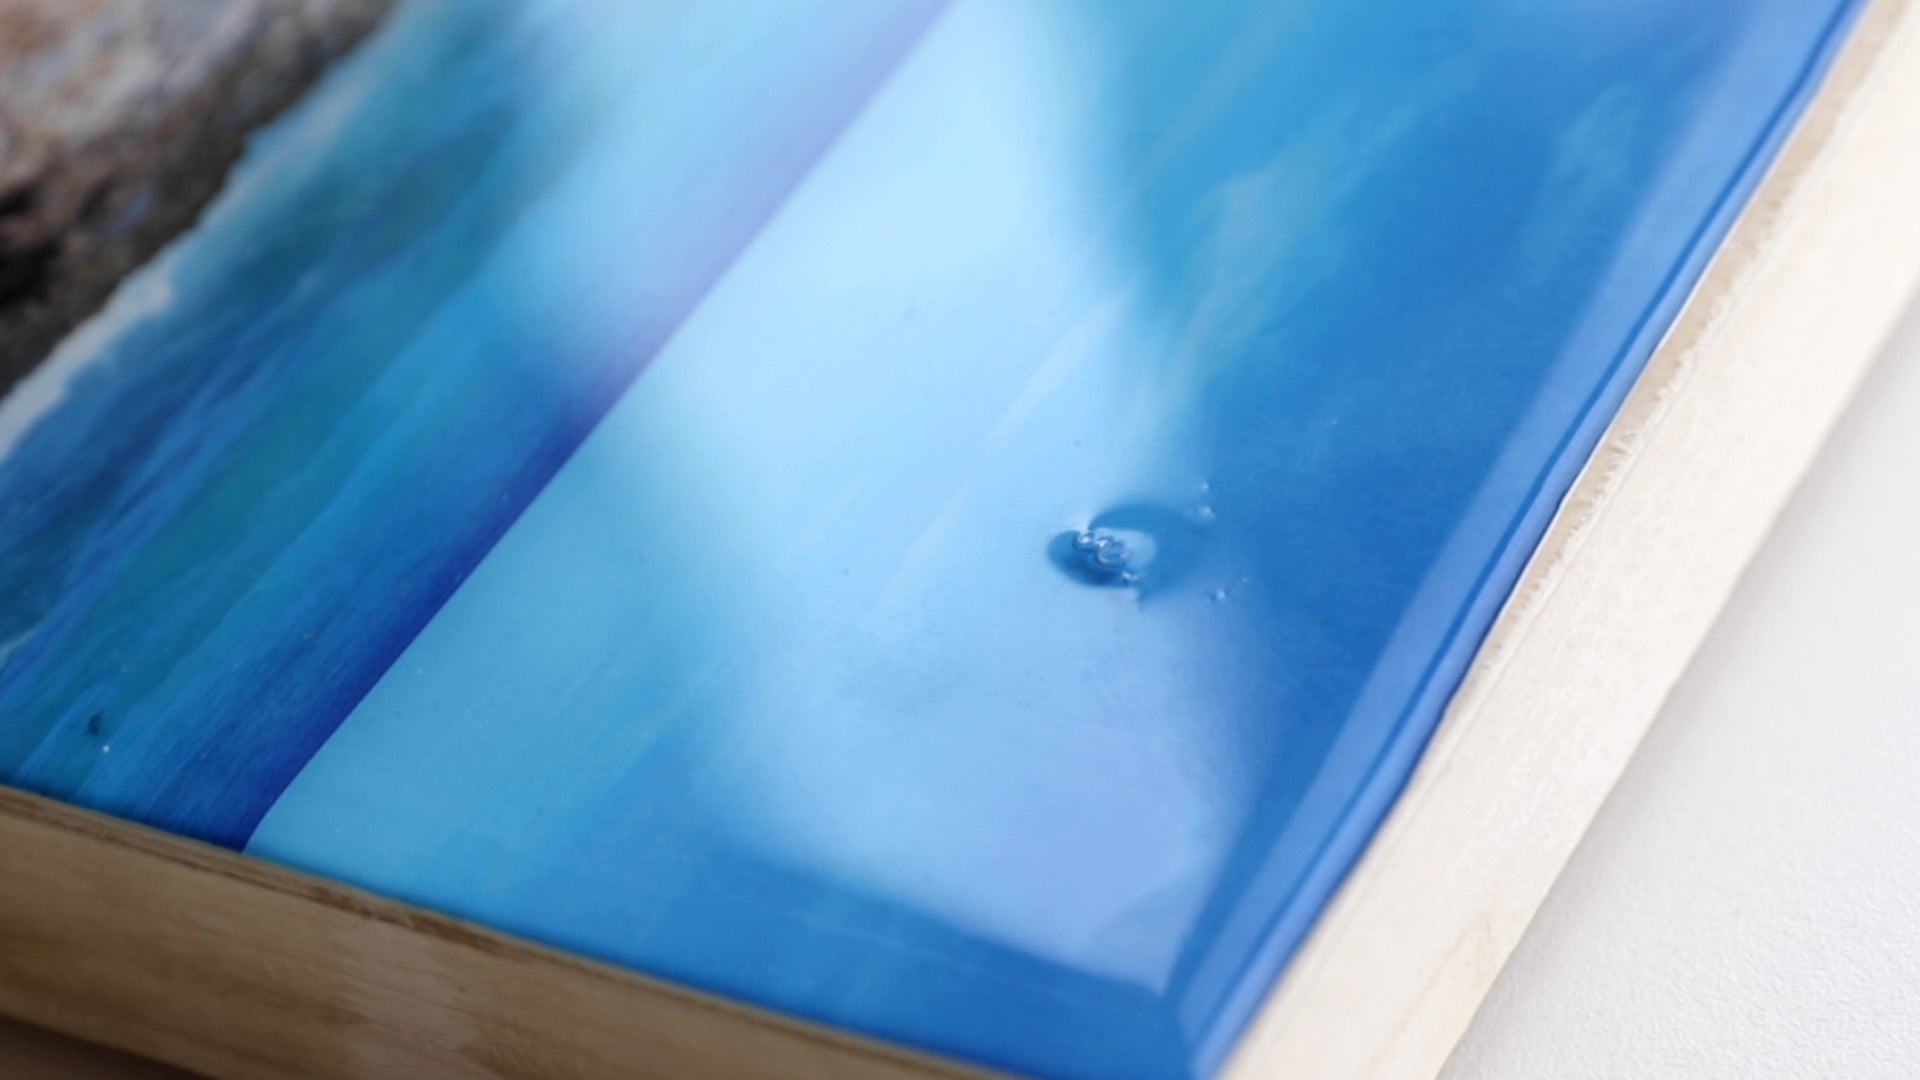
4. Releasing Trapped Air:
Porous, organic materials like wood, leaves, fabric - and even paper - can naturally "breathe" air. When resin is poured over these surfaces, trapped air can slowly release into the resin as bubbles, sometimes hours after you have poured and torched.
To help prevent air bubbles caused by trapped air, seal natural materials like wood and paper with a brush-on or spray sealant before resining.
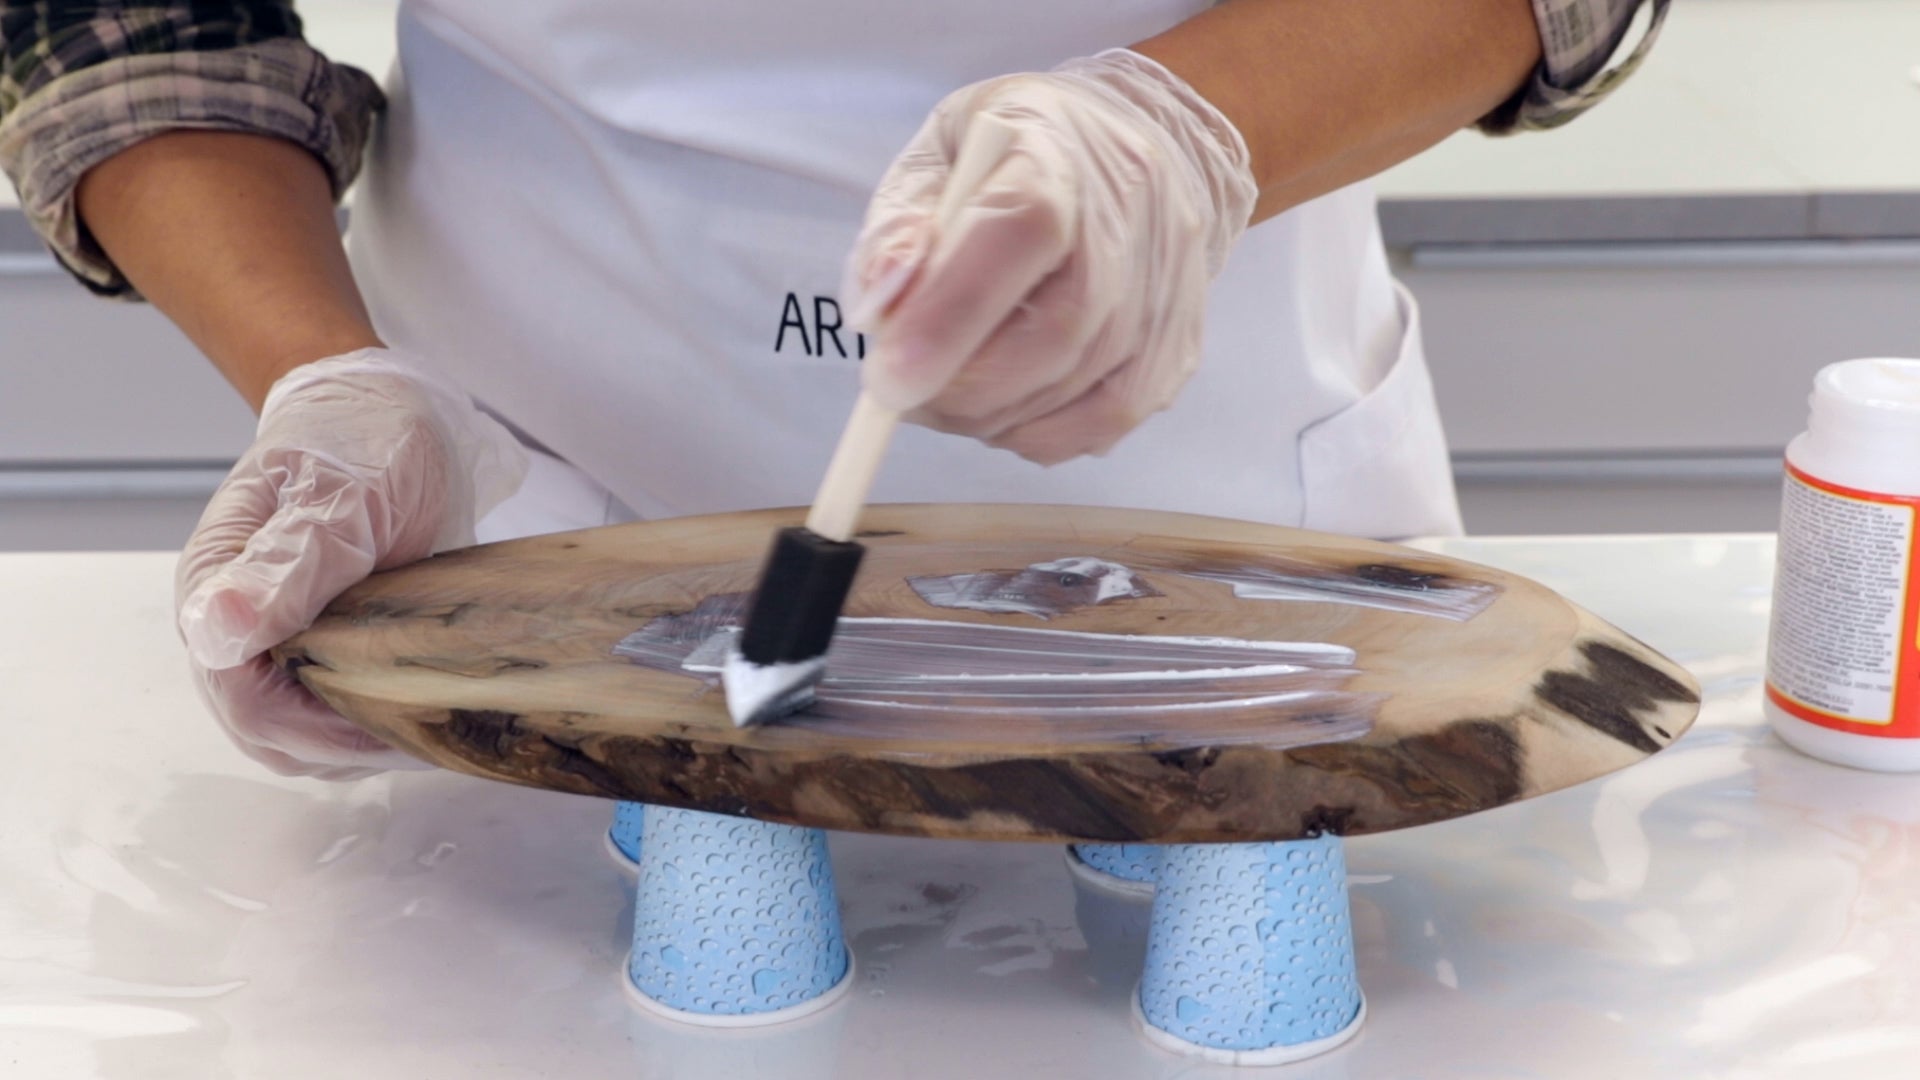
Sealing creates a protective barrier that stops air from escaping into the resin and forming bubbles.
Poorly mounted prints can also release air. Always ensure prints are mounted evenly and securely to the panel. Avoid air pockets by applying an even amount of adhesive.

This is our preferred method for mounting prints: use a spring clamp to hold the print and panel in place. Place a clean sheet of paper under the clamp to protect your print!
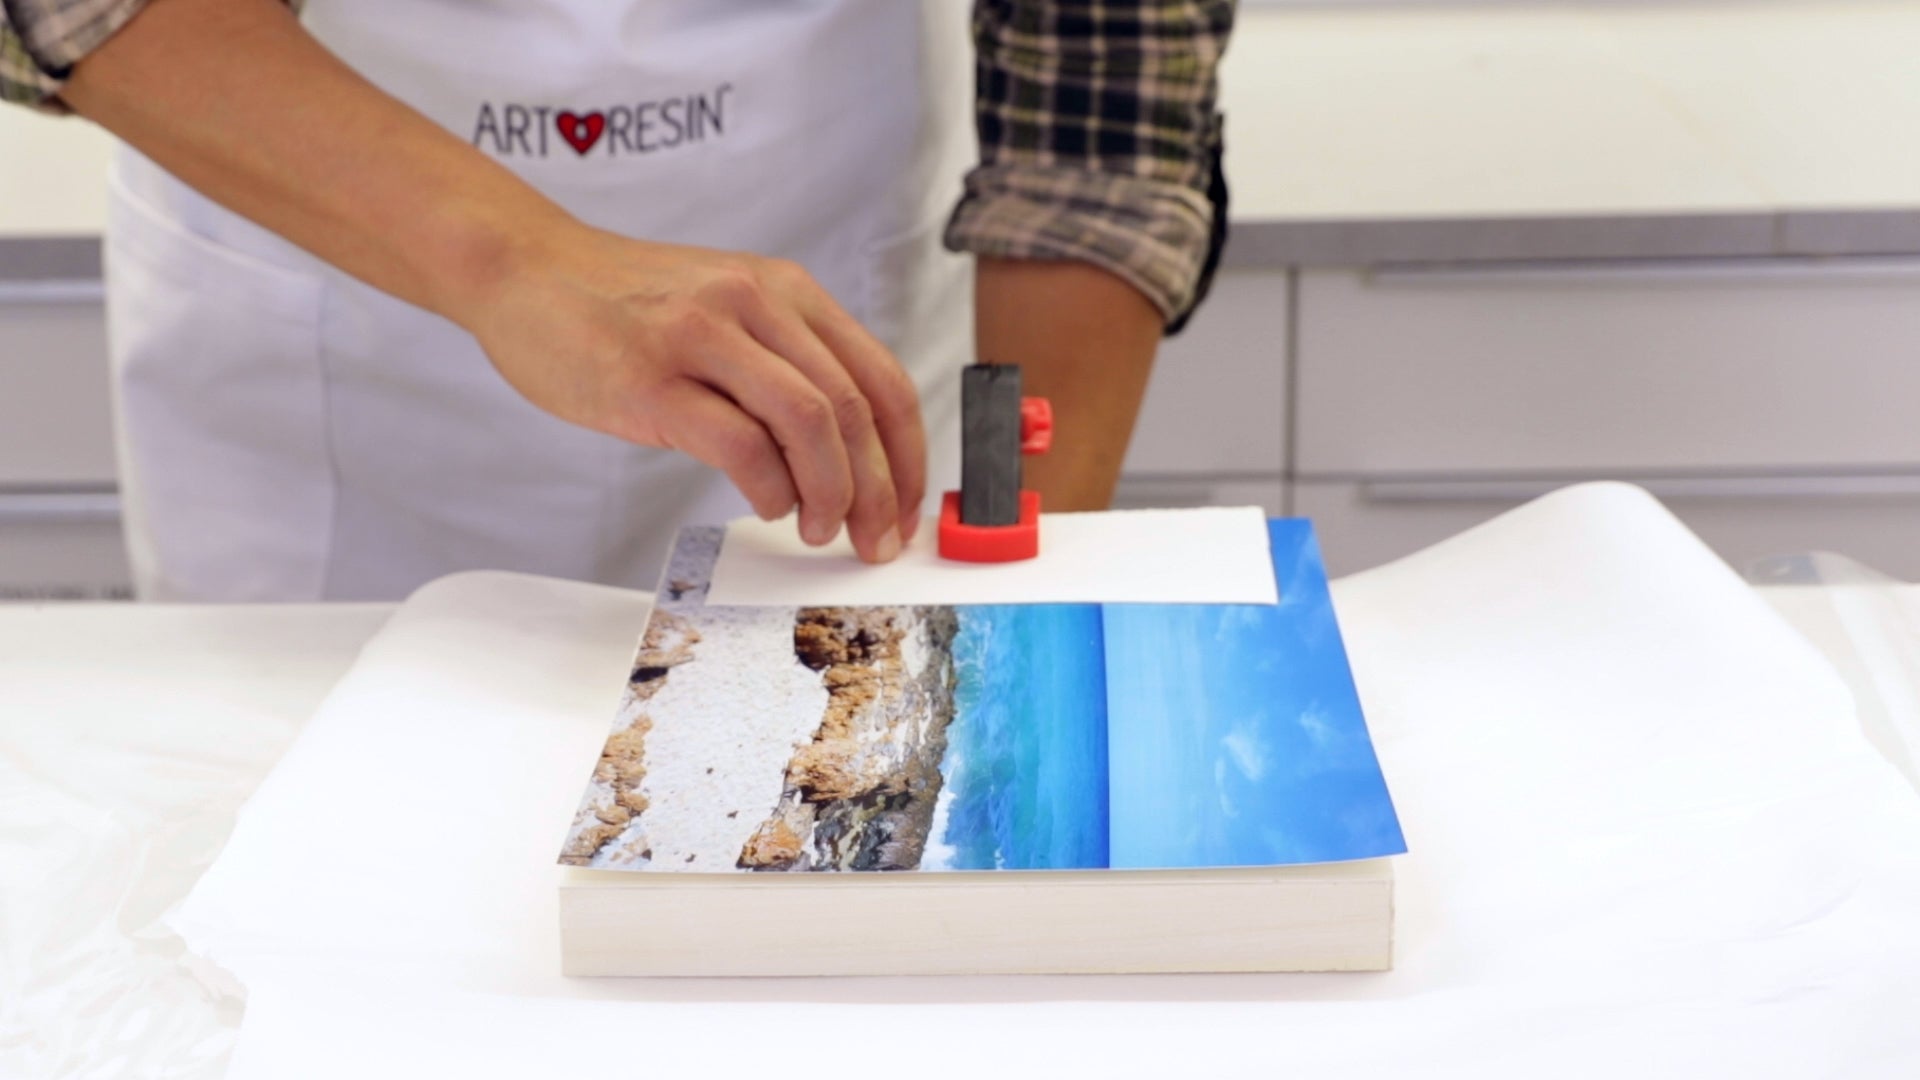
Apply adhesive evenly to one half of the panel, paying particular attention to the edges. We prefer using spray adhesive for consistent coverage, but you can brush on PVA glue as well.

With a clean sheet of paper protecting the surface, gently roll a brayer over the print to remove air pockets and ensure a tight bond. Be sure the edges of your print are fully adhered to prevent air from releasing and resin from seeping in.
Turn the print around and repeat the process on the other half. Once the print is securely mounted, you're ready to resin!

💡 TIP: Some paper is more porous than others and may absorb the resin. We recommend testing some resin on a scrap piece first to see if sealing is needed. Sealing creates a barrier that prevents resin from soaking in. Don't forget to seal cut edges!
How To Fix A Bubble In Cured Resin
If you check on your piece the next day and spot a bubble in your cured resin, don't panic! Thankfully, epoxy resin is forgiving, meaning that many issues - including bubbles - can be fixed with a simple sand and re-pour.
Here's what you need to do:
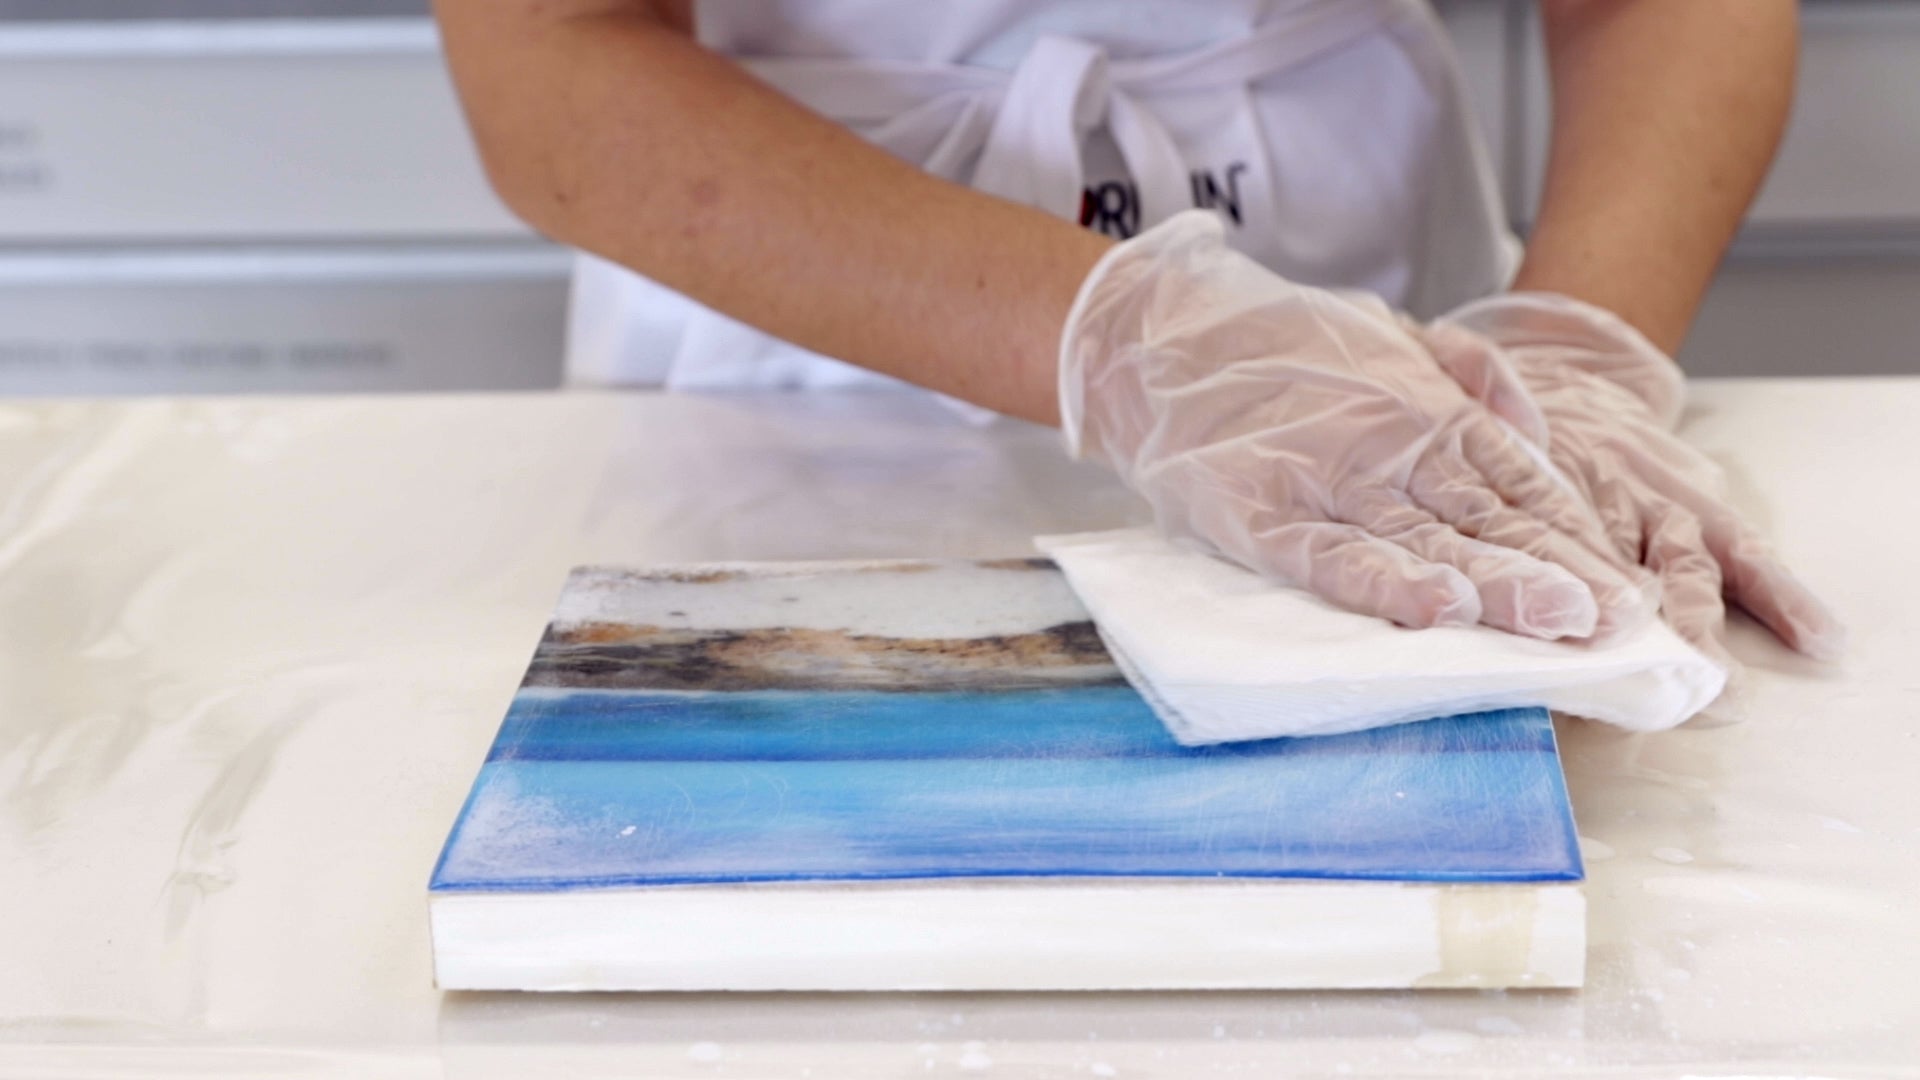
1. Sand
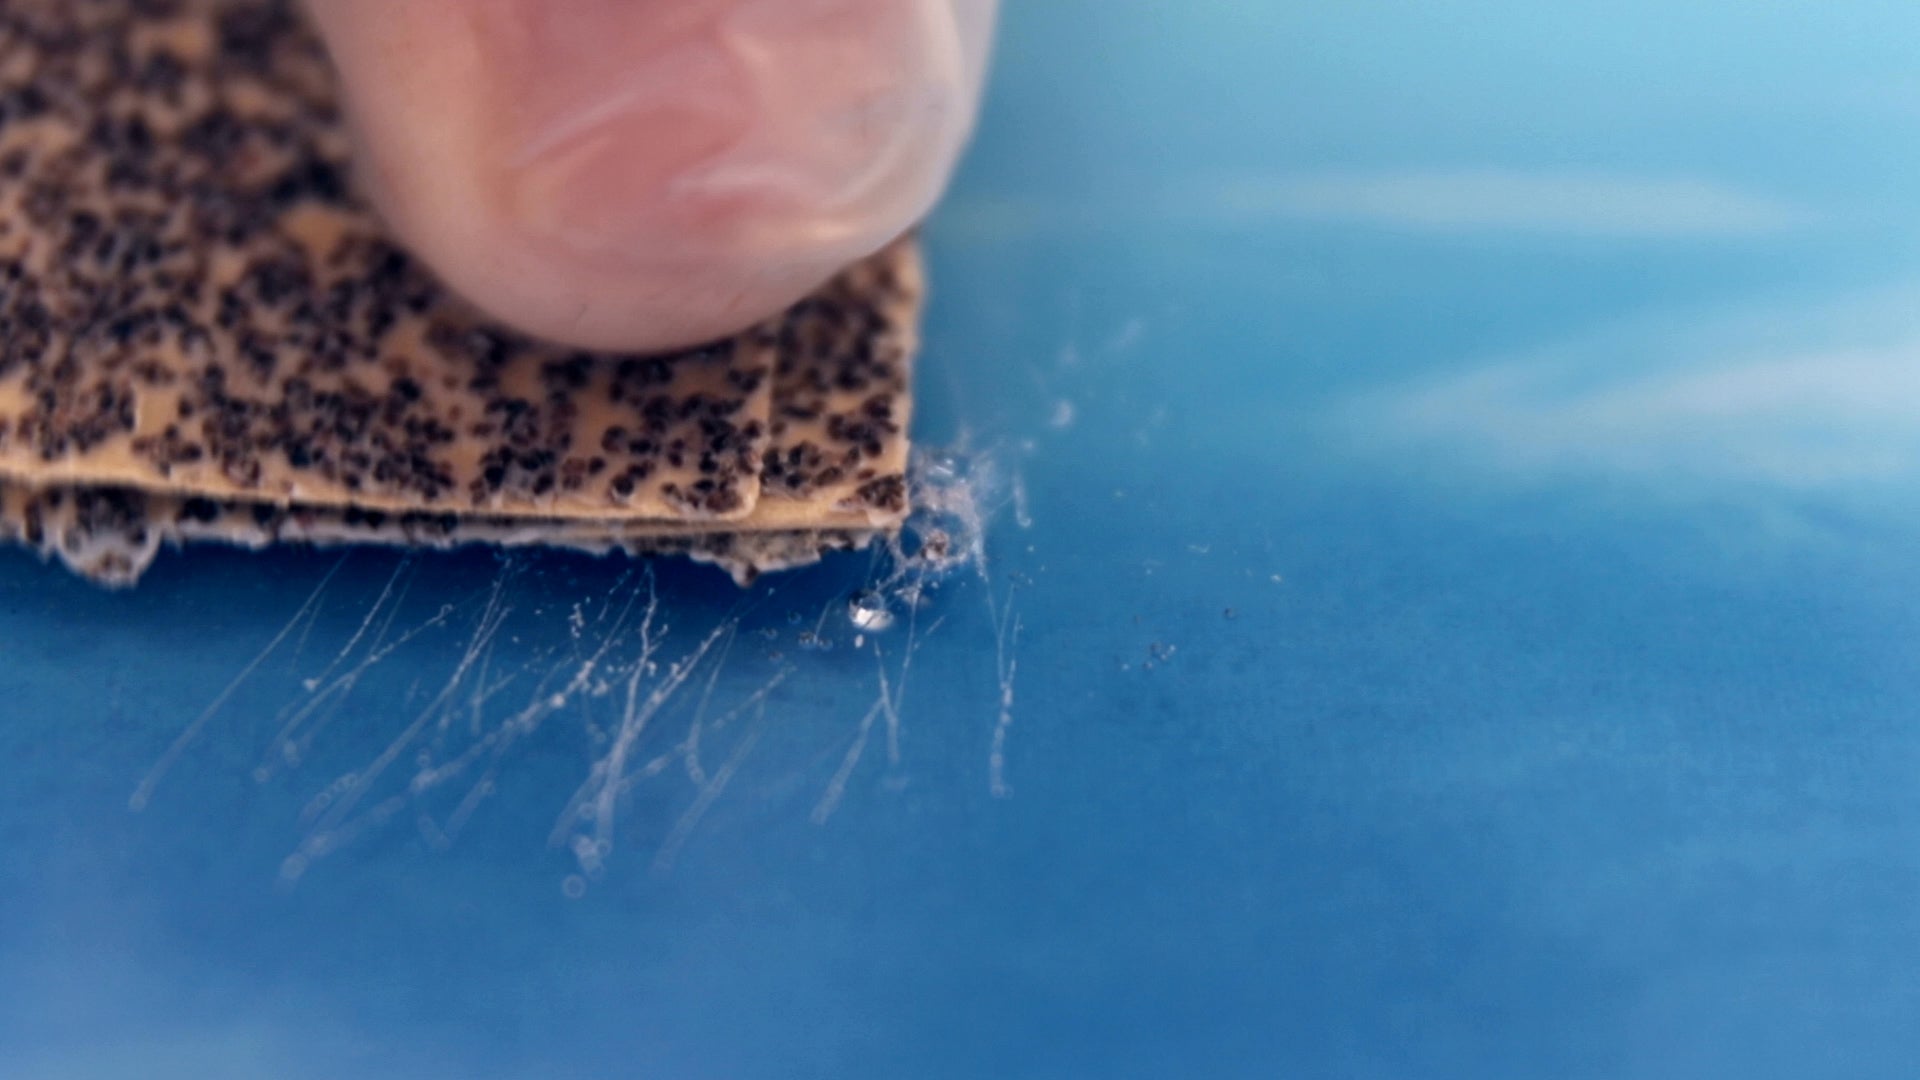
Sand down the entire surface of your piece, paying extra attention to the area where the bubbles are. Sanding creates "tooth" so the fresh resin layer can properly adhere, which is why it's important not to skip any areas.
Use a coarse sandpaper, anywhere between 80-120 grit. Your piece will look scratched when you're done - but that's exactly what you want. The fresh layer of ArtResin will fill in those scratches and return your piece to a crystal clear finish.

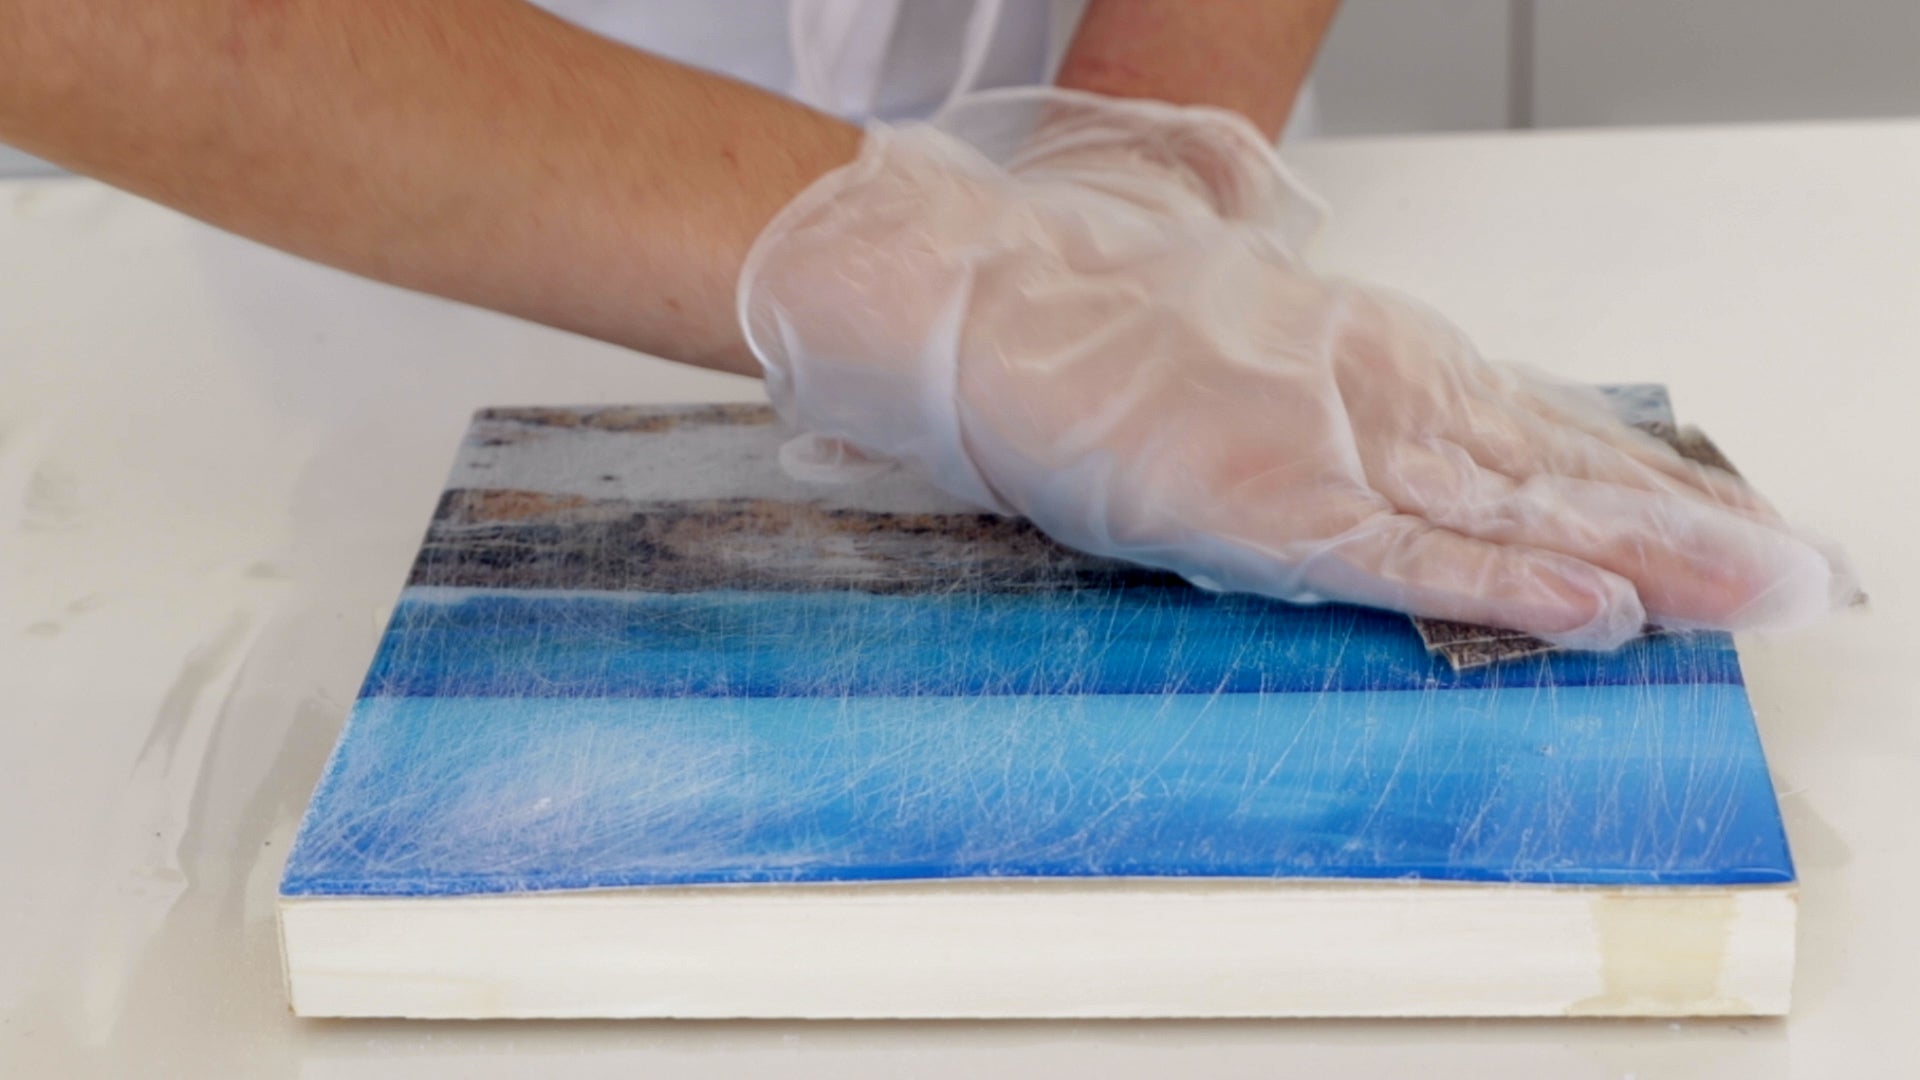
2. Wipe
Once sanding is complete, wipe away all dust using a damp paper towel. Repeat as many times as needed - your surface must be completely free of sanding residue before you pour again.
You can also use compressed air or lightly brush the surface with a soft paintbrush to ensure there is no lingering dust left on your piece.
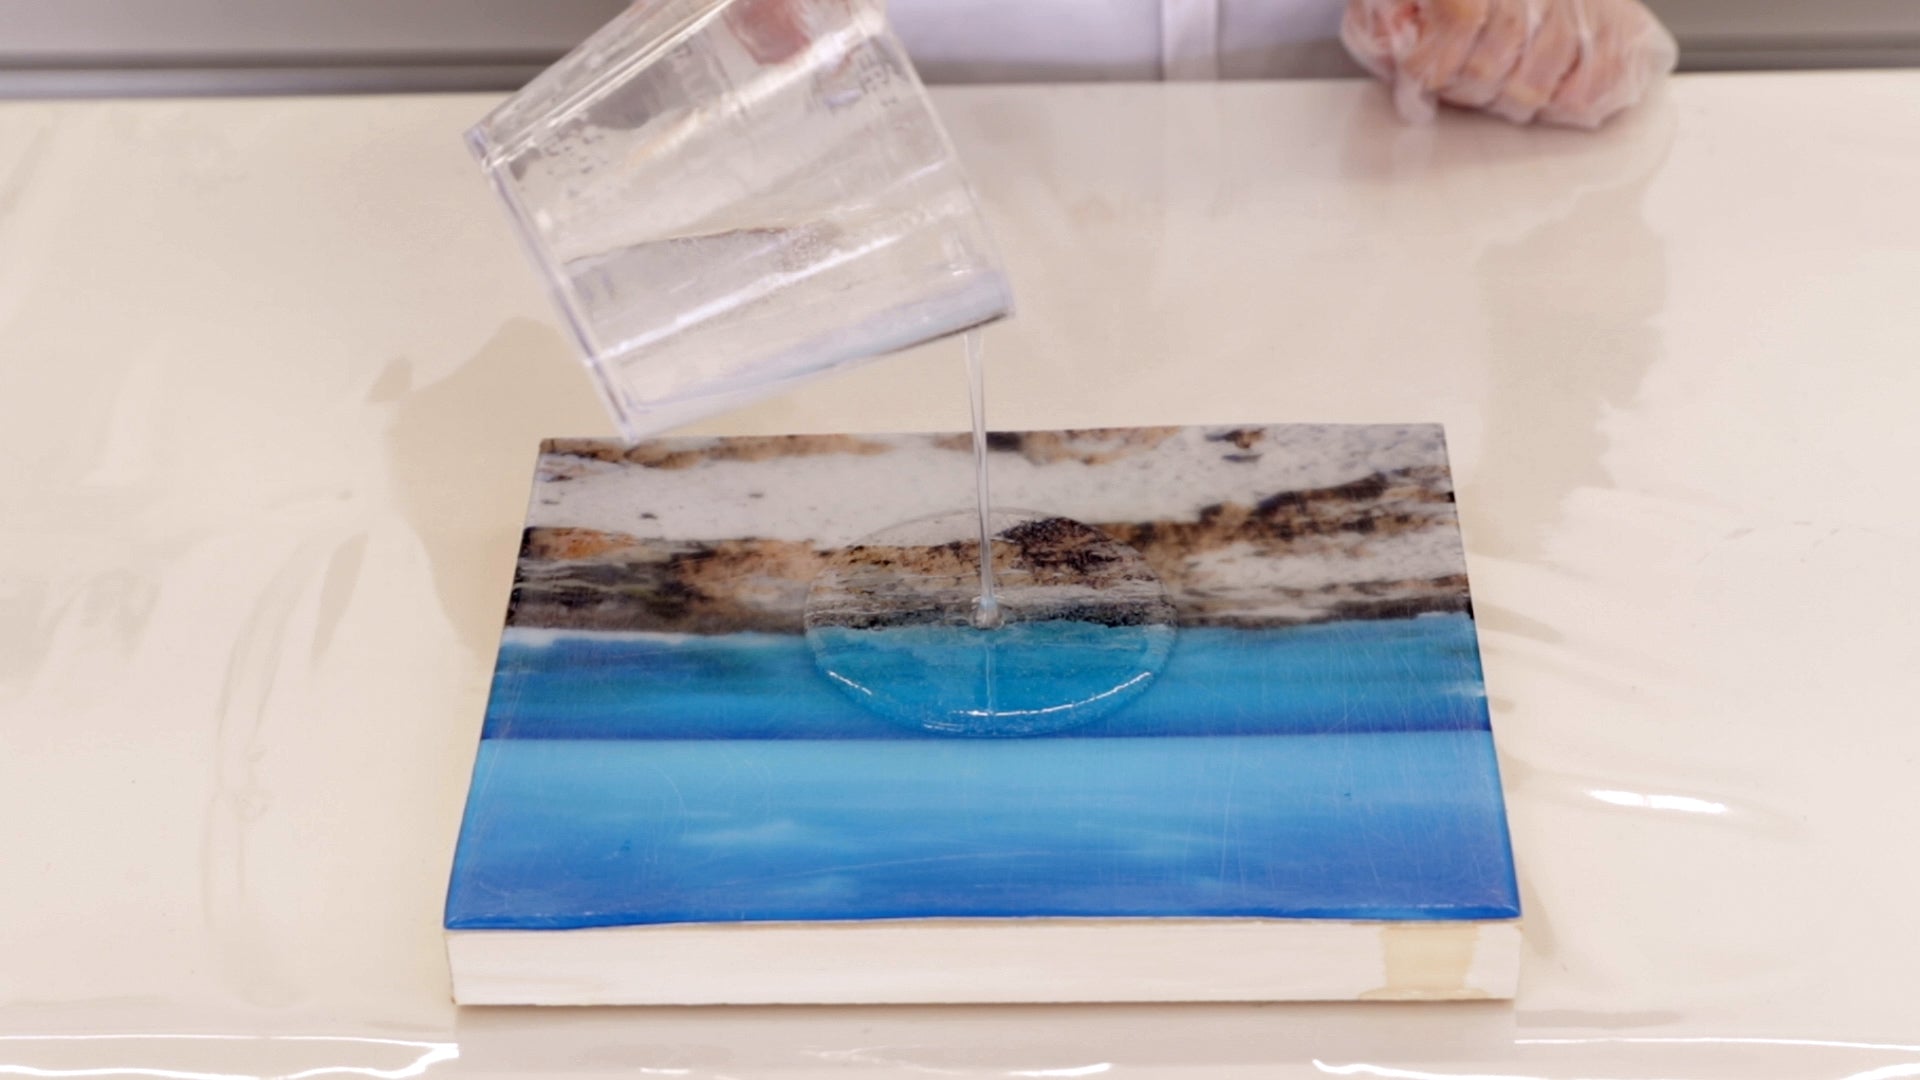
3. Pour
Mix a fresh batch of carefully measured and thoroughly mixed ArtResin, following the label instructions. Pour a new coat of resin over your sanded and wiped piece, spread as desired, and torch out any bubbles.
Cover and wait 24 hrs for a touch-dry cure, and 72 hrs for a full cure.
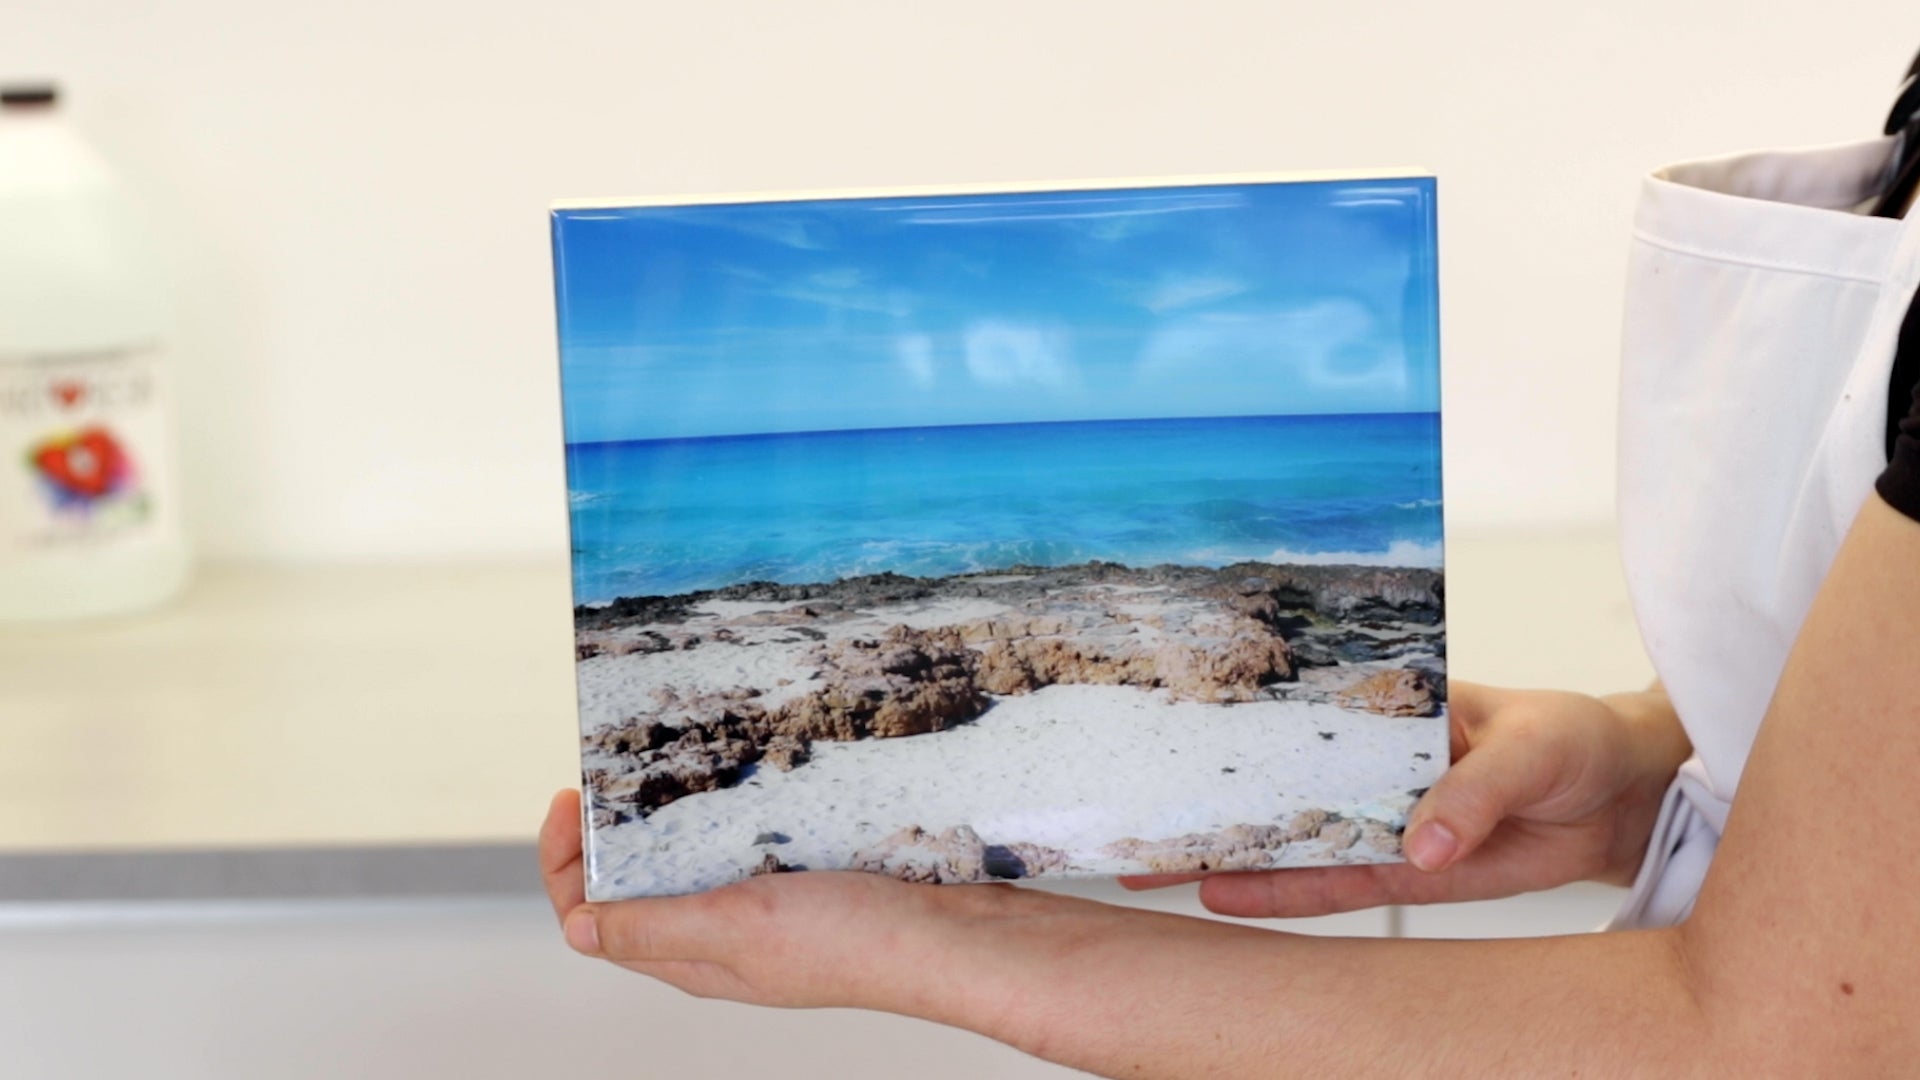
And that's it!
Once your fresh resin layer cures, you won't see any sanding marks - just a gorgeously glossy, crystal clear ArtResin finish. You'd never know there was a bubble there!
So remember ....
- Use a torch
- Stir and pour gently
- Use room temperature ArtResin
- Mount prints carefully
- Pre-seal when needed
And if you do end up with bubbles in your cured resin, follow our simple steps to get rid of them.
We hope this was helpful!
Do you want to learn more about troubleshooting epoxy resin? Read our guides below:
- ArtResin’s Troubleshooting Guide
- Can I Fix Small Imperfections In My Resin?
- Is It Possible To Overstir My ArtResin?
- How Do I Remove Epoxy Resin Drips?
- Is It Possible To Over Torch My ArtResin?
- My Epoxy Resin Is Not Hardening
- How To Fix Soft, Sticky Spots In My Resin
- How Can I Avoid Getting Dimples In My Epoxy Resin?
- How To Reduce Dust Before You Resin
- How Can I Get Rid Of Bubbles In My Cured Resin?
- How Can I Fix Dust In My Epoxy Resin?
- How Can I Deal With Epoxy Resin Drips After They've Dried?
- What Happens If I Overtorch Resin?
- Why Does My Resin Look Milky?
- Why Is My Epoxy Resin Still Sticky?
- Why Is My Resin Bendy?
- Why Are There Bare Spots In My Cured Resin?
- What Does Silicone Do To Resin?
ArtResin: The Original Epoxy For Resin Art.
