In this article, we'll explore methods and tips to harden sticky resin, ensuring your projects cure with a durable finish. By understanding the main causes of sticky resin and how to fix it, you'll not only save your projects but also know exactly what to do if it happens again!

Why does epoxy remain sticky?
If your epoxy resin hasn't cured properly, it means that the chemical reaction between the resin and hardener was not able to take place. Sticky resin is typically caused by inaccurate measuring or under mixing. Here are some common reasons:
Inaccurate Mixing Ratio
A common pitfall that can lead to sticky epoxy is not following the precise mixing ratio recommended by the manufacturer. An epoxy system is made up of two essential components: the resin and the hardener. They must be combined in exact proportions; any minor change can prevent proper curing, resulting in a runny or tacky surface.
Stirring Techniques
How you mix the resin and hardener is equally important. If you don't mix them well enough, the resin cannot harden properly. It's not just about stirring; it's also important to scrape the sides and bottom of the container as you mix so everything is well combined.
Environmental Influences: Temperature and Humidity
Environmental conditions can significantly influence the outcome as well. Low temperatures can slow down the curing process of many epoxies, leaving them unable to harden. On the other hand, high temperatures can cause the resin to cure prematurely or flash cure. High temperatures are often accompanied by high humidity, which introduces moisture into the mixture and cause cause curing issues.
By identifying these problems, you can learn how to prevent them or fix them if they've already happened. Remember, mastering epoxy application isn't just about following steps; it's about understanding how each part works together in this complex chemical process.
The three most common sticky issues are:
Liquid, runny resin
This can be caused by not following the correct 1:1 mixing ratio of resin and hardener, or by adding too much colorant. The liquid resin will need to be scraped off before you pour a fresh coat.
Sticky, tacky resin
This is often caused by inaccurate measuring, not mixing thoroughly or by curing in cold temperatures. Try moving your piece to a warmer spot: if it doesn't dry, re-pour with a fresh coat of resin.
Soft spots
If you have soft, sticky or wet spots on an otherwise perfectly cured surface, you may have scraped the sides of your mixing container when you poured. Doing this may have caused unmixed resin and hardener stuck to the sides of your container to get scraped out onto your perfectly mixed resin. To fix this, you'll need to scrape off any liquid resin as best you can and pour a fresh coat.
Resin that remains sticky days after being poured will stay sticky indefinitely until measures are taken to fix the situation. Be sure to measure and mix your resin properly, so this problem will not occur again:
-
Measure ArtResin in precisely equal amounts by volume:
Adding too much of either resin or hardener will alter the chemical reaction and the mixture will not cure properly.
-
Mix ArtResin thoroughly for at least 3 minutes:
Scrape the sides and bottom of the container as you mix: improperly mixed resin stuck to the sides and bottom won't be able to catalyze and therefore won't be able to cure, leaving sticky spots in your resin that just won’t harden.
In this video, we take a closer look at the three most common sticky situations, why they happened and, most importantly, how to fix them.
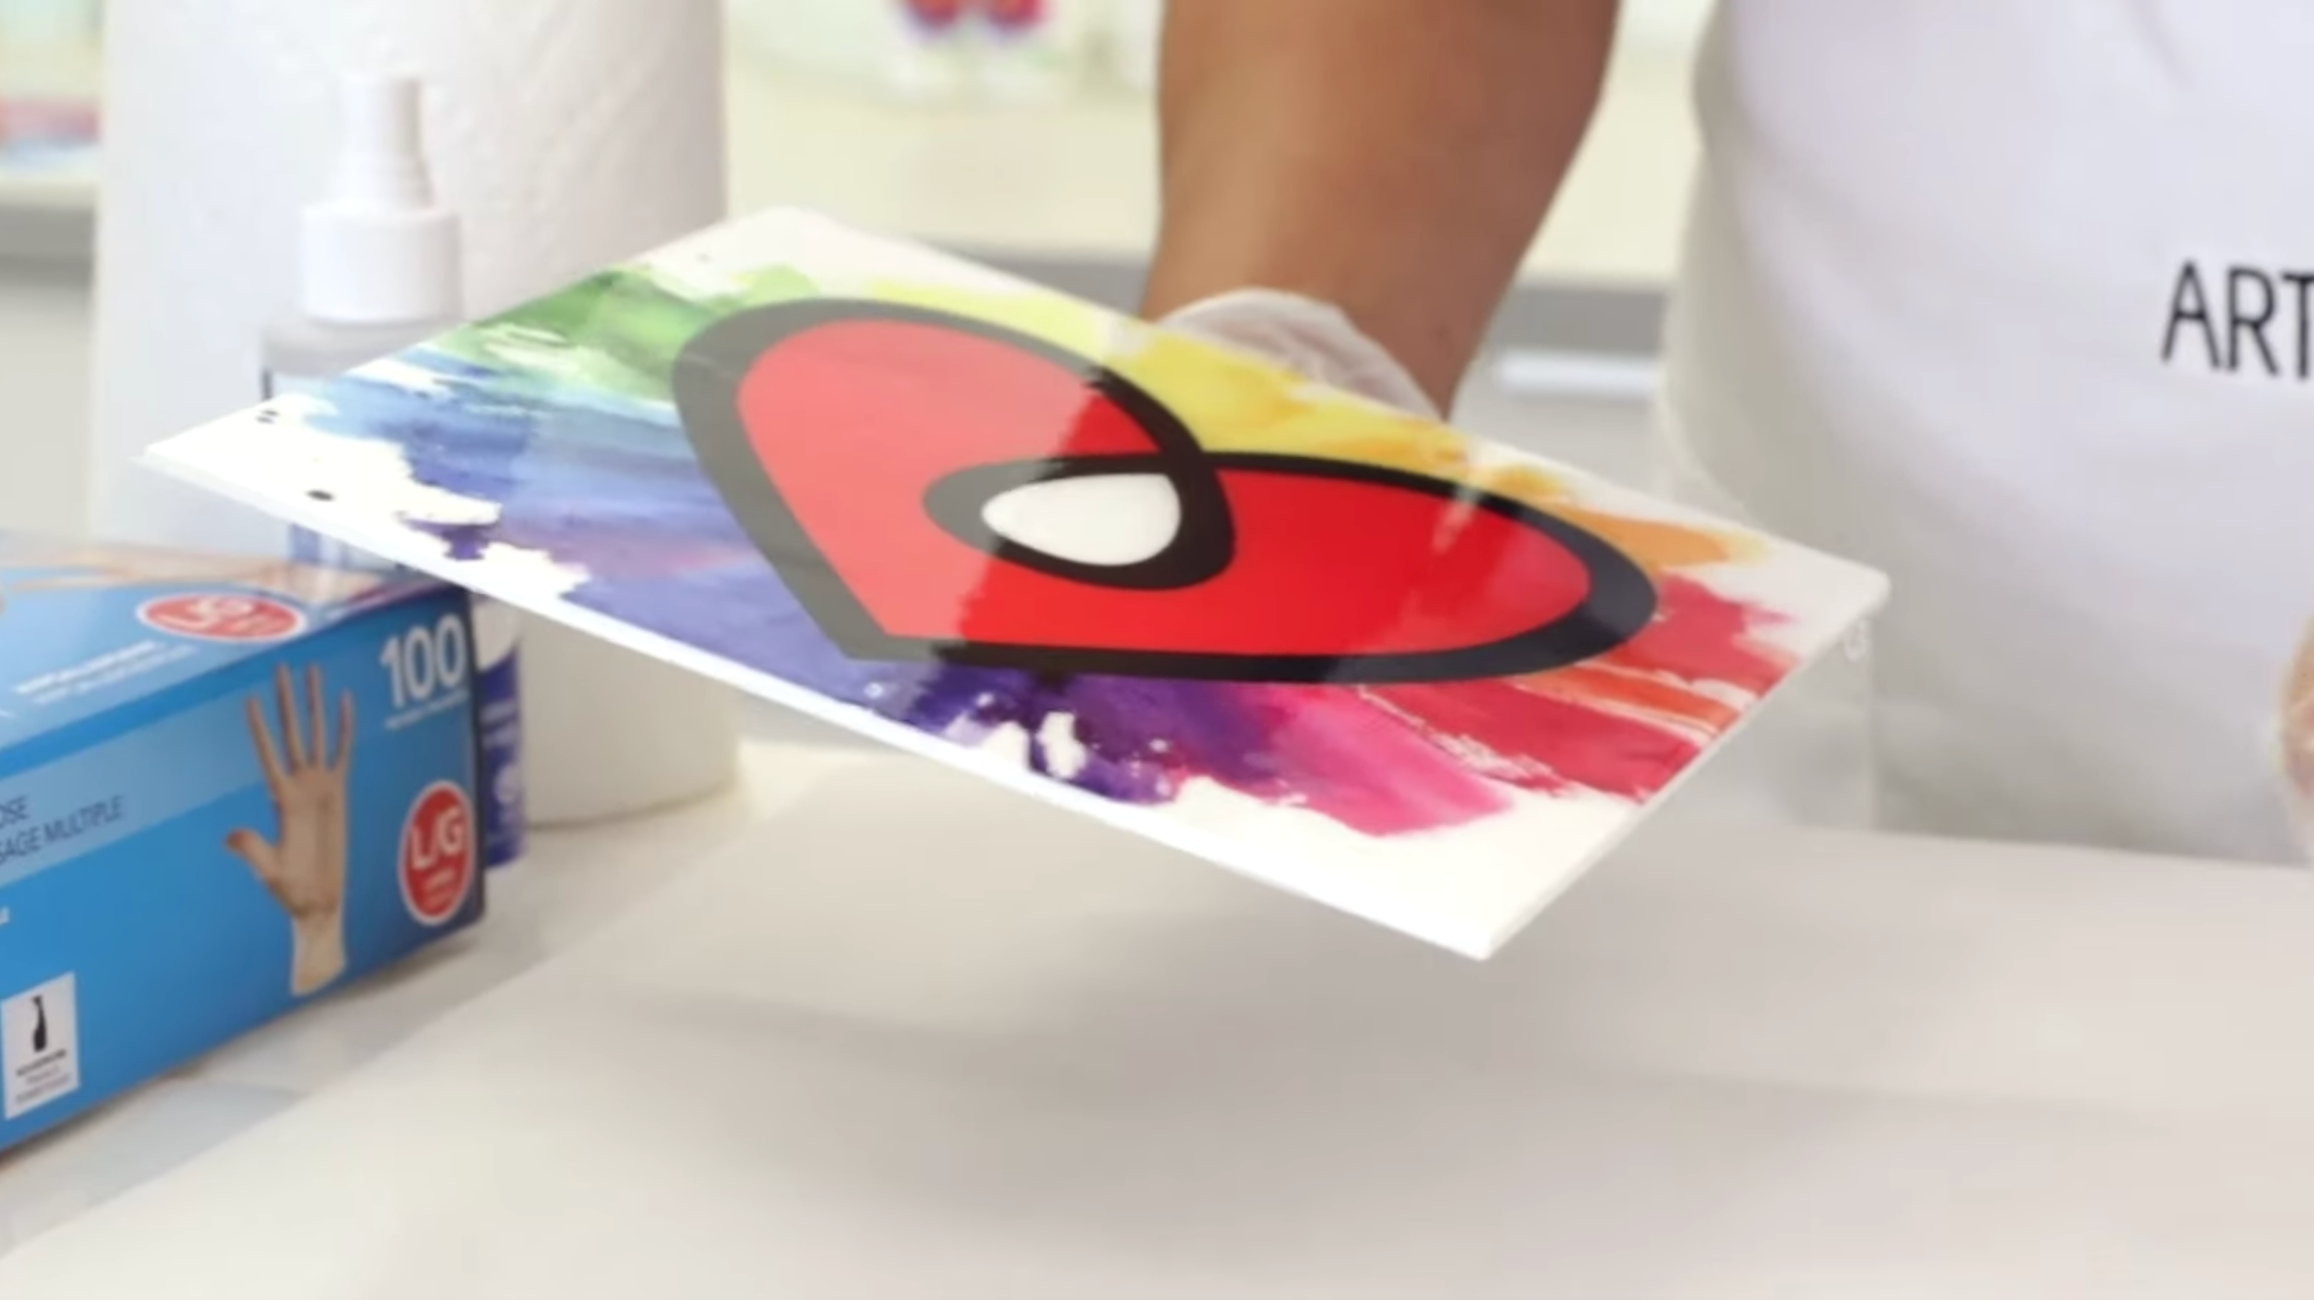
Sticky Situation #1: Runny Resin
What It Looks Like:
- Liquid, runny resin
- Resin that may have thickened somewhat but is wet and gooey
Why It May Have Happened:
- You did not follow the 1:1 ratio between resin and hardener: ArtResin requires equal parts of both resin and hardener to cure properly. Adding more hardener will not make the resin cure faster or harder.
- You may have measured by weight, not volume: ArtResin was formulated to be measured in equal amounts by volume.
- You may have accidentally mixed two parts of resin or two parts of hardener: the chemical reaction requires equal parts of resin and hardener in order to harden.
- You may have added too much resin colorant: never add more than 6% of the total combined volume of resin and hardener (eg. 50 ml resin + 50 ml hardener = 100 ml total, so no more than 6 ml of colorant.)
How To Fix Runny Resin Problems:
Directions:
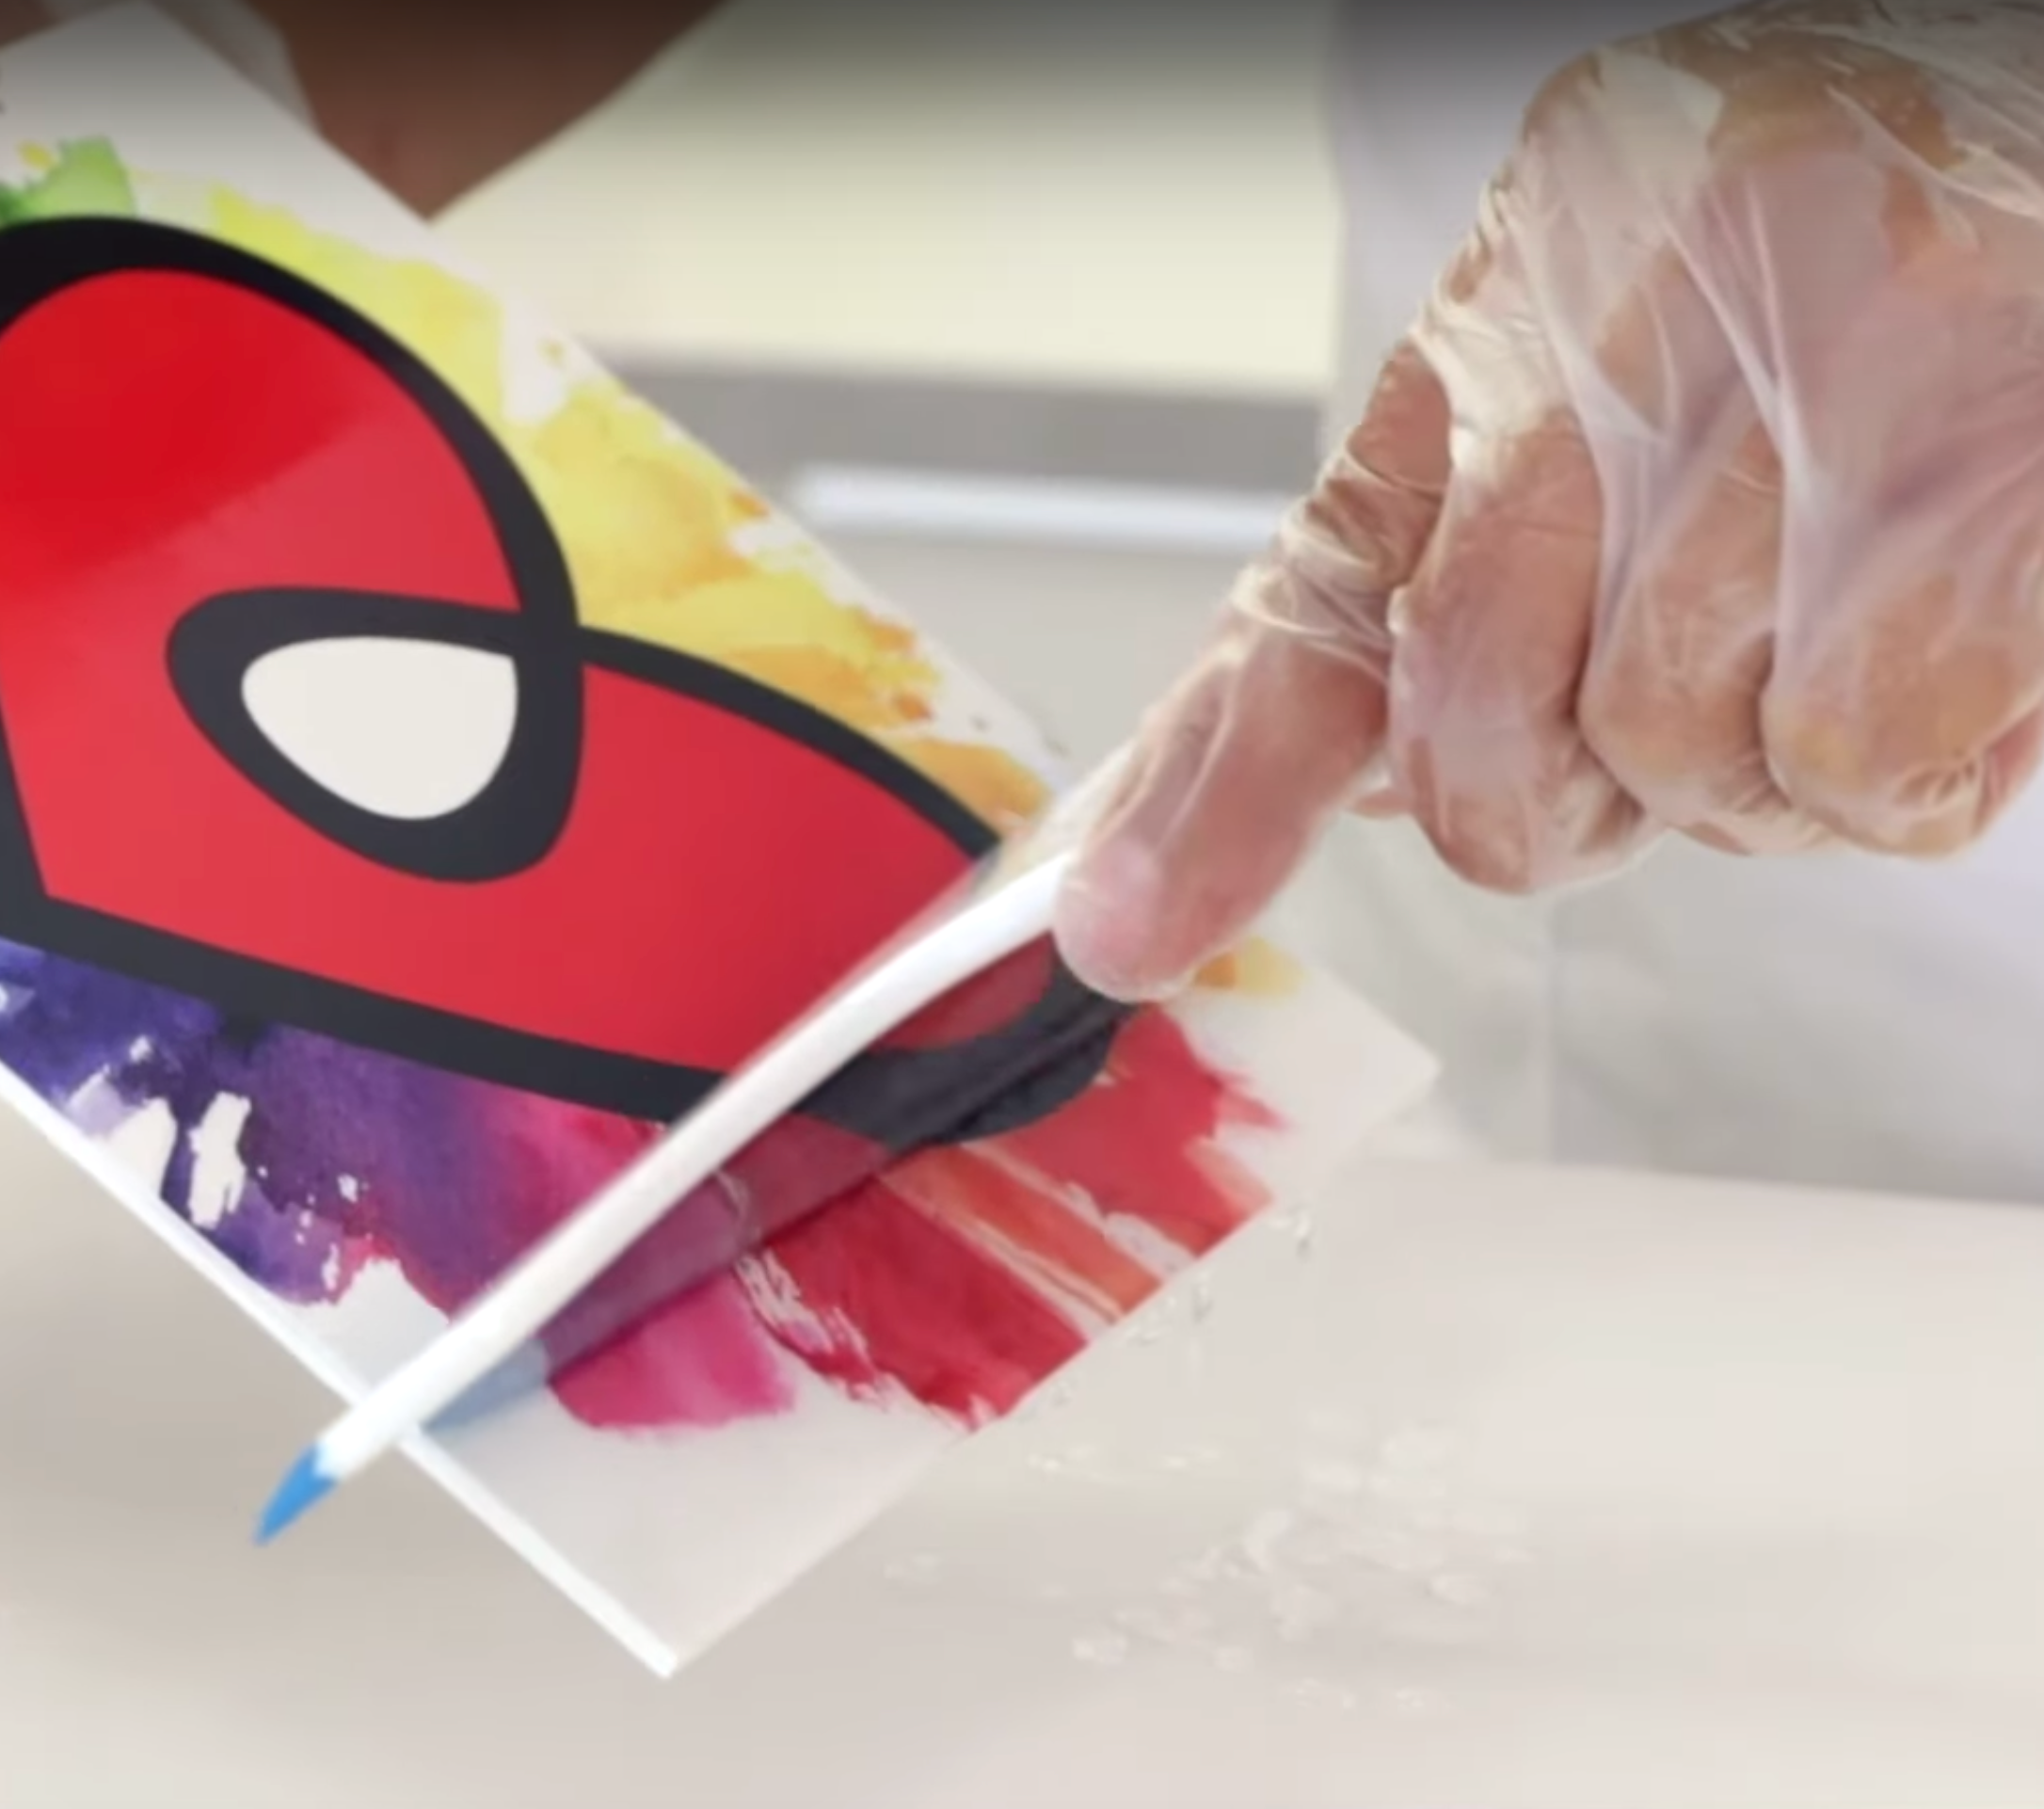
- If you have areas with runny or gooey resin, scrape off as much of the wet material as possible.
- If you don't remove all the wet material, it could eventually leak out from under the new resin coat.
- Once you've scraped your piece down, pour a fresh coat of carefully measured and thoroughly mixed ArtResin.
Sticky Situation #2: Tacky Resin
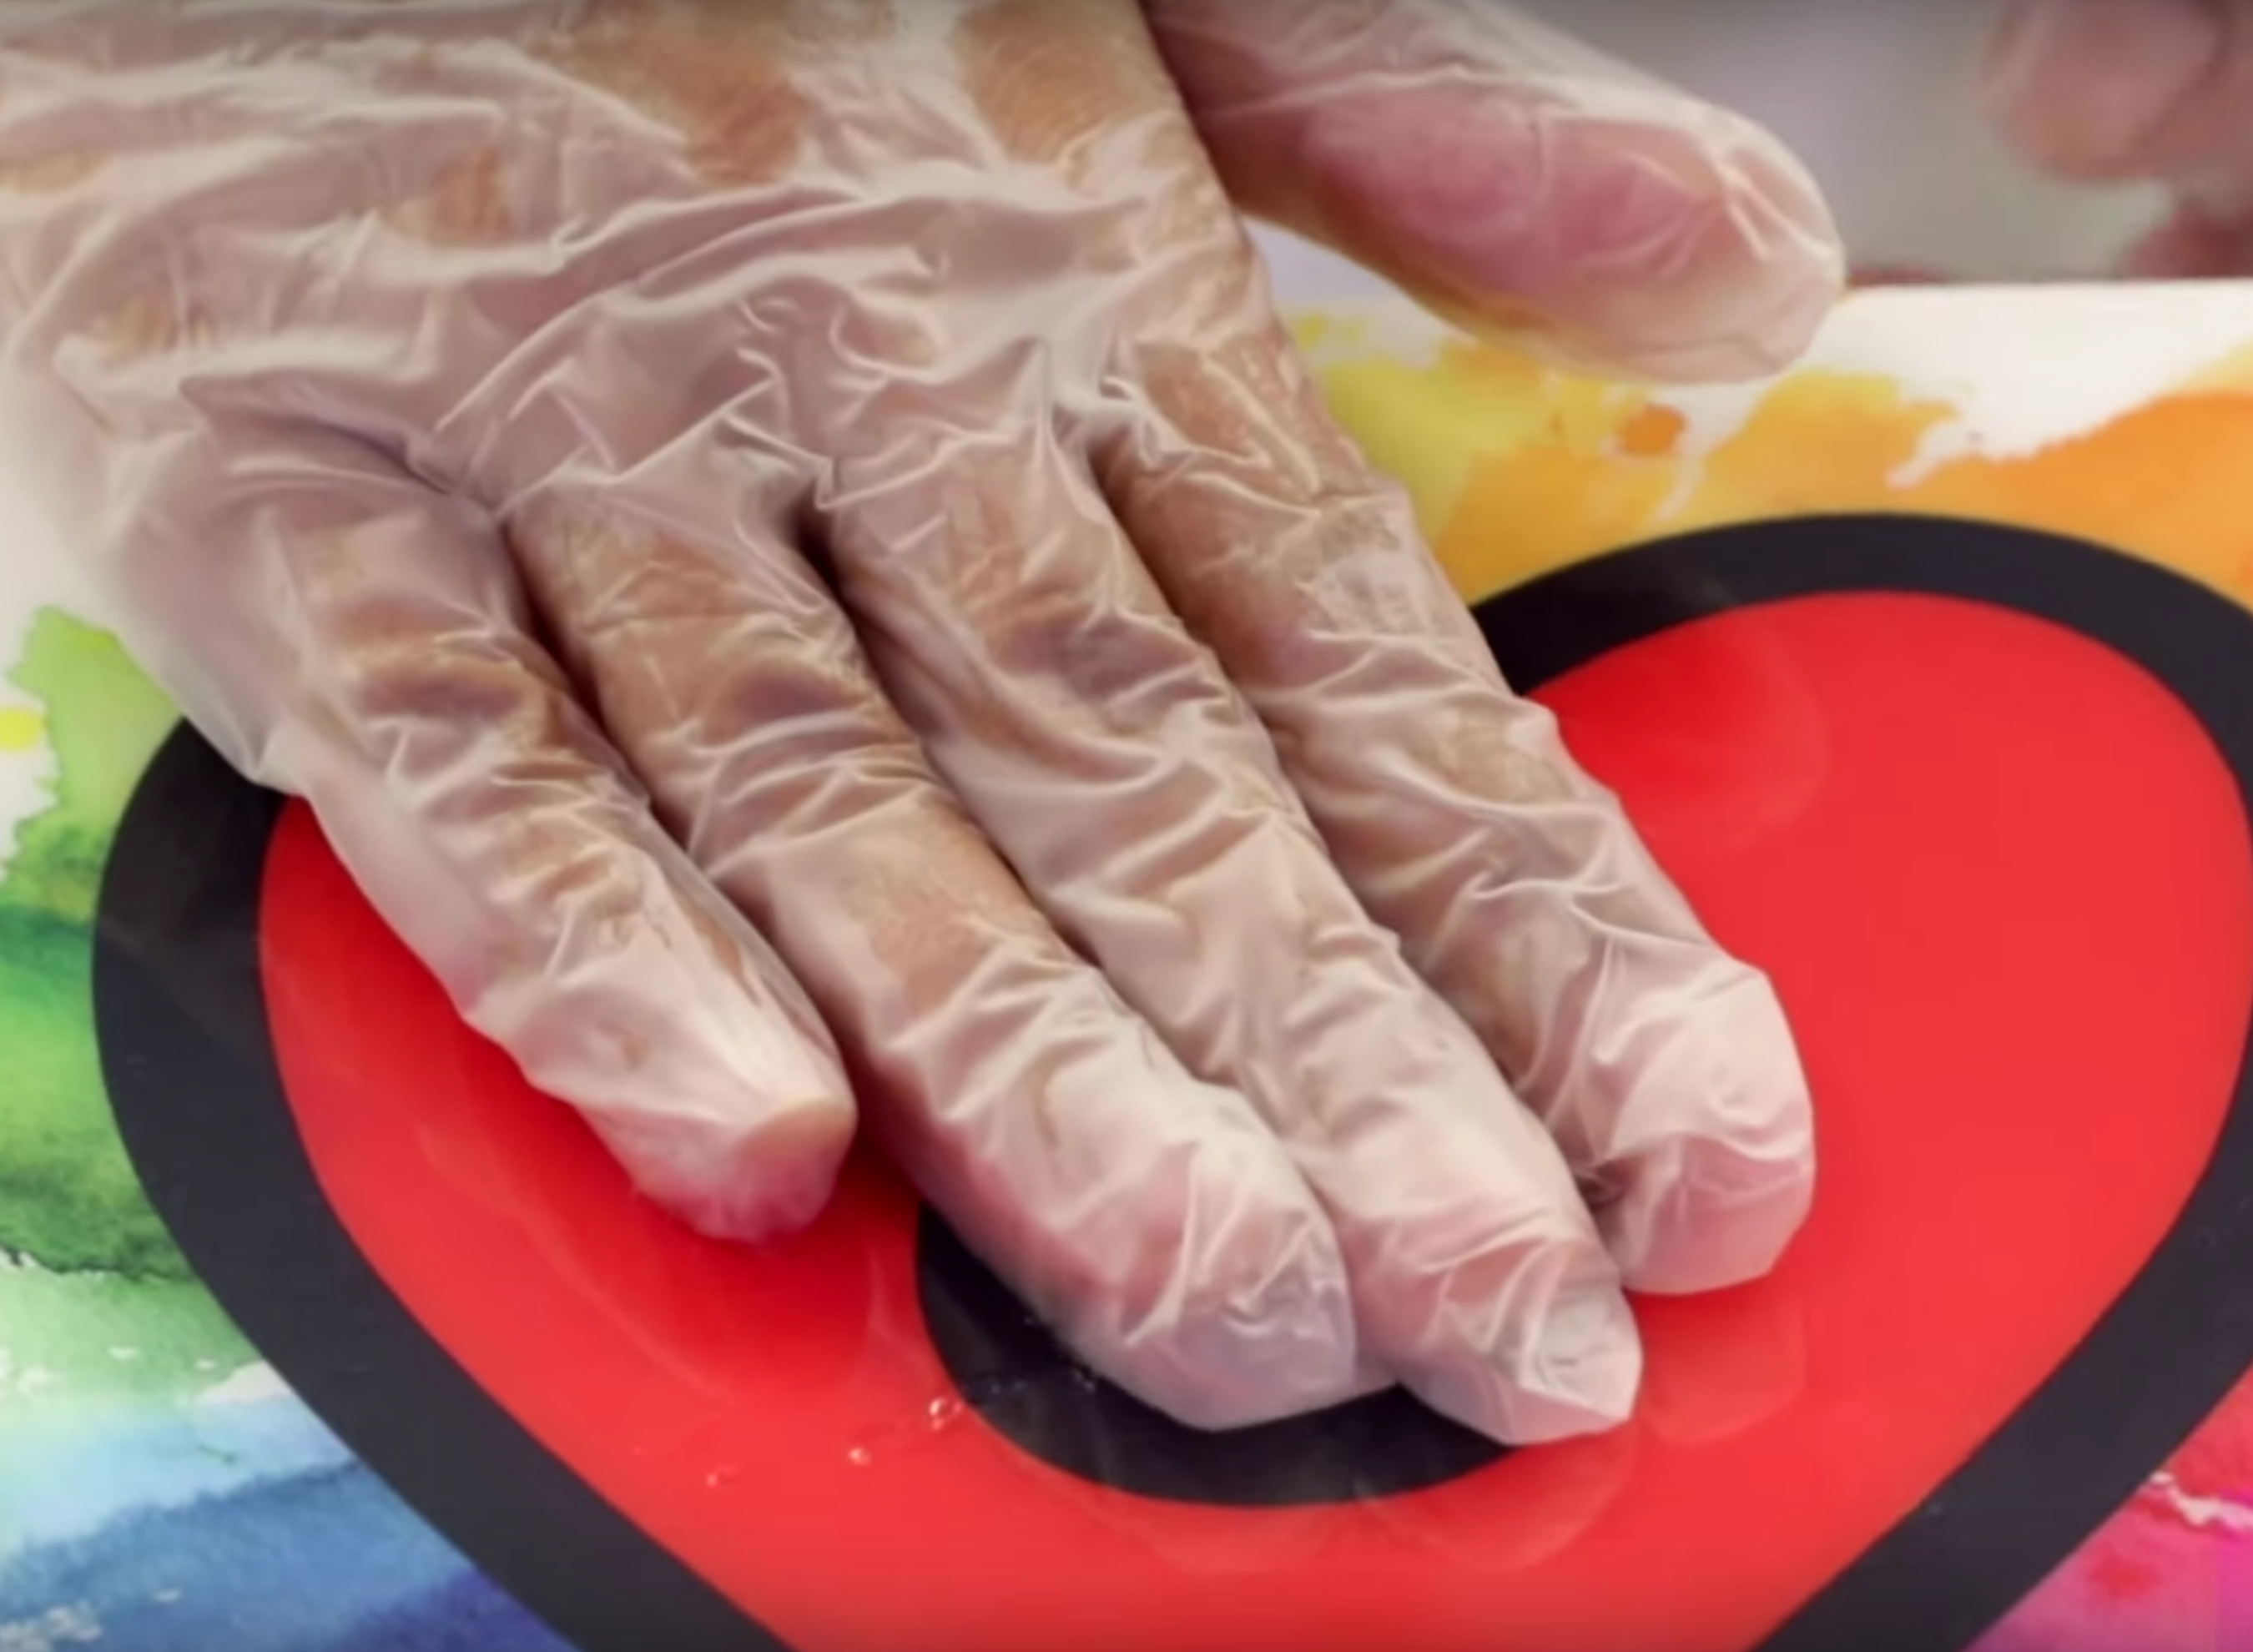
What It Looks Like:
- The resin has started to cure but the surface is still tacky, like the sticky side of tape
Why It Happened:
- The temperature of your resin room may be too cold: the ideal temperature for curing resin is 75-85°F (24-30°C) for the first 24 hours.
- Inaccurate measuring: always measure ArtResin in precisely equal amounts by volume.
- Under mixing: mix thoroughly for at least 3 minutes, scraping the sides and bottom of the mixing container as you stir.
How To Fix Tacky Resin:
- Try moving your piece to a warmer spot for 24 hours to see if it dries.
- If temperature was not an issue and your resin is simply tacky, you're in luck: this is the easiest fix of all 3 sticky situations. As long as you don't have any wet, gooey areas (if you do, scrape off any wet or liquid resin), you don't need to do a thing. Simply pour a fresh coat of carefully measured and thoroughly mixed ArtResin directly over the entire tacky resin surface. When the fresh resin cures, you'll never know you ever had a sticky resin issue.
Sticky Situation #3: Soft Spots
What It Looks Like:
- Random soft or wet spots on an otherwise perfectly cured resin surface.
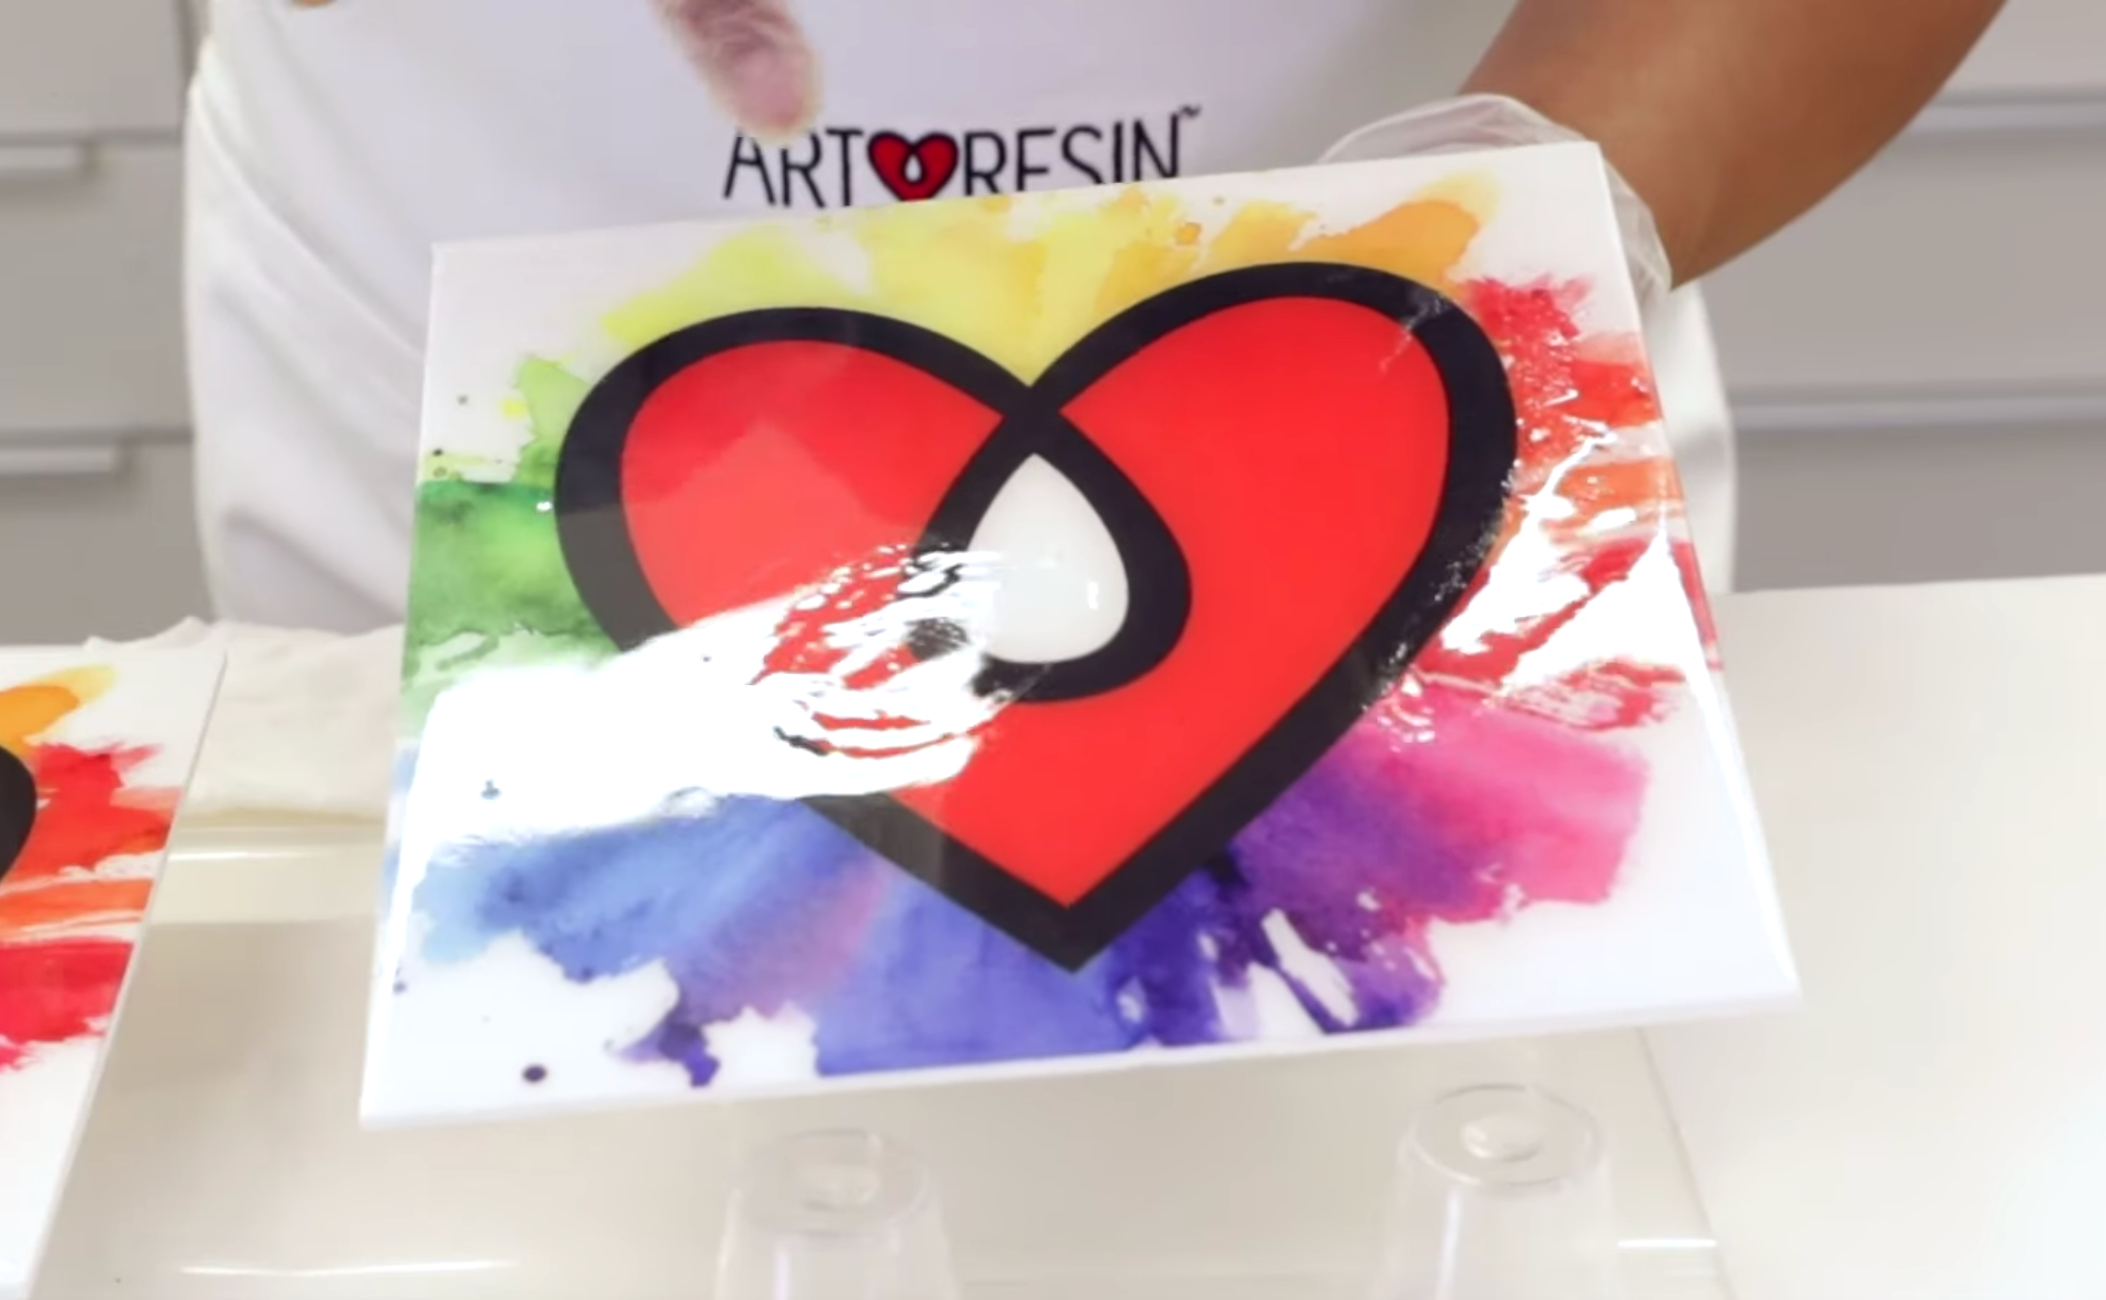
Why It May Have Happened:
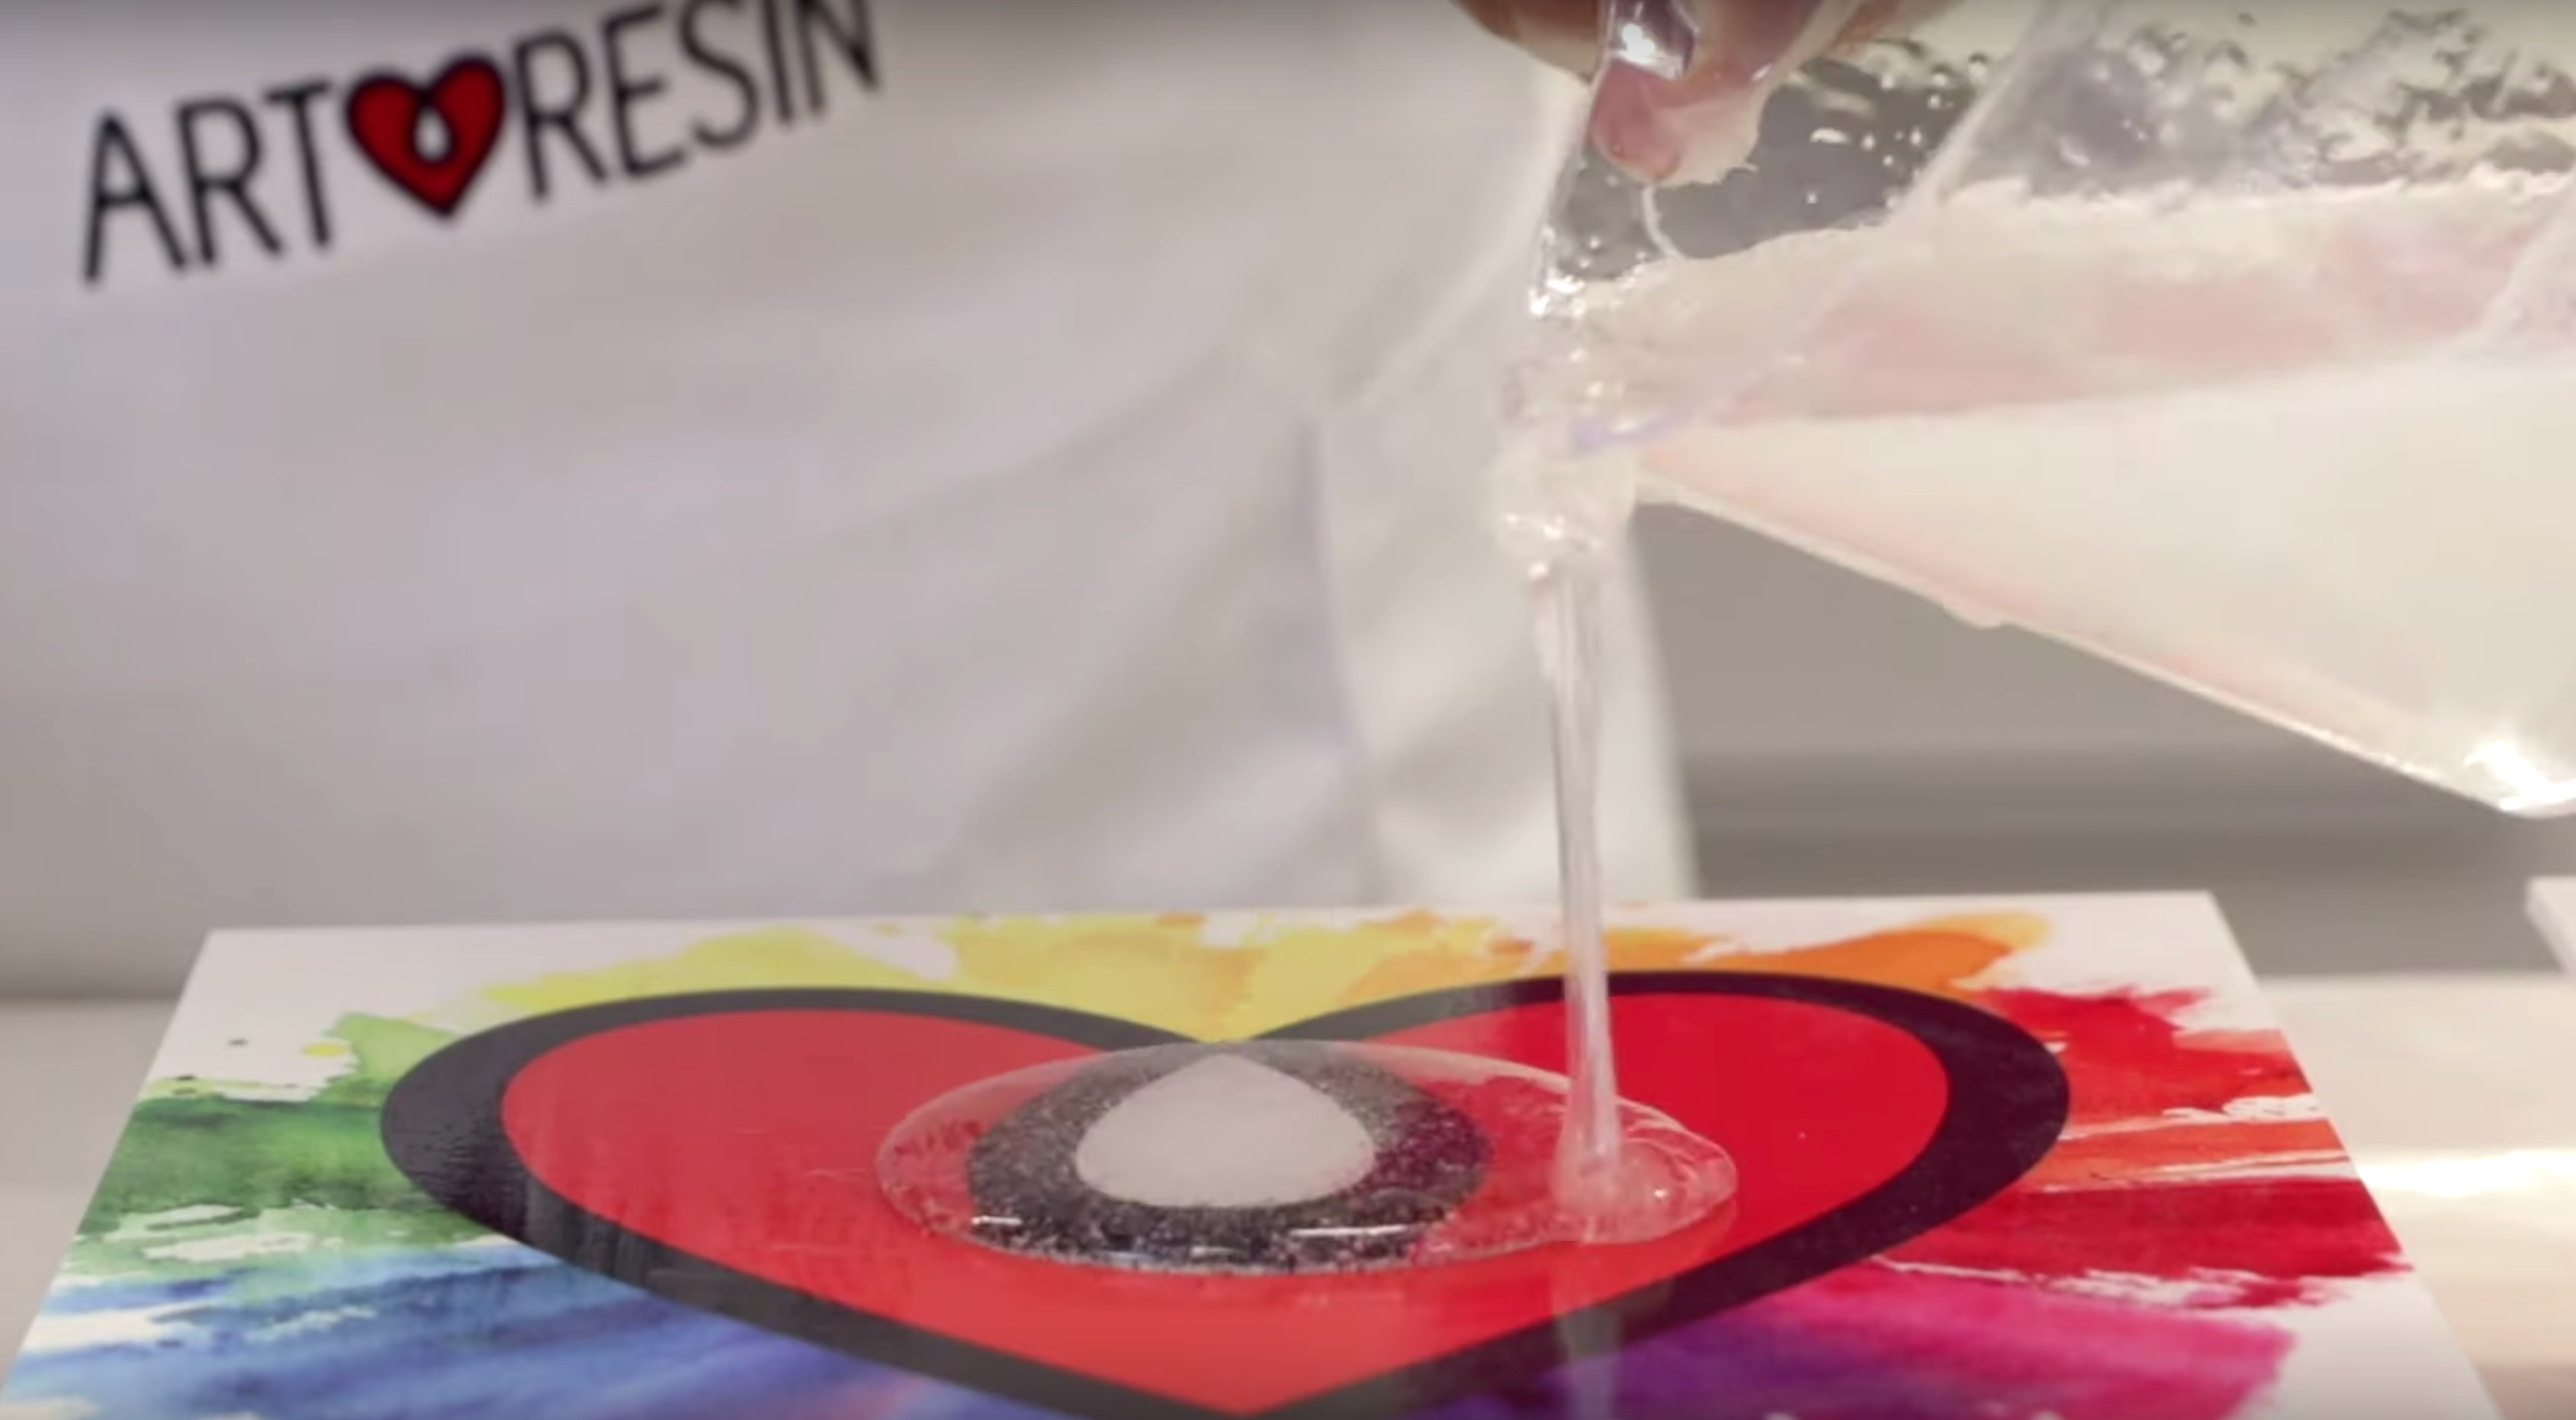
- You may have scraped the sides of your mixing container after you poured: While we recommend scraping the sides and bottom of your container when mixing, we DON'T recommend scraping when you pour your ArtResin onto your artwork (like you might if you were scraping cake batter out of a mixing bowl and into a cake pan.) If any unmixed resin or hardener stuck to the sides gets scraped out onto your artwork, you'll end up with soft wet spots in your cured resin.
How To Fix Sticky Resin:
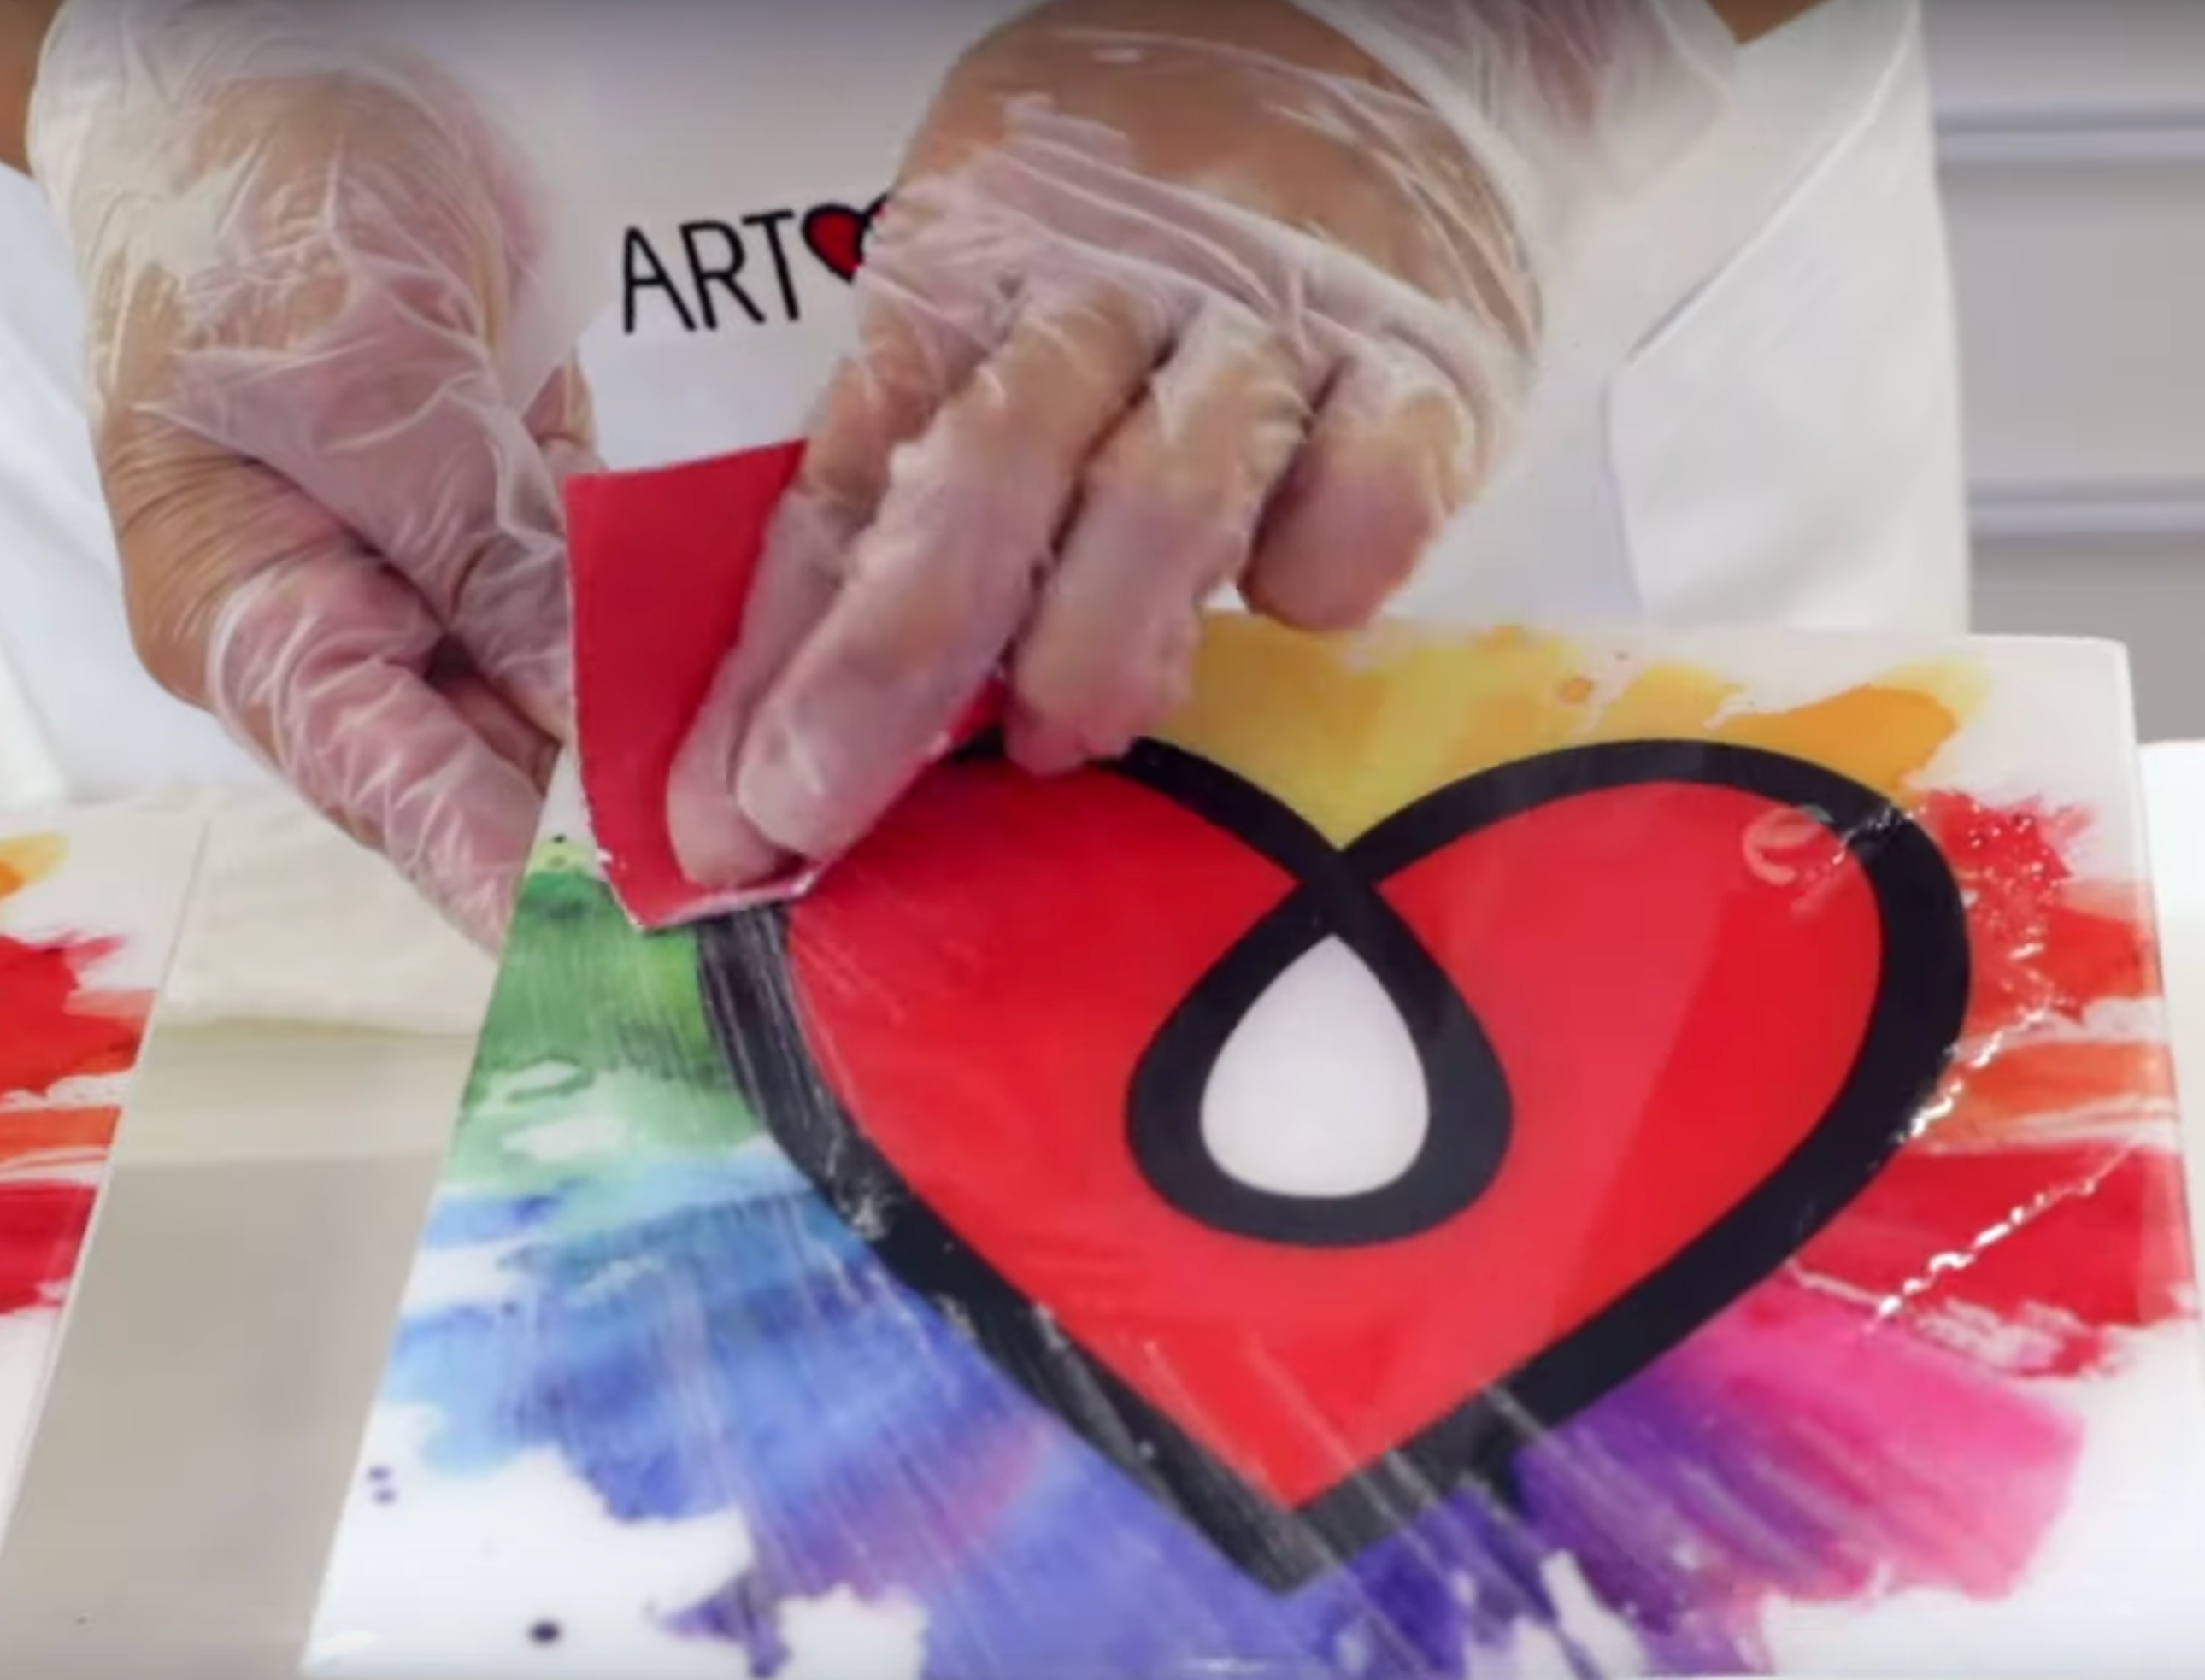
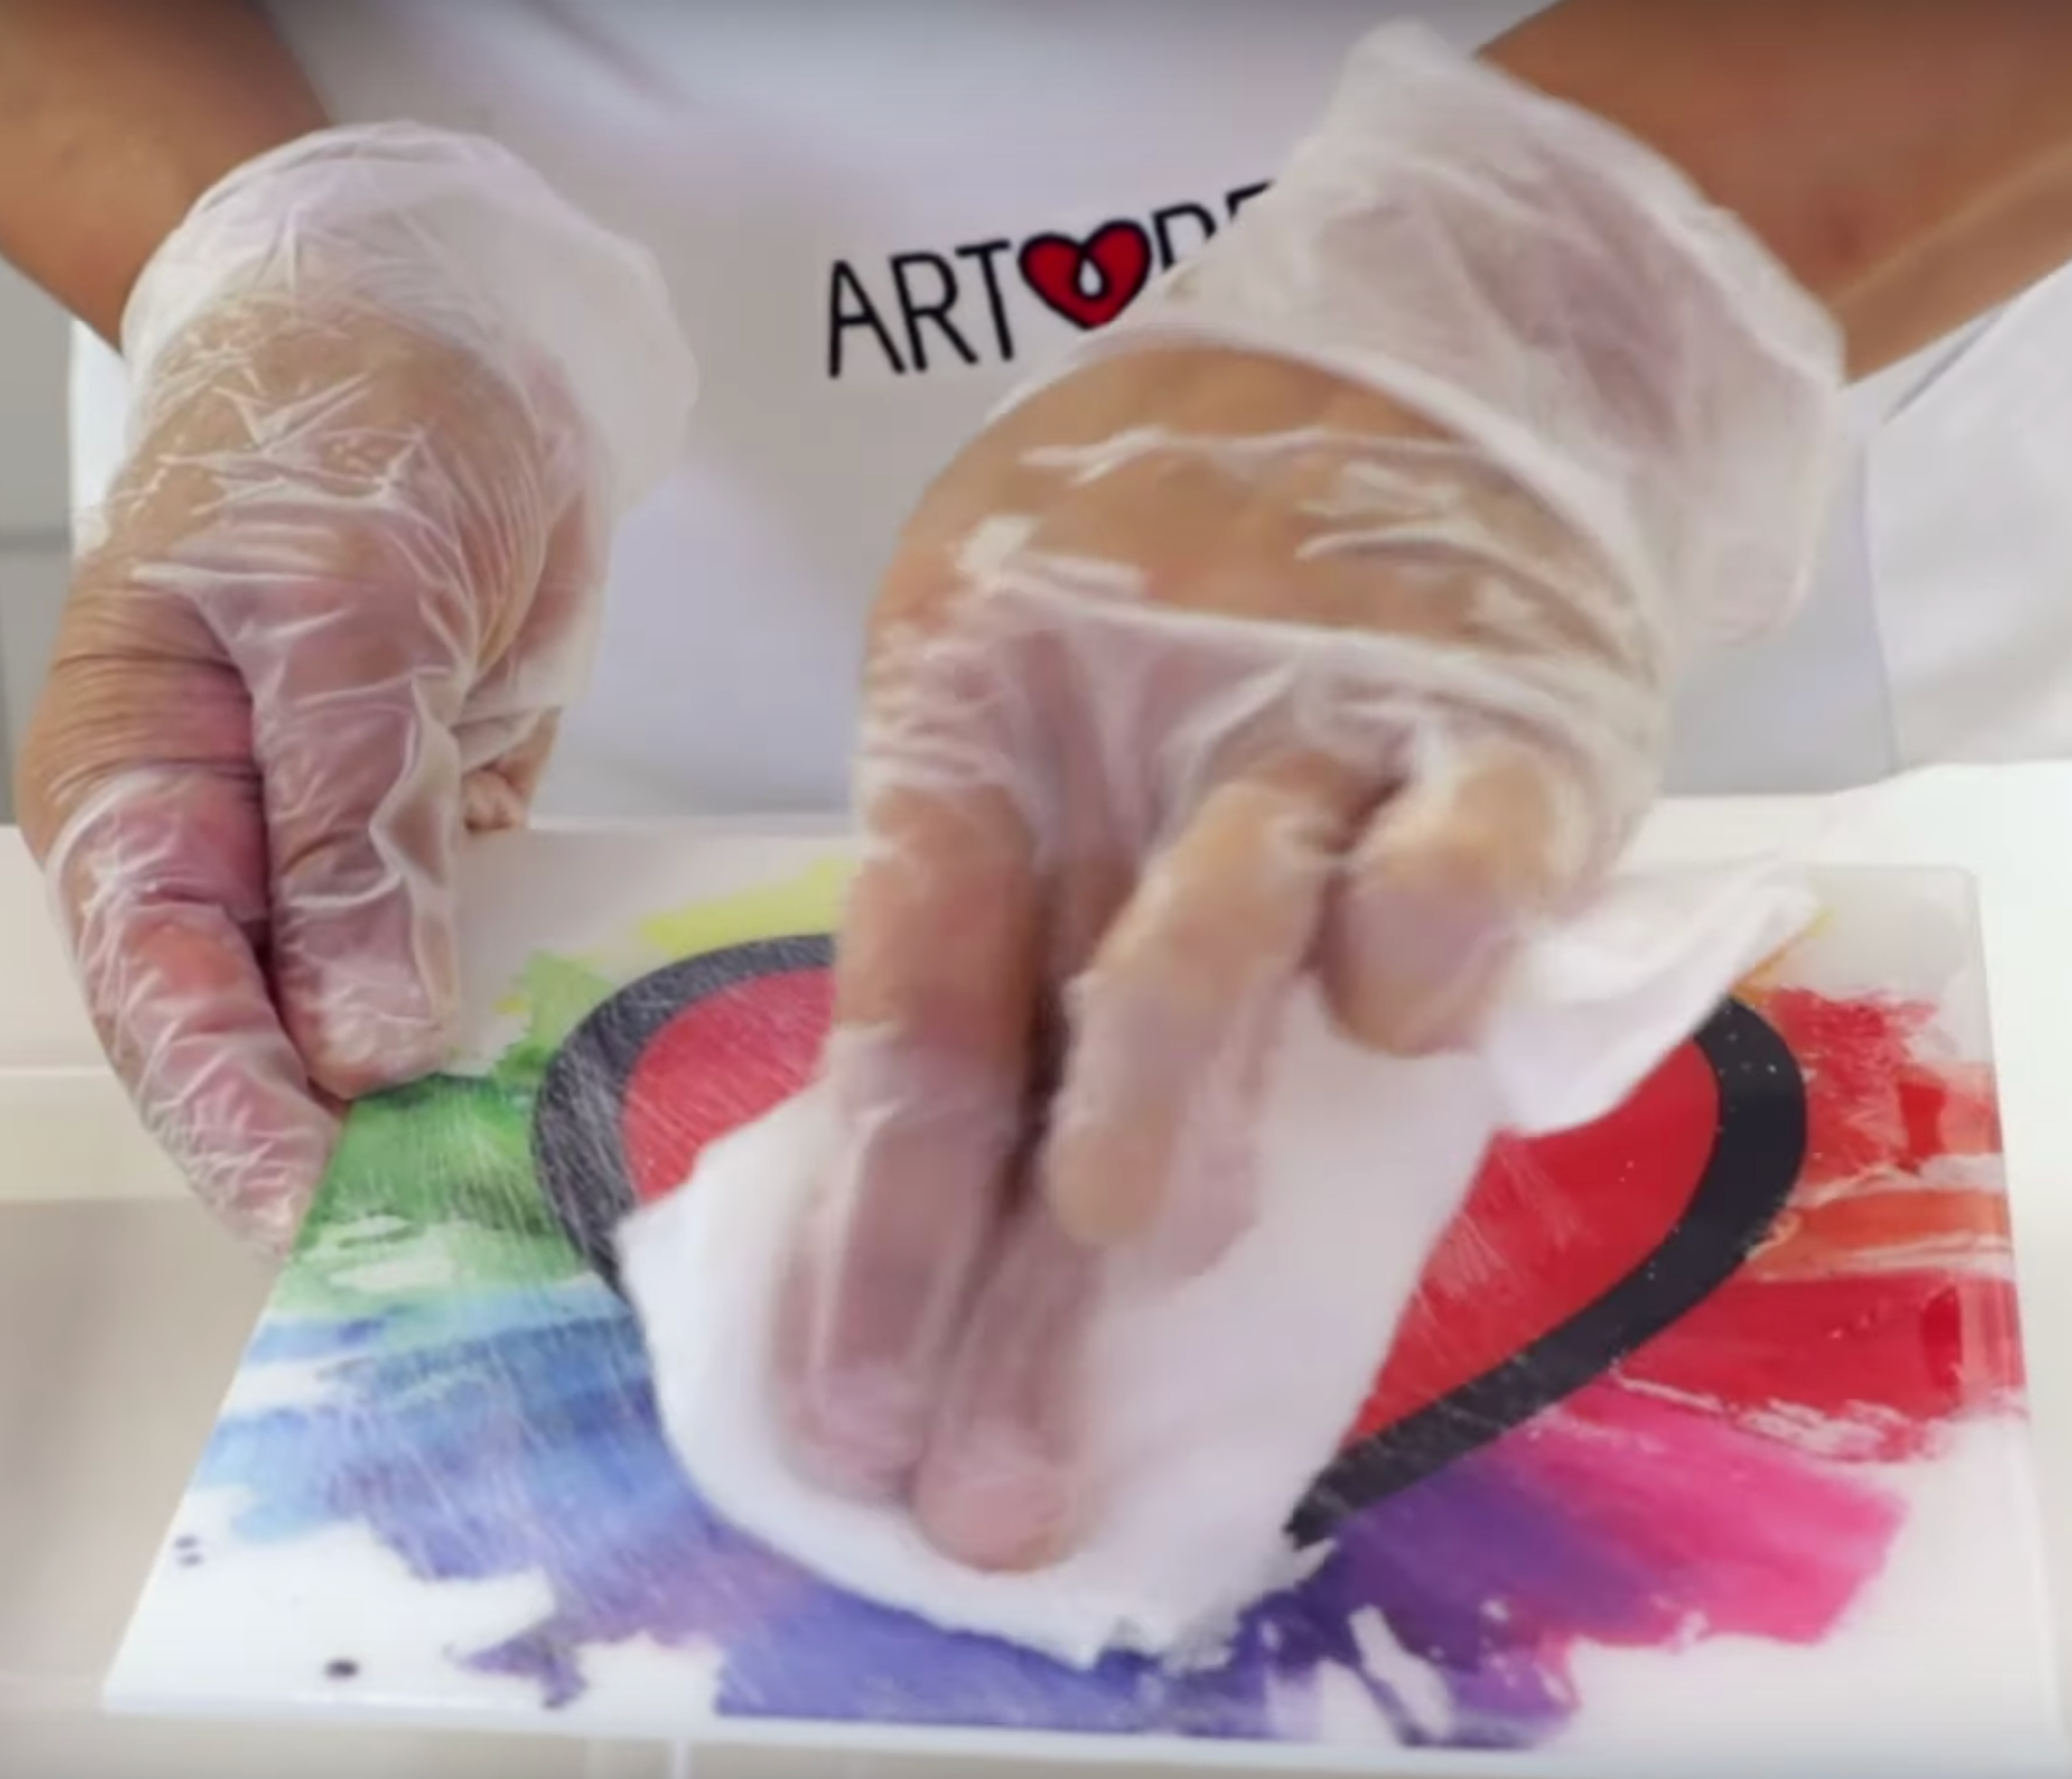
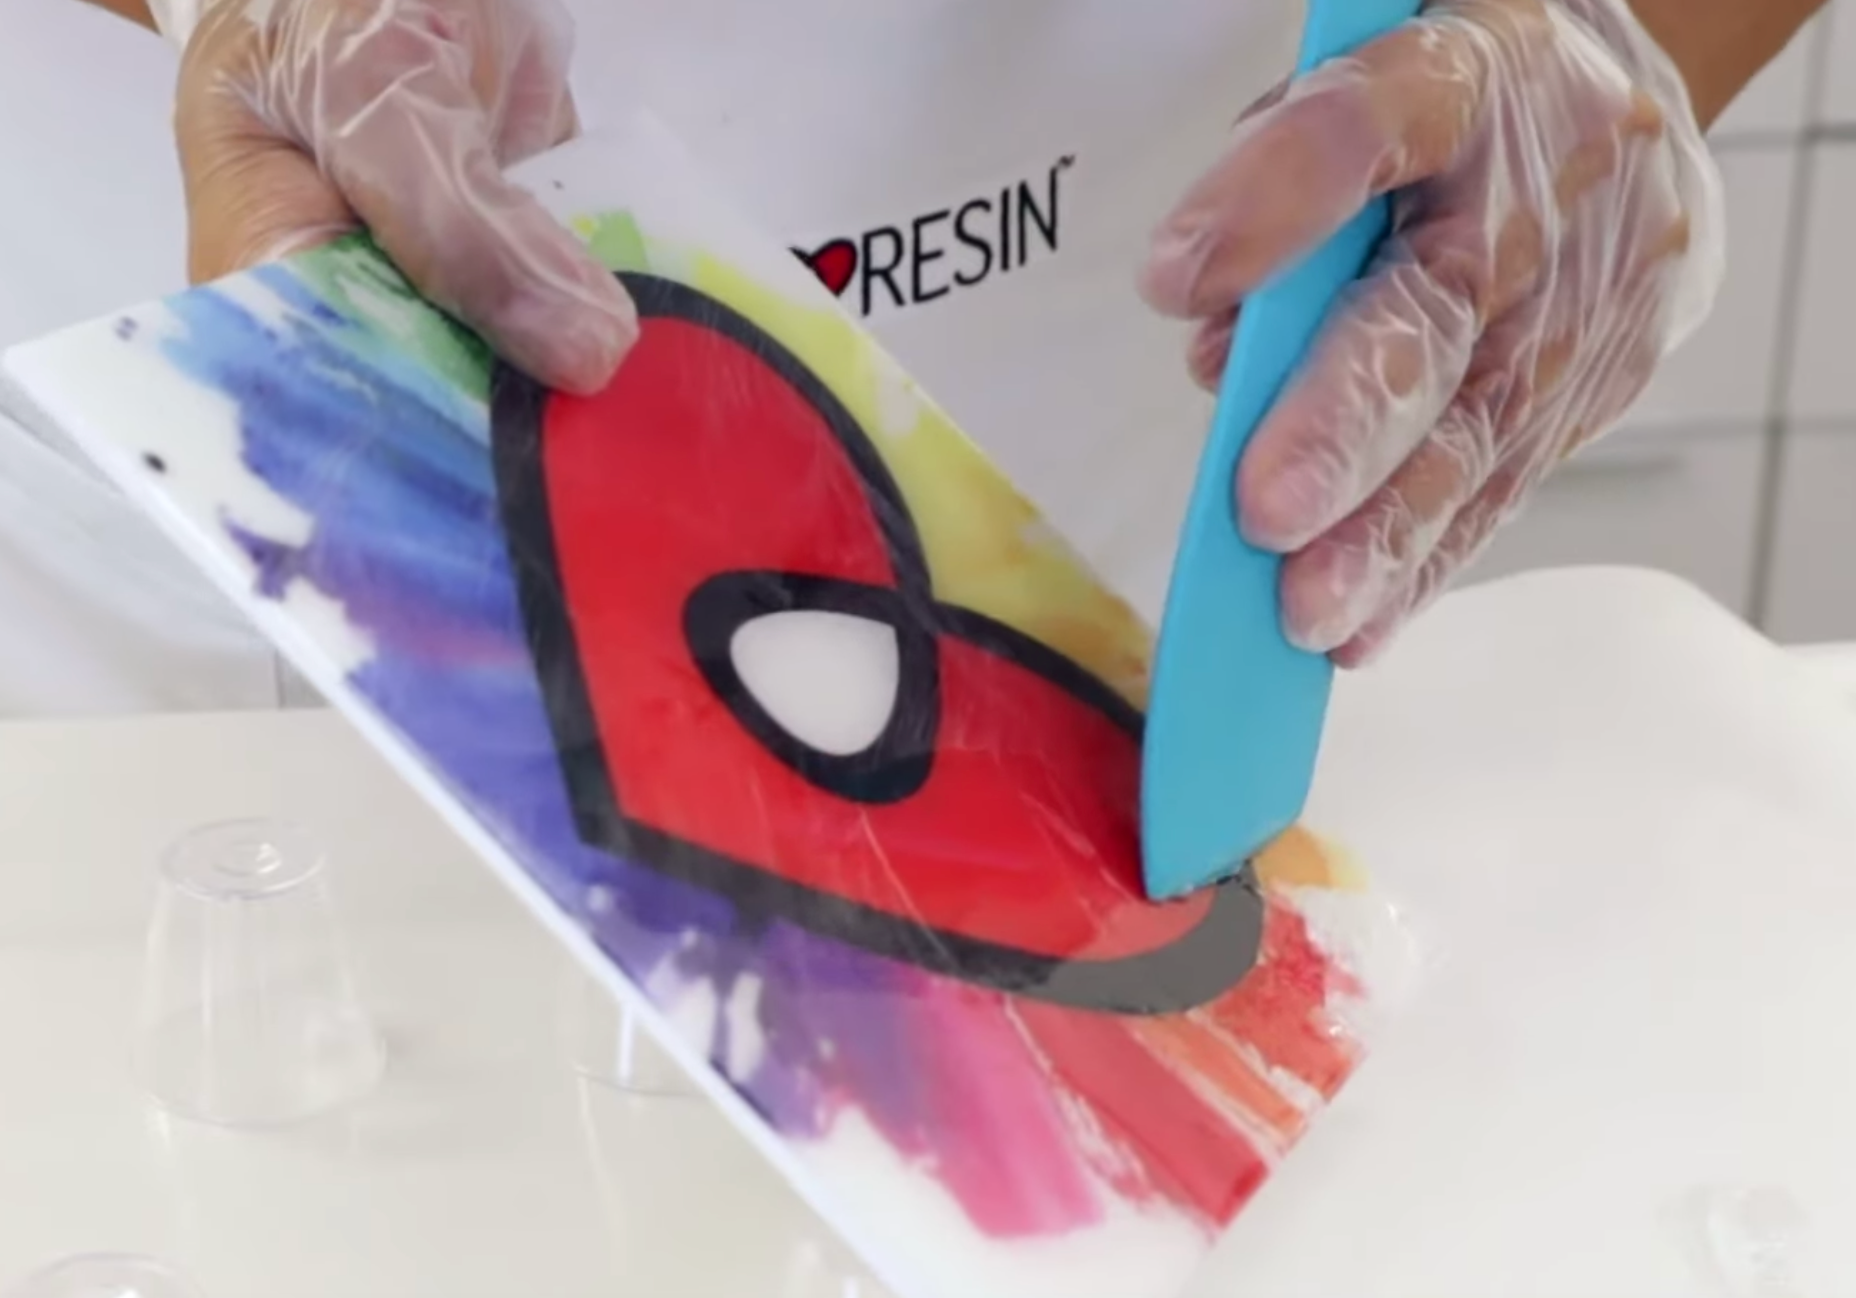
- Sand down perfectly cured areas with coarse sandpaper, such as 80 grit. Wipe up sanding residue with a damp paper towel.
- If you have areas with runny or gooey resin, scrape off as much of the wet material as you can. If you don't remove all the wet material, it could eventually leak out from under the new resin coat.
- Once you've scraped your piece down and it's clear of any sanding dust, pour a fresh coat of carefully measured and thoroughly mixed ArtResin.
So remember .....
If You Find Yourself With Sticky Resin:
- If it's runny: scrape it off
- If it's tacky: leave it
- If you have areas that have cured perfectly: sand those parts down, thoroughly wiping away the sanding residue
- Leave your fresh resin coat to cure for 24 hours: your piece will look good as new!
To Avoid Sticky Resin In The First Place:
- Make sure you resin in a warm environment (75-85°F or 24-30°C is best)
- Don't add more than 6% colorant to your resin mixture
- Check the ratios and measure your resin and hardener in equal amounts by volume
- Mix your resin thoroughly for at least 3 minutes
- Scrape the sides and bottom of your mixing container as you stir
- Don't scrape when you pour
If you follow these instructions, you will end up with a beautiful, glossy, hard ArtResin finish! Leave any questions or comments below - we would love to hear from you!
Do you want to learn more about troubleshooting epoxy resin? Read our guides below:
- ArtResin’s Troubleshooting Guide
- Tips To Prevent Bubbles
- Can I Fix Small Imperfections In My Resin?
- Is It Possible To Overstir My ArtResin?
- How Do I Remove Epoxy Resin Drips?
- Is It Possible To Over Torch My ArtResin?
- How To Prevent Bendy Resin
- How To Fix Soft, Sticky Spots In My Resin
- How Can I Avoid Getting Dimples In My Epoxy Resin?
- How To Reduce Dust Before You Resin
- How Can I Get Rid Of Bubbles In My Cured Resin?
- How Can I Prevent Dust In My Epoxy Resin?
- How Can I Deal With Epoxy Resin Drips After They've Dried?
- What Happens If I Over Torch Resin?
- Why Does My Resin Look Cloudy?
- Why Is My Epoxy Resin Still Sticky?
- Why Are There Bare Spots In My Cured Resin?
- What Does Silicone Do To Resin?
ArtResin: The Original Epoxy For Resin Art.
