To get started with ArtResin, the first step is to prep your work space and your artwork. Getting your work surface, artwork and tools ready to go means you won't lose precious working time trying to find what you need.
GATHER YOUR TOOLS:
- a large, clear, vinyl shower curtain, plastic dropsheet or large garbage bag
- plastic stands to prop up your piece ( pyramid stands or large lego blocks )
- painter's tape
- a level
- a plastic measuring cup
- a plastic mixing container
- a plastic mixing stick and spreader ( our Accessory Kit is perfect! )
- a disposable brush
- disposable nitrile gloves
- toothpicks to fish out bits of dust or hair
- an Maker's Studio Torch
- ArtResin epoxy resin
- your artwork
- a box big enough to cover your artwork
Browse our resin art accessories & tools!
Prep Your Art Work:
- If you're applying ArtResin to a painting, make sure the paint is completely dry (this is especially important with oil paint, which can takes months to fully dry.)
- Make sure your work is completely free of any dust or debris before applying ArtResin: a canister of compressed air comes in really handy for this!
REINFORCING A LARGE CANVAS:
If your work is on a stretched canvas, you'll want to reinforce it at the back with some cardboard. Resin can be heavy so reinforcing the back will provide strength and support, preventing the canvas from sagging and the resin from pooling in the centre.

What is the best supportive surface to use resin with?
Wooden panels are best to use with ArtResin epoxy resin because they're strong and sturdy and won't sag under the weight of the resin.
💡TIP: Have you ever considered using a wooden panel? Dave discusses the differences and demonstrates how to reinforce a large stretched canvas in this video:
SEALING YOUR ARTWORK
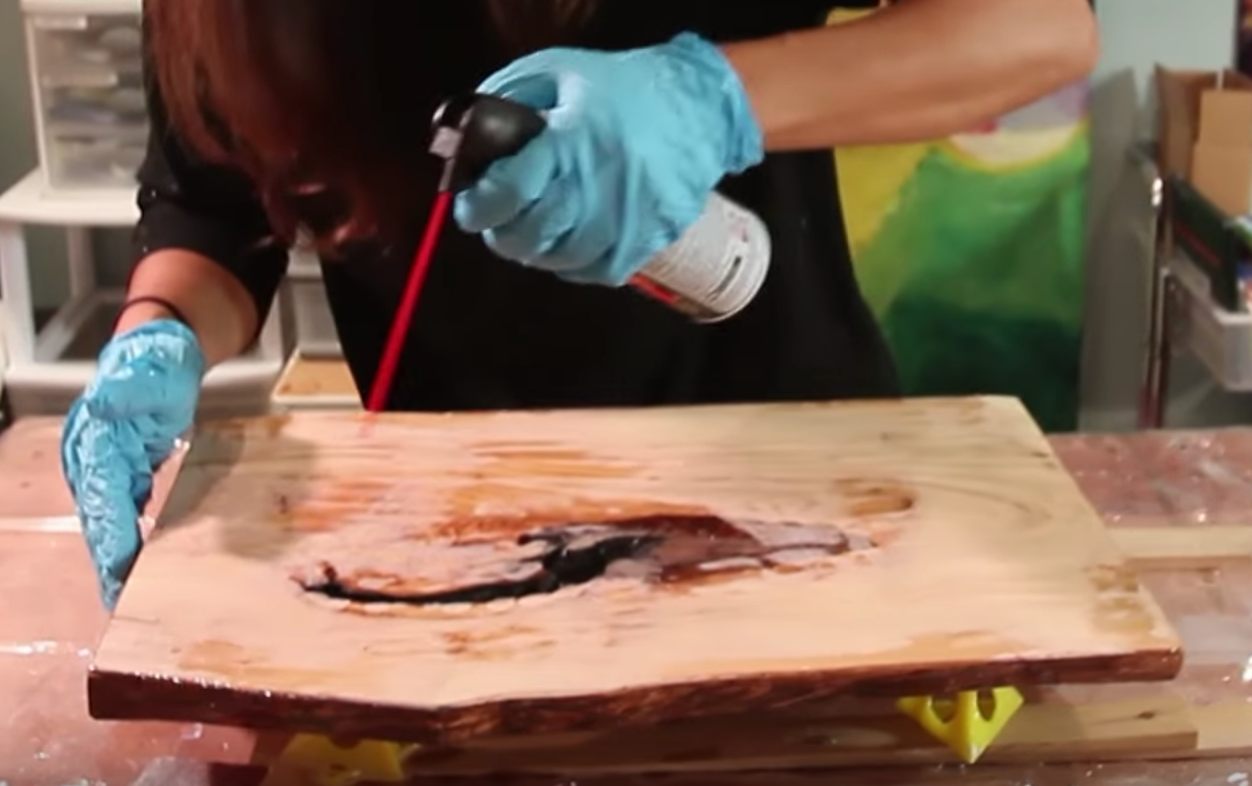
If your artwork involves charcoal, pastel, soft paper, or anything else that has the potential to bleed or absorb wet ArtResin, we recommend erring on the side of caution and sealing your piece with an appropriate spray-on or brush-on sealant.
💡TIP: We always suggest testing on a scrap piece before you resin your final piece: test both your materials and your sealants so you know exactly what results to expect.


TAPING:
If you plan to resin the sides of your artwork, tape off the bottom of your artwork with painter's tape to catch any drips. If you plan to allow the ArtResin to dome (to sit neatly on top of your artwork without going over the sides) you can also tape off the edges for a little extra insurance. Learn more about doming in our blog What Is Doming Resin?

Prep Your Work Surface:
First, make sure your resining area is free of any dust or debris - artist Alexis Puleio has some great tips on how to reduce dust here:
Next, lay out a clear vinyl shower curtain or plastic drop sheet over your work surface to protect it.

Then, prop your piece up on stands ....

... and make sure it's level.
ArtResin's easy-to-use phone level helps solve that problem for you!

Now that your tools are laid out and your artwork and work surface are prepared, you're ready to go! Our blog How To Measure And Mix Your Resin walks you step by step through everything you need to know for a perfect pour!
Do you want to learn more about the surface preparation before using epoxy resin? Read our guides below:
- Simple Workspace Tips for Resin Artists: Clean, Easy Setup
- Where Should I Epoxy Resin My Work?
-
What's The Best Work Surface When Using Epoxy Resin?
ArtResin: Made For Artists, By Artists.