You don’t have to be a professional artist to get the sleek look of epoxy resin on canvas: it provides a modern, glossy, finish to paintings, photographs, prints, drawings, wood, metal and more.
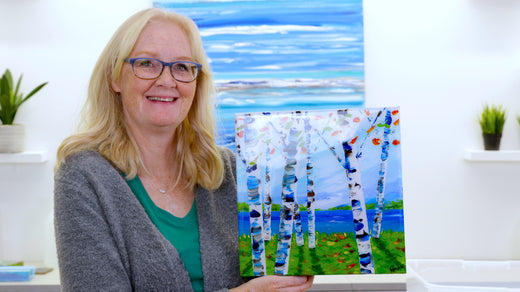
Artist Allyson Reeves always wanted to try ArtResin on one of her abstract acrylic paintings but was a bit intimidated, so we invited her to spend some time with ArtResin's Joanne to help demystify the process.
Within 30 minutes, Allyson was measuring, mixing and pouring like a pro.
Though the idea of applying epoxy resin may seem a bit daunting, ArtResin was designed by artists who understand what artists want:
- a product designed specifically for artwork
- a safe and easy application
- and most importantly, pro results.
This video will show how simple ArtResin is when you follow a few key steps: measure, mix, pour, spread, cover and you’ll wonder why you haven’t been using it all along! Read below our resin canvas art DIY project.
Let's get started with resin canvas art.
What You'll Need:
- ArtResin epoxy resin
- plastic container for water bath (optional)
- paper towel
- masking tape
- cardboard
- compressed air canister to eliminate surface dust from artwork (optional)
- plastic stands to prop up artwork (pyramids, plastic cups, lego)
- level
- nitrile gloves (a must!)
- plastic measuring cup (or 2-3 clear plastic drinking glasses)
- stir stick
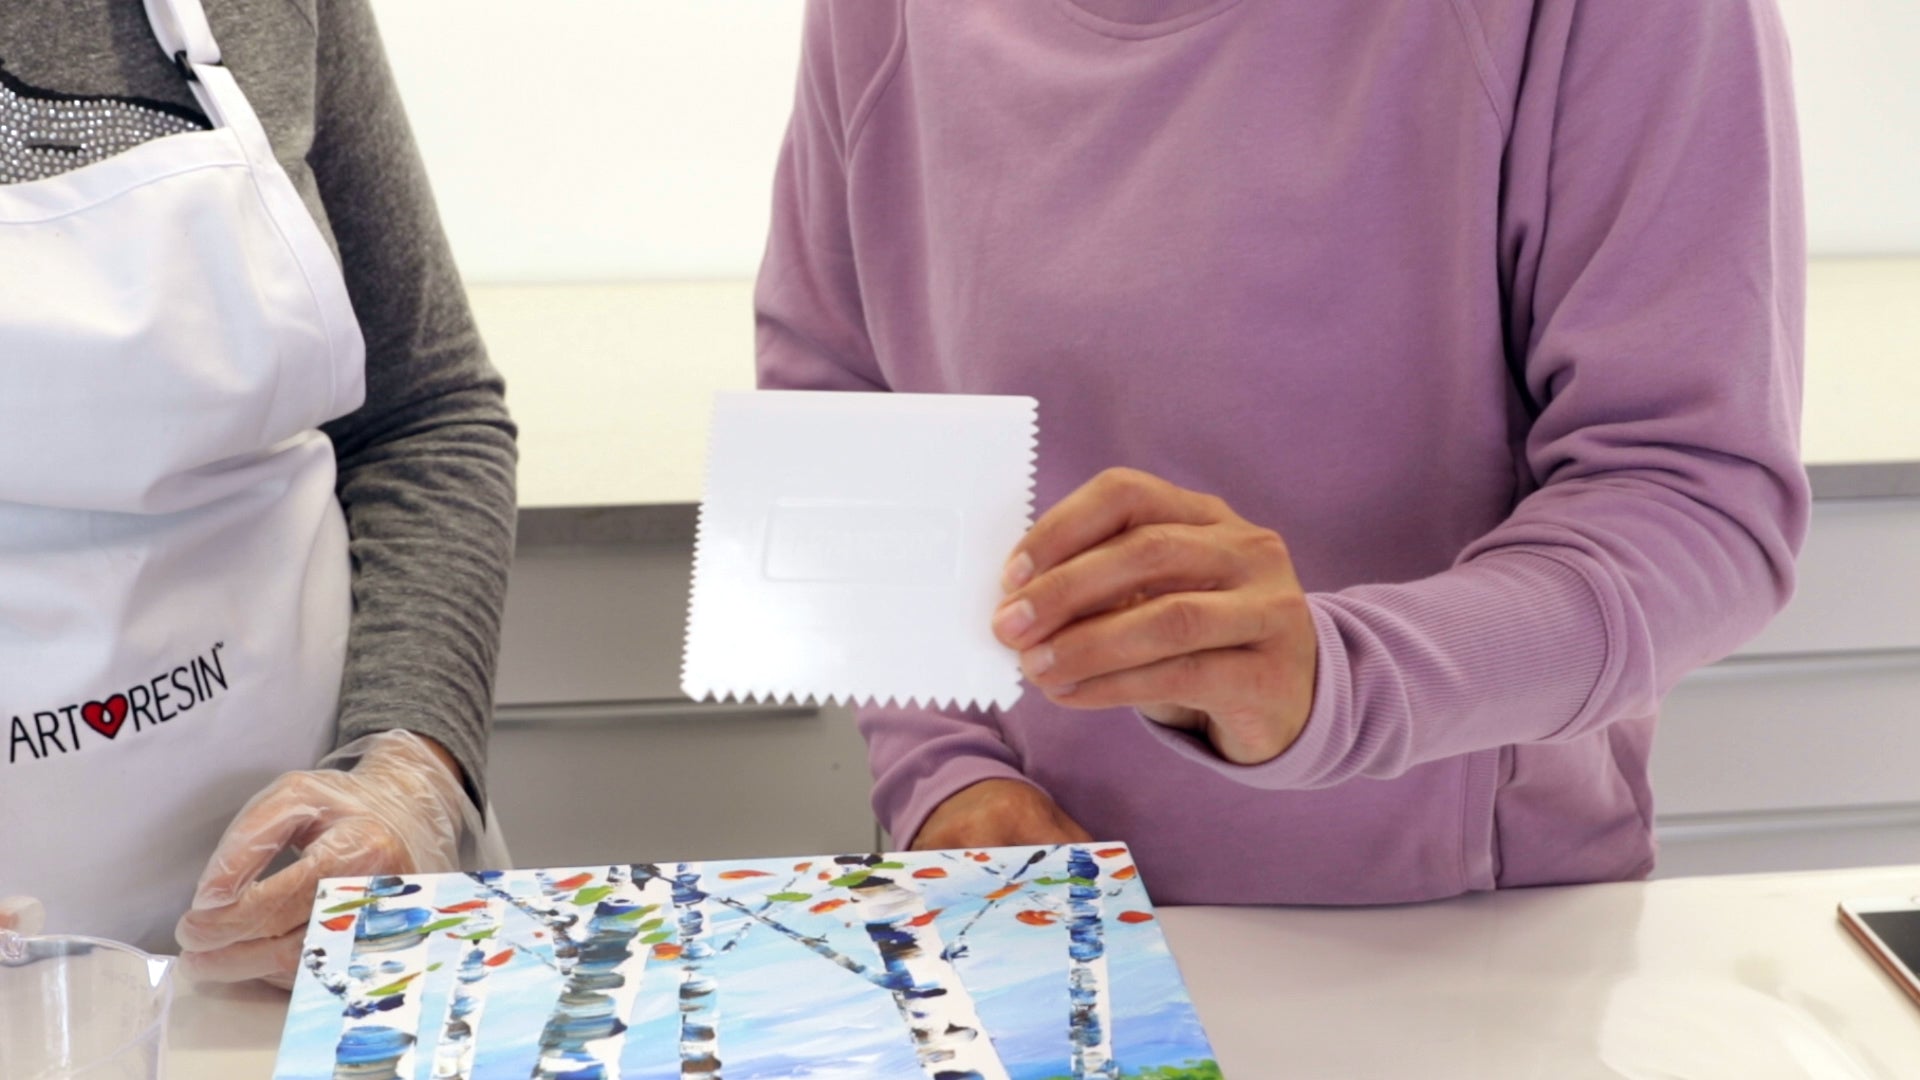
- a spreading tool
- an Maker's Studio Torch
- toothpicks
- dust cover large enough to fit your piece ( a cardboard box or a plastic tote )
Browse our resin art tools & accessories.
1. Assemble Your Materials:
Gather together your ArtResin and your tools before you start resining: you want to make sure you have everything you need on hand so you can measure, mix, pour and spread ArtResin with ease and efficiency.

Line your work surface with plastic for easy clean up and to protect your table top: a vinyl shower curtain makes an easy, inexpensive liner that can be re-used again and again. Resin drips can either be wiped clean with paper towel and isopropyl alcohol or, if allowed to dry, can be peeled off the next day.

A torch is the very best way to zap bubbles out of wet resin for a flawless finish. Our butane powered Maker's Studio Torch ( pictured below ) is perfect for most jobs. For larger pieces, you may want to look into a propane powered torch.

Use hard plastic tools: epoxy resin doesn't stick to plastic making clean up a breeze and allowing you to re-use your tools indefinitely. We like using hard plastic mixing cups, stir sticks, stands, and spreaders.
Have a dust cover ready to go: you never want to leave your wet, freshly resined piece sitting out while you look for a cardboard box or plastic tote to fit your piece.

2. Prepare Your Canvas:
Make sure your artwork is dry and dust free: a soft brush or canister of compressed air can help eliminate dust.

Decide if you want to resin the entire painting (i.e including sides) or if you only want to resin the top: applying resin to the top of your canvas while leaving the sides unresined is referred to as doming. Since Allyson's painting wrapped around the sides of the canvas, she decided to resin the entire piece.
💡 TIP: Read more about how to dome in our blog What Is Doming Resin?

If you want to resin the sides, we always advise taping off the bottom of your piece: Why tape the bottom? As gravity pulls the resin down the sides, drips will naturally start to accumulate along the bottom of your piece. Tape will catch the drips. Once the resin is dry to the touch, you can pull the tape off and the drips right along with it.

Stretched canvases should be reinforced: the weight of epoxy resin can cause stretched canvas to sag and, consequently, the resin to pool in the centre. To prevent this, cut a piece of cardboard to size and insert it in the back to provide strength and stability.


Prop your piece up on plastic stands: propping up your piece allows drips to pool on the plastic lined work surface. Epoxy resin won't adhere to plastic stands so you can easily peel off resin drips once dried.

Ensure your work is perfectly horizontal by checking it with a traditional level or with ArtResin's mobile phone level: www.artresin.com/level


3. Prepare Your ArtResin
It's important that both ArtResin and your resin room is at least room temperature or warmer. Epoxy resin loves warm temperatures, so 75-85°F or 24-30°C is absolutely ideal. During the cold winter months, it's a good idea to increase the temperature of your resin room before you start to resin and, if your ArtResin is cold, you may choose to give your bottles a warm water bath before you measure and mix. It's important to prevent any water from getting into the resin: keep the caps on, don't submerge the bottles and dry the bottles off thoroughly before you open them.
💡 TIP: See our blog Should I Warm Epoxy Resin In A Water Bath? for more information and helpful tips.


Measure equal parts by volume: ArtResin is a 1:1 epoxy resin, meaning that you need equal parts of resin and hardener measured by volume. To determine how much ArtResin you will need for your piece, enter the length and the width into the Resin Calculator on our website.
For example, Allyson's 12x12" piece requires 5 oz total, made up of 2.5 oz of resin and 2.5 oz of hardener.

Wearing gloves, measure equal amounts of resin and hardener: it doesn't matter which one you start with, as long as you measure equal amounts of both. You can pour the resin and hardener ( one at a time ) into a measuring cup OR you can measure the resin and hardener in two separate cups and then pour into a third cup for mixing. It's important to measure accurately: if your resin and hardener are not perfectly equal, your resin may not cure properly.

Mix thoroughly for at least 3 minutes: as you stir, scrape the sides and bottom of the cup to ensure you incorporate every last bit of resin and hardener. Mixing thoroughly and scraping the sides will ensure every last bit of resin and hardener are combined: under mixing may lead to curing issues so this is an important step. Now you're ready to pour!
💡 TIP: for our very best measuring and mixing tips, read the blog How To Measure And Mix Resin And Hardener.

4. Pour The Resin On Canvas
💡TIP: Read our blog How To Pour And Spread Epoxy Resin for more resin tips and techniques!

Use the spreader to gently pull a little resin over the edges and down the sides of your piece. Using gloved hands, smooth the resin out, evenly coating each side.

5. Torch, Cover And Wait:
Using an Artist’s Torch, hold the flame a couple of inches above the resin surface just long enough to pop the bubbles. One or two passes with the torch is all you need to get rid of bubbles.💡TIP: if you're nervous about using a torch, don't be! Read our blog with all you need to know about How To Use A Torch On Epoxy Resin.

Keep the torch in a constant side to side motion, as if you're ironing clothes. Don't hold the flame too close - it should just lightly kiss the resin surface.

Use a toothpick to pop any missed bubbles or to fish out any bits of dust: look at your resin under a light source and at eye level to easily spot any imperfections.

Cover and wait 24 hours: using a clean plastic tote or cardboard box ( with the flaps cut off ), cover your piece and let it sit for 24 hrs until it’s dry to the touch. Last step is cleaning your tools: we like to wipe our tools down with isopropyl alcohol and paper towel until all traces of resin have been removed. Dried resin can be peeled off of plastic tools, liners and stands. For more tips on how to clean your tools, check out our blog How Can I Clean Epoxy Resin Mixing Containers?
💡 TIP: the resin will be dry to the touch at the 24hr mark. At this point, you're free to hang your artwork on the wall but if you're planning on packing and shipping your artwork, please wait at least 72hrs until the resin has fully cured.

6. Reveal!
Absolutely gorgeous!
ArtResin took Allyson's vibrant acrylic paintings next level, giving them a professional looking finish and a glossy sheen that makes colour pop!


We hope you found this canvas tutorial informative and helpful. More importantly, we hope it made the process of applying epoxy resin a little less intimidating. Like anything, practice makes perfect but these suggestions will give you a good head start:
- have everything you need ready to go: tools laid out & artwork prepped
- ensure your ArtResin and resin room is 75-85°F or 24-30°C. Learn how heat affects your resin artwork.
- measure accurately, mix thoroughly, scrape your container as you stir
- use a torch and dust cover
Before you know it, you'll be applying ArtResin over ALL of your favourite art pieces!
Questions? Comments? Tips?
Please leave them below!
To see more of Allyson's artwork:
follow her on instagram at @allyson_schmidt_reeves
Are you new to resin art? Get started with our helpful blogs:
- Resin Art Beginners' Guide
- Butane vs Propane Torch
- Top Resin Mistakes Made By Beginners
- What Is The Best Resin For Beginners?
- Top 10 Easy Resin Projects For Beginners
- Resin Supplies & Materials For Beginners
- What Resin Art Sells The Best?
- Resin Art vs Acrylic Pour
- Casting Resin vs Epoxy Resin
- How To Make Money As An Artist
Do you want to learn more about using resin with different mediums and different surfaces? See our how-to tutorials:
- How to Resin an Acrylic Painting
- How to Resin Watercolor
- How to Make Textured Resin Art
- How to Resin Flowers
- How to Resin Over Gold Leaf
- How to Resin A Metal Print
- How to Resin Wood
- How to Resin Mosaic
- How to Resin Rocks
- How to Resin Modelling Clay
- How to Resin Chalk Pastel
- How to Resin A Paper Collage
- How to Resin Charcoal
- How To Resin Mosaic
ArtResin: The Original Epoxy For Resin Art.
