Your artwork may require a thicker layer of resin if, for example, you're pouring into a mold, pouring over areas of high relief or embedding objects into resin. ArtResin epoxy resin was designed to be poured in thin layers as a surface coating. If you pour thicker than the recommended 1/8", bubbles may not be able to escape and you could end up with bubbles in your cured resin.
So how do you get a thick coat and avoid unwanted bubbles? There are a few approaches you can take:
- The Full Cure Method: layering after 24 hours
- The Partial Cure Method: layering after 3-5 hours
- The Water Bath Method: warming the resin to lower the viscosity
We're going to walk you through each method, what type of artwork they're suited for and tips to get you the best results.
Let’s get started.
Waiting 24 Hours Between Resin Layers
This method is works well if you'd like to add embellishments between resin layers such as paint, paper, or vinyl cut outs, or if you simply want to build up a thicker coat. It takes a little more time, but provides a very tight bond between layers.
Allow your first layer of resin to cure for at least 24 hours until it has cured solid. The surface should no longer feel sticky or soft at this point - it should feel perfectly smooth and dry to the touch. At this point, you can add paint, gold leaf, vinyl cut outs or whatever art you'd like to add in between layers.


In order for the next layer to adhere, you'll need to rough up the surface using a coarse sandpaper, such as 80 grit. This step is crucial - sanding will create some tooth for the new resin layer to adhere and will ensure that the two layers bond together. If you skip sanding, you run the risk of the two layers eventually delaminating or separating because they’ve got nothing holding them together. Don’t worry - once you pour on your fresh resin layer, the sanding marks will get filled in with resin and will disappear like magic in front of your eyes.
Tip: How long do you need to wait between resin layers
💡 TIP: If you've painted in between layers, simply sand around the paint: the paint itself will provide some tooth, but make sure you rough up every other area that needs it.

⚠️ IMPORTANT: Always wear a mask when sanding to avoid breathing in resin particles.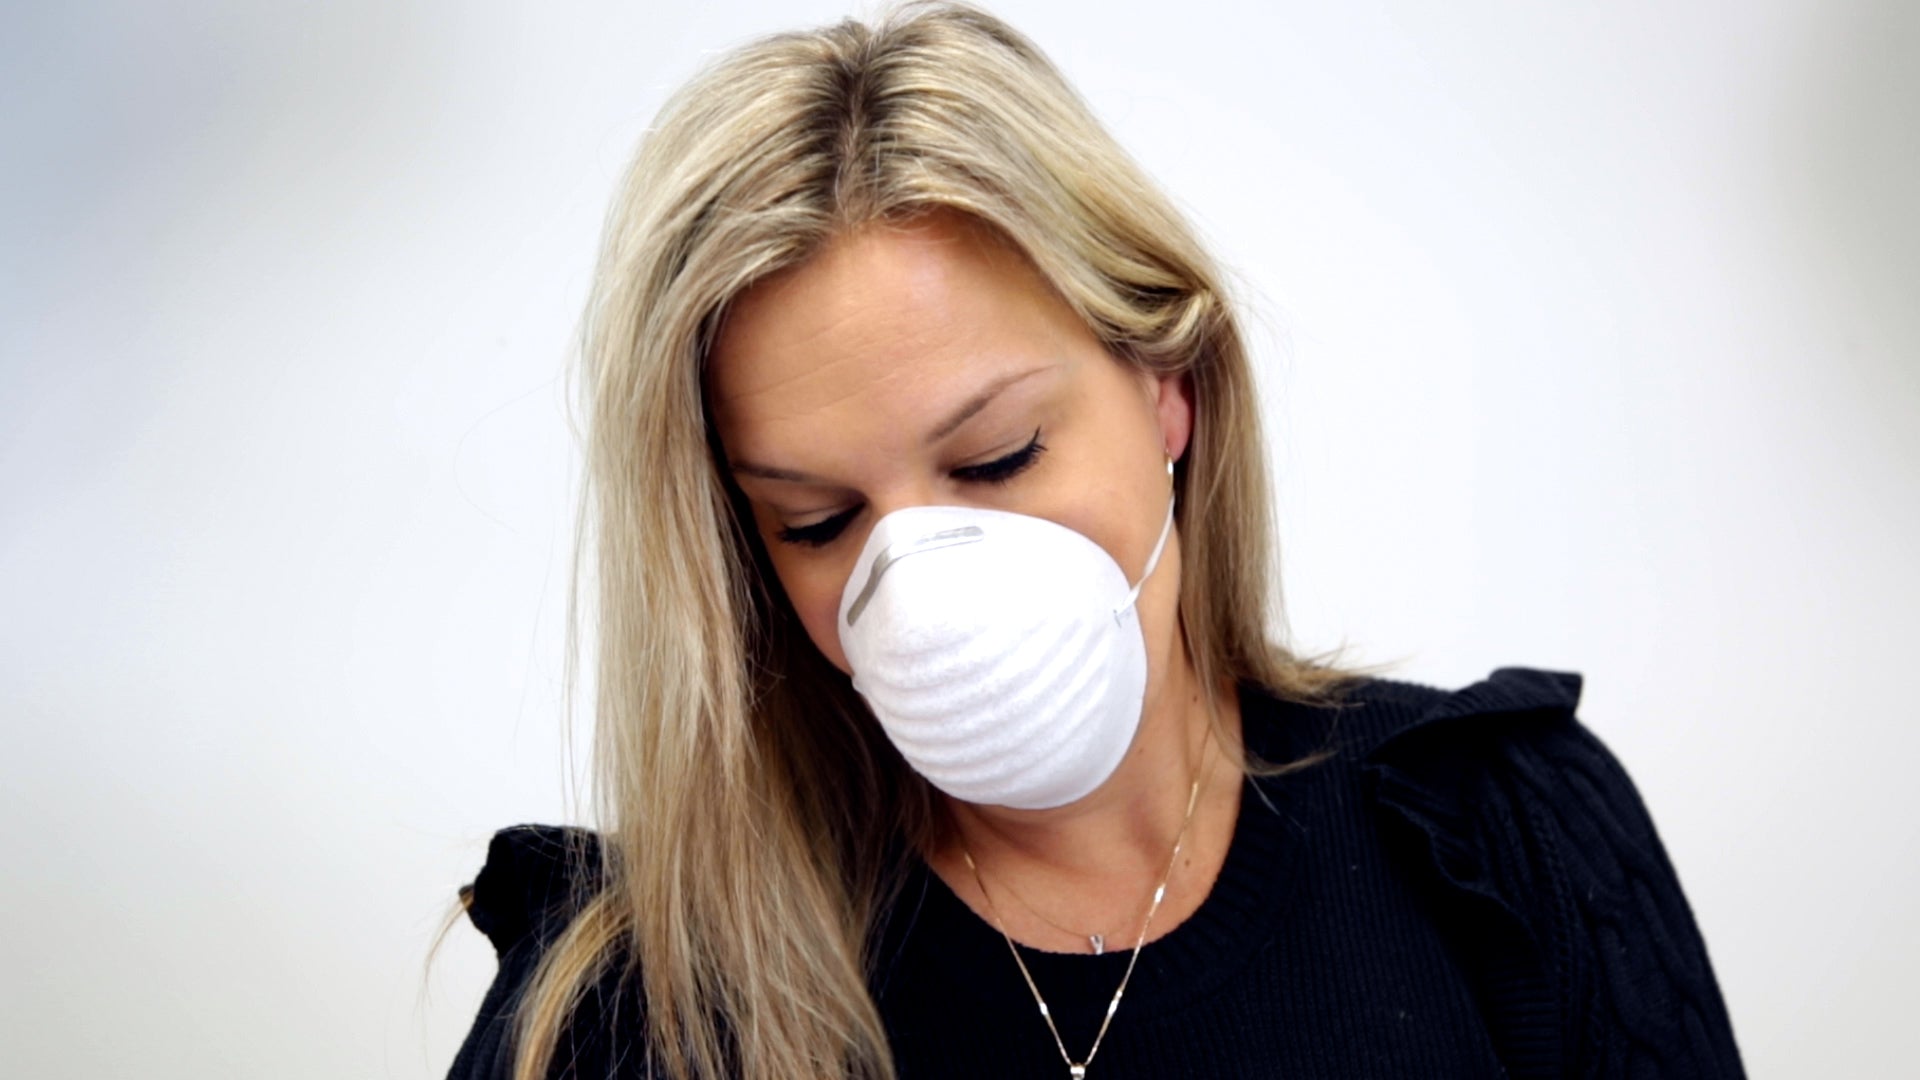
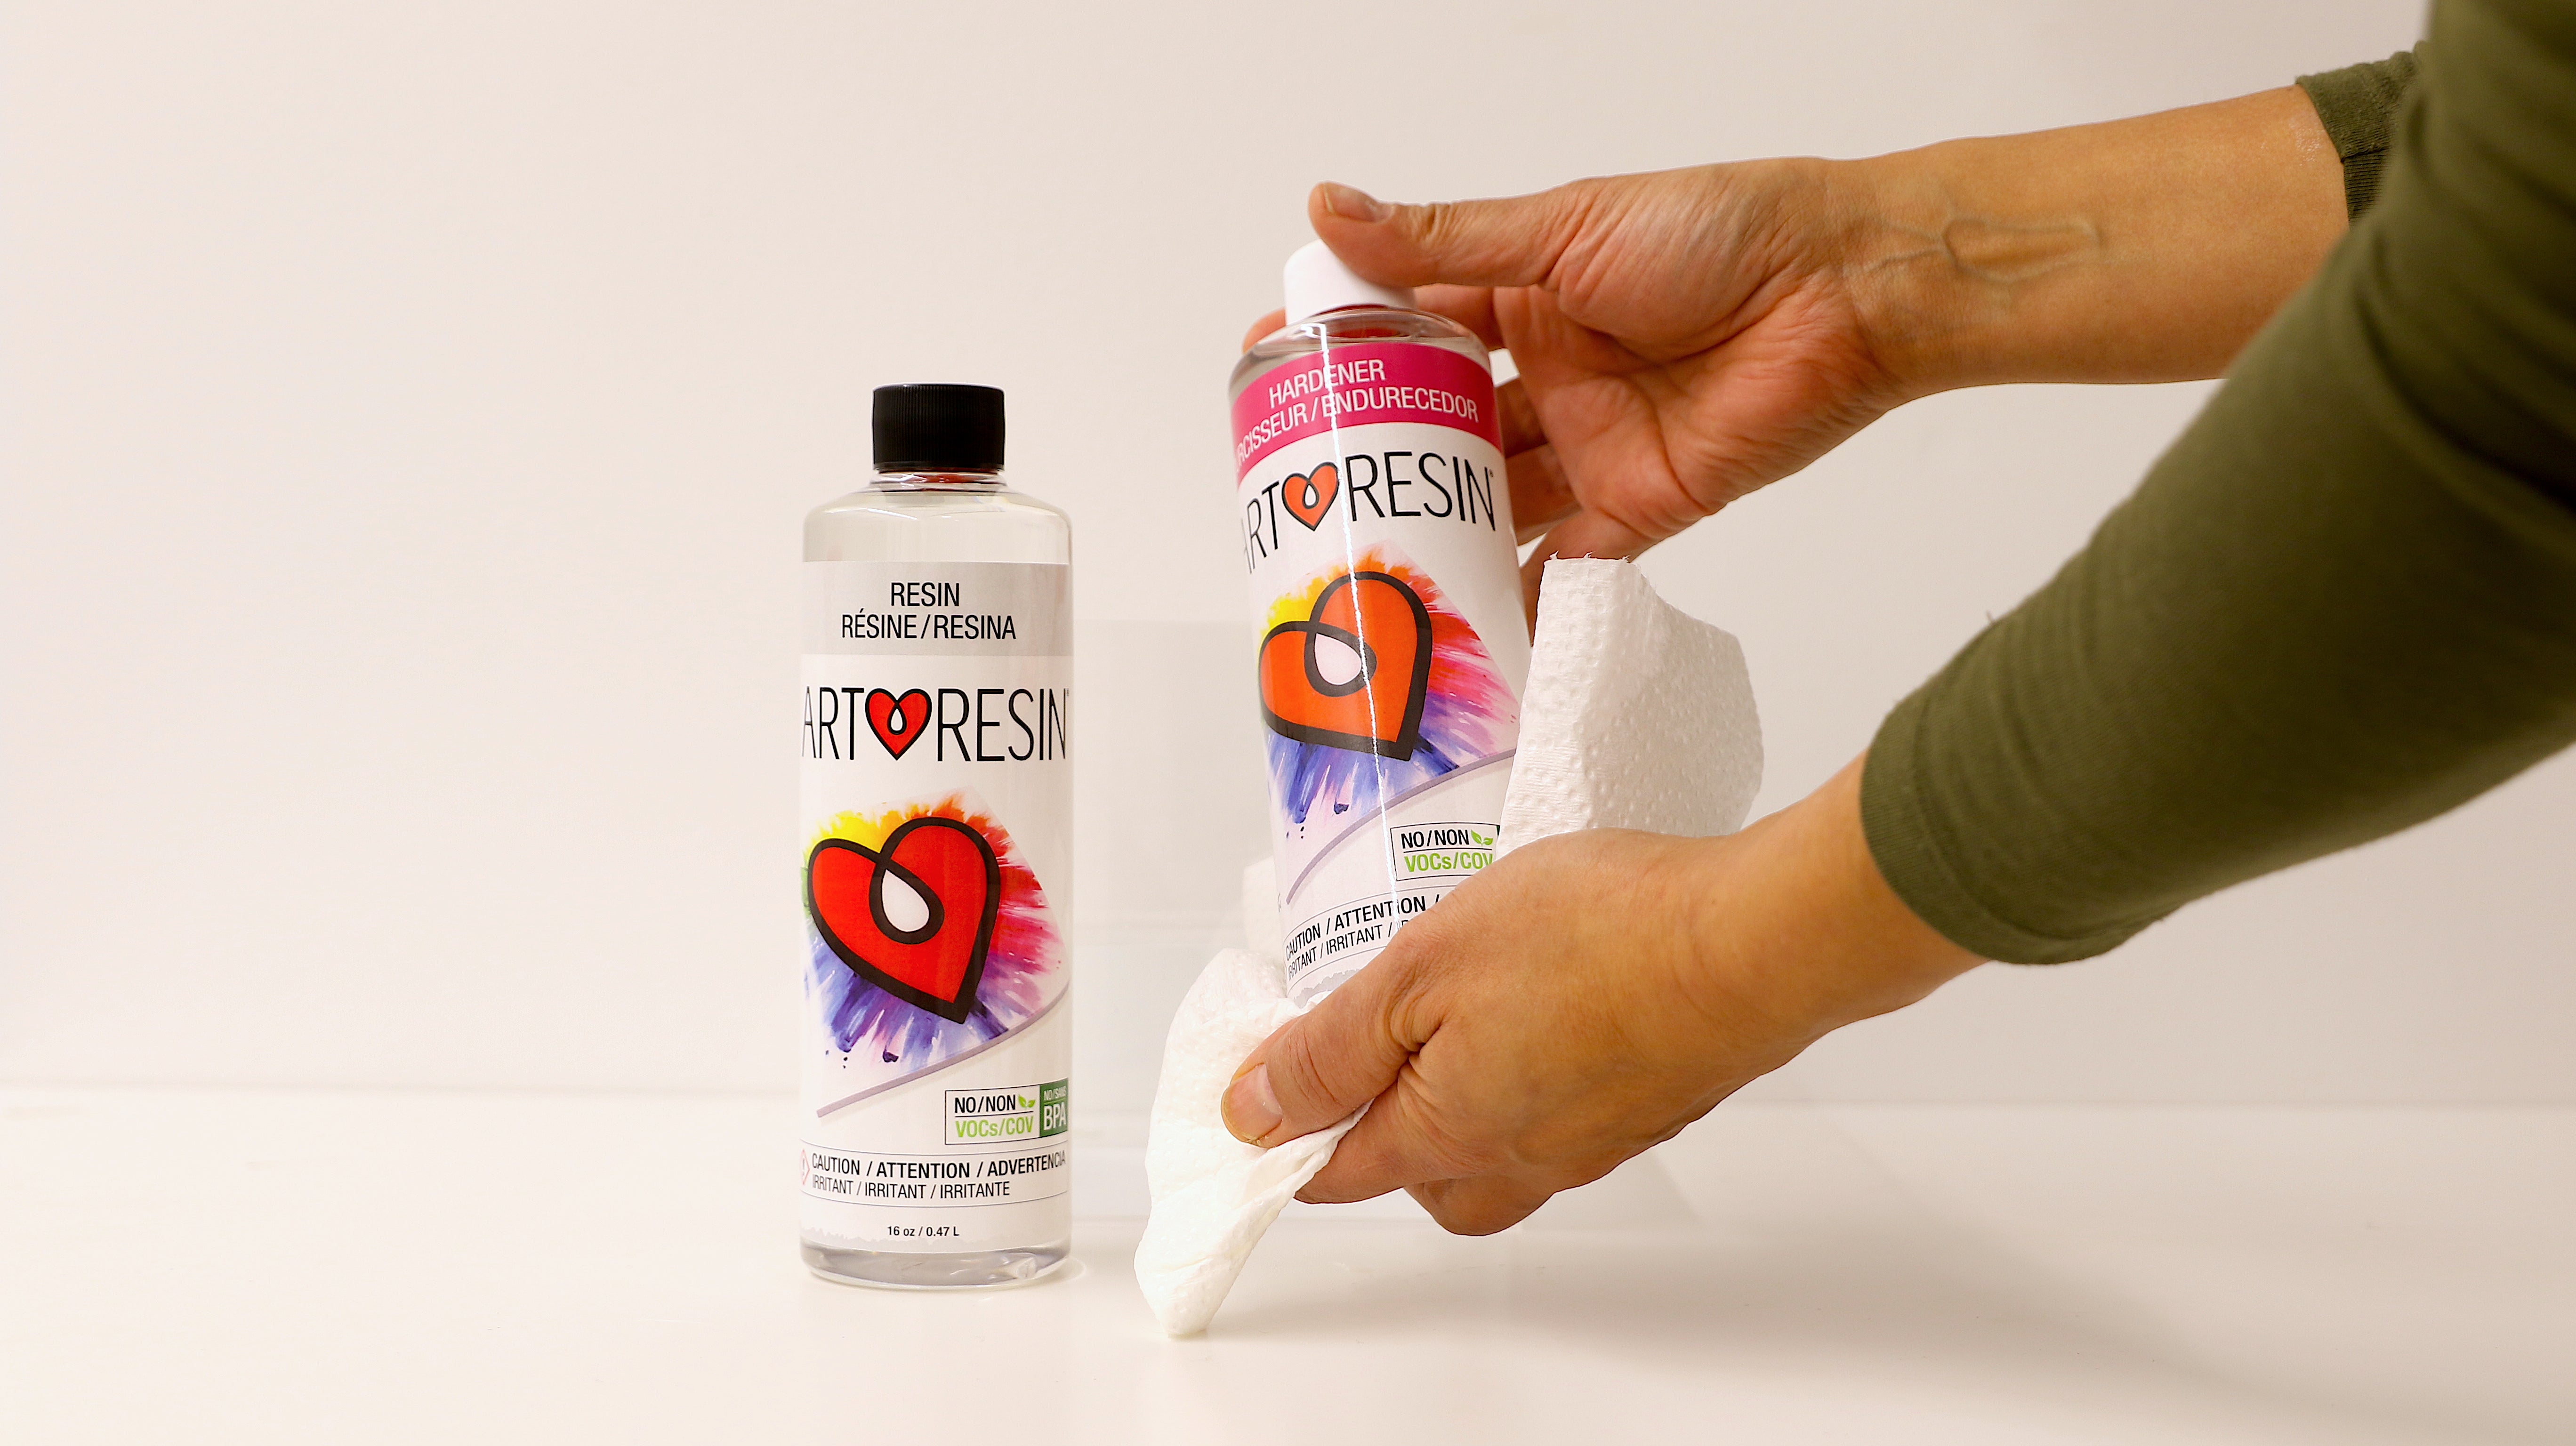
Next, remove the sanding dust from your piece, then wipe the surface with a damp paper towel to remove any residue. Repeat this as often as necessary until the surface feels clean and smooth. Allow to dry thoroughly before applying the next layer of resin.

Carefully measure and mix a fresh batch of ArtResin and pour a ⅛’ layer as normal over the sanded surface. Once the scratch marks are filled in with resin, you’ll never know your piece was sanded.

Allow the resin to cure for 24 hours. Repeat these steps as many times as you wish until you reach the thickness you want, as long as you pour in ⅛” increments.
Waiting 3-5 Hours Between Resin Layers
The 3-5 hour method is the perfect option when time is an issue or if you want to embed pieces into the resin, like flowers or gold leaf pieces or glitter that might otherwise sink to the bottom of liquid resin. This method can also help reduce the seams in between layers that may be visible from the edges of your piece. The 3-5 hour method is a quicker option that still gives great results.
Tip: Can I do a second coat of epoxy resin?
After you’ve applied your first coat of ArtResin, wait about 3-5 hours until the resin has thickened up to a tacky, gel like state. In place of sanding, that tackiness is going to provide tooth for the new layer to grab onto. In fact, the two layers will cure simultaneously which is going to create a nice strong bond.
💡TIP: If your resin room is warm, you may be able to pour your next coat of ArtResin at the 2-3 hour mark. 

💡 TIP: ArtResin guest artist Sue Board suggests leaving a little cup of resin beside your piece so you can monitor the cure without disturbing your artwork.
Once the resin has set up, you can add inclusions, if you've got them. In fact, the stickiness of the resin will hold the inclusions in place and prevent them from floating away when you pour your next coat. 
Carefully measure and mix a fresh batch of ArtResin according to the instructions, and pour a fresh ⅛” layer. Allow it to cure completely or, if you want to add more layers, cure it to the 3-5 hour mark and repeat the steps.
So really, it’s up to you: you can use the 24 hour or the 3-5 hour method, and you can add as many layers of ArtResin as you wish, as long as you pour ⅛" at a time to allow the bubbles to escape.
Warming The Resin In A Water Bath
The final way of getting a thick layer of resin is warming the capped bottles in a warm water bath. In fact, the water bath method allows you to pour a little thicker than 1/8".
Warming the resin actually lowers the viscosity. It thins the resin out, resulting in far less bubbles in your mixture and allowing you to pour a little thicker with a crystal clear cure.
💡 TIP: Thin resin is much harder to control so this method is best for pouring into a contained space like a mold or lipped panel rather than spreading over a piece of artwork.

A resin water bath is pretty straightforward, but just keep the following tips in mind:
• You don’t need to use boiling water: warm to hot water like you’d use for a baby’s bath works just fine.

• Warm the bottles before you measure and mix: heat accelerates curing so if you warm up the resin after you’ve mixed it, it’s likely to cure instantly.


You don’t want any water getting mixed in with the resin: keep the lids on the bottles, don’t submerge them and dry them off thoroughly before you open them.
⚠️ If water gets mixed in with the resin or hardener, it will cause a cloudy cure.
The time the bottles spend in the water bath depends on a few factors: how cold your resin is, the size of the resin bottles and how warm your water is. Here at ArtResin, we usually allow a 32 oz kit to sit for about 15 minutes in warm water.

Then, measure as usual and mix slowly so you don’t introduce any more bubbles than you need to. 
Pour the resin in slowly.
Remove the bubbles: if you're pouring into a lipped panel, use a torch. If you're pouring into a silicone mold, remove bubbles with a heat gun. Try not to pour much more than 1/4" - if you're very careful, you can pour up to 1/2" but be aware, a thicker pour increases the risk of bubbles.
Read how to remove bubbles with a torch!
⚠️ PLEASE NOTE: Heat accelerates curing, which means you'll lose about 10 minutes from ArtResin’s 45 minute working time. Ensure you have your tools and artwork prepped and pour the resin as soon as you’ve finished mixing. If warm resin sits on your work surface, it may cure prematurely right in the cup.
_________________________________________________________________________
A NOTE ABOUT CURE TIME:
Keep in mind that ArtResin's cure time of 24 hours until dry to the touch and 72 hours for a full cure is based on a 1/8" layer, so a thicker pour will take longer to cure. A coaster, for example, could take up to a couple of weeks for a full cure. Ensure you give your piece enough time to fully cure.
_________________________________________________________________________
So there you have it! 3 different and easy ways to get a thicker coat of ArtResin. To recap:
- Use the water bath method if you want to pour a thicker layer into molds.
- Use the 3-5 or 24 hour methods for pouring multiple ⅛” layers on artwork.
- Remember, if the resin is cured, you’ll need to sand first before you pour a fresh layer on top.
We hope you found this helpful.
Please leave any questions in the comments below!
Do you want to learn more about resin art? Read our guides below:
- Dutch pour techniques for epoxy resin art
- How to get a matte resin finish
- What is doming resin
- How to get a non gloss or matte finish
- What is the best way to finish edges
ArtResin: Made For Artists, By Artists.
