Need a little splash of creativity?
Fishing for something new to do?
Why not take a memory from a past vacation and put your own creative spin on it? Seashells, sand dollars or starfish are wonderful objects that you can copy and design however you like using Mold Making Material.
Objects with a flat side or base can be molded in one sitting with the One-Part Mold Method. Objects like the starfish don’t have a flat portion anywhere so they require the Two-Part Mold Method that we'll explain here. It's the best way to capture the texture of the whole object.
Let's "sea" if you can do it.
First, measure and cut a cardboard box big enough to fit the starfish. Line the inside of the box with packing tape so that it's waterproof and will easily release the mold.

Grab some Plasticine and spread it out inside the box so that the whole floor is covered.

Place your starfish into the Plasticine so that it is halfway covered. The starfish is delicate so be careful not to damage it.

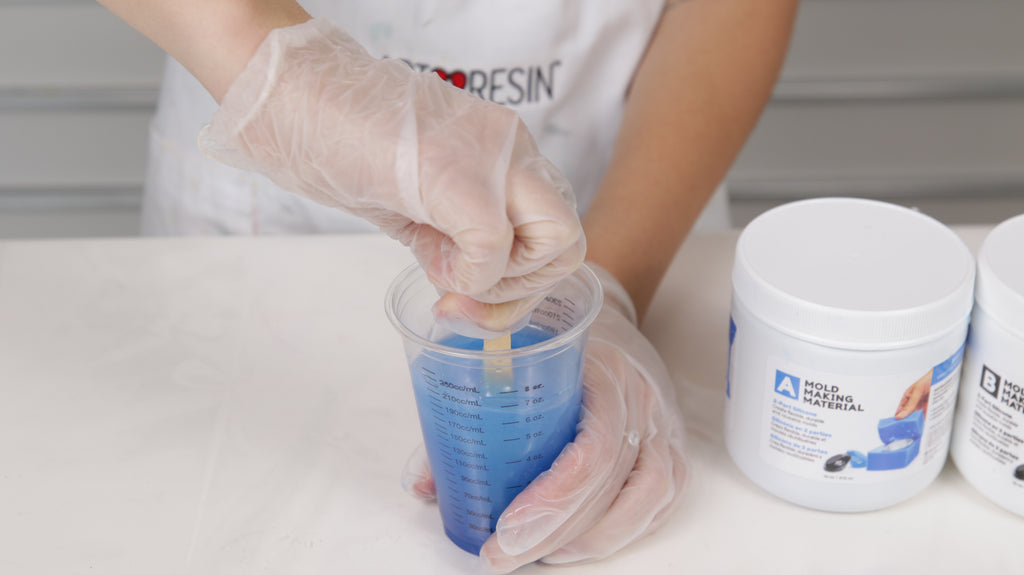
Now it's time to bring on the Mold Making Material. Carefully measure out equal amounts of Part A and Part B by volume, not weight.

Combine the 2 parts and mix until the color is a consistent blue.
Pour the Mold Making Material mixture over the entire half of your object that is exposed in the Plasticine.

Now wait approximately 3 to 4 hours for the Mold Making Material to cure. Once that time has passed, cut and remove the Plasticine and mold from the box. Try not to damage the box as you will be using it again to pour the second half.

Remove all of the Plasticine, cleaning off any little bits that may be clinging to the object or mold.

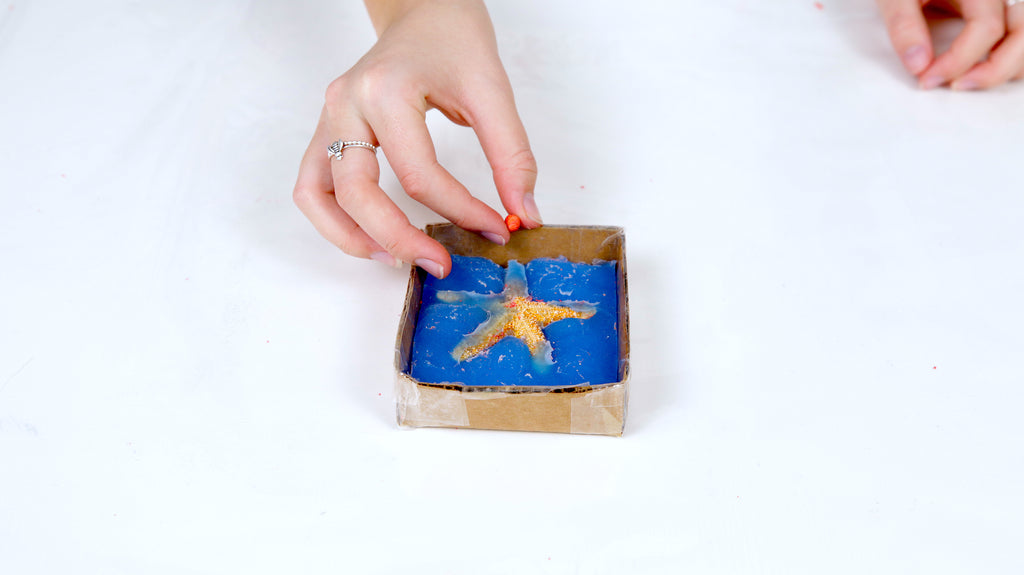
Now it is time to make the second half of the mold. Flip over the mold and place it back into the cardboard frame. The starfish should be on top.
In order to fill the completed mold we need a pouring spout (FUN FACT: technically this is called a sprue). Take a straw or a small amount of the Plasticine and place it at the tip of one of the legs, against the box.
This pouring spout will provide the opening for you to pour in the substance that you intend to use to make your duplicate objects.
Once again, measure, mix and pour the Mold Making Material over the rest of the starfish and wait another 3 to 4 hours for the mixture to cure.

Remove the mold from the box as you are now ready to remove the starfish from the mold.

After removing the Plasticine spout, carefully cut an opening big enough to remove the starfish. In this case, we cut from the hole, down the top leg of the starfish, and across to the next leg. This cut was done symmetrically down both sides.
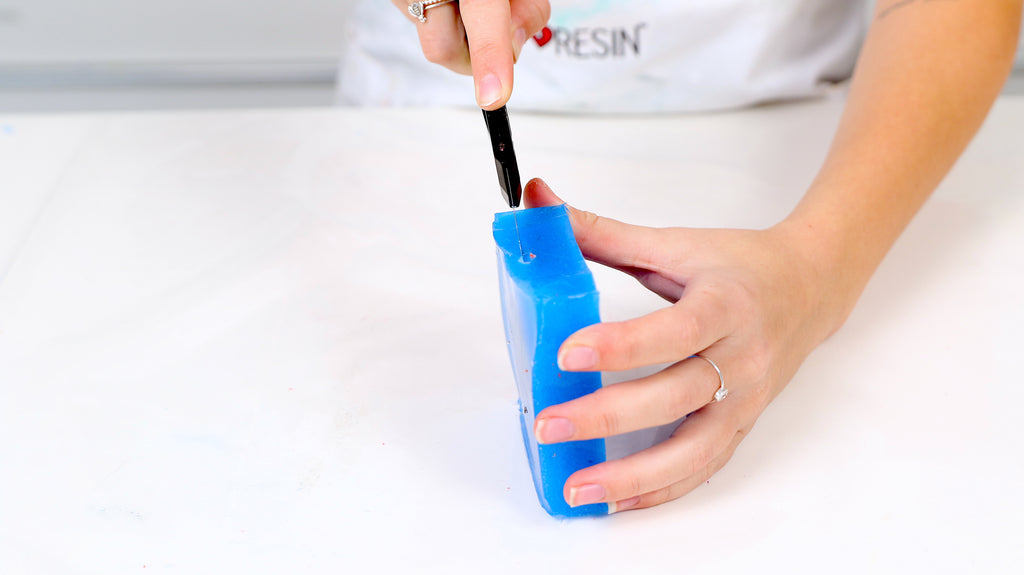
From there, only two legs were left completely inside the mold, and we were able to pry the mold open and remove the object. Cleaning out the starfish mold is important as the organic object had debris that came loose in the mold.

Your Two-Part Mold is complete and you can now make exact replicas of your object.
You can use many different substances to fill the mold, such as cement, plaster, polyurethane, soap, clay, polymer clay, play dough and wax, but we recommend ArtResin epoxy resin in combination with our line of ResinTints.
💡 TIP: You can also use Mold Making Material for food safe molds to create personalized shapes out of chocolate, candy, ice, butter and more! Just remember, molds made for use with food should ONLY be used for food. For more information, see our blog Make Your Own Food Safe Silicone Molds.

Just like Mold Making Material, ArtResin is a simple 1 to 1 ratio of resin and hardener. Measure out equal parts of both solutions and mix thoroughly for 3 minutes. You’ll have approximately 45 minutes of working time with the resin mixture before it will begin to set.

Grab any color of ResinTint and pour a few drops into the ArtResin. Then just mix 'er up.
💡 TIP: Learn more about resin colorants in our blog What you Can Use to Color Clear Epoxy Resin?

Because you had to cut the mold open, you now need to tape the mold closed using Tuck Tape or packing tape.

Make sure it is securely sealed and slowly pour ArtResin into the mold through the pouring hole. If the hole is small, you may want to use an eye dropper.

ArtResin is hard to the touch after 24 hours but a full, hardened cure will take 72. Once your starfish has cured, remove it from the mold and admire your handiwork!
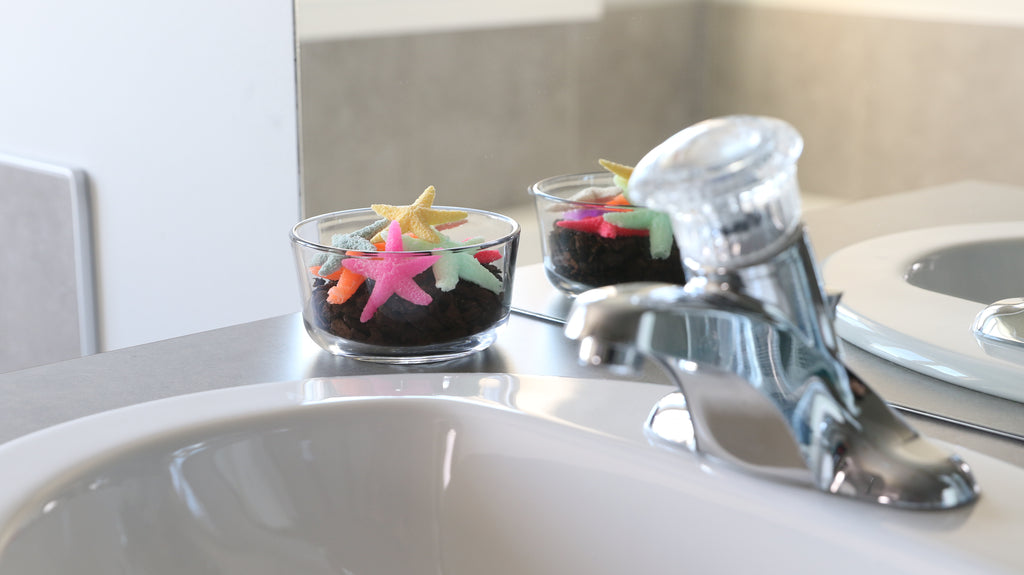
From there, have fun and create as many replicas as your heart desires.
...Do you copy? ;)
Learn more about how to use Mold Making Material in our blogs:
- How to use Mold Making Material
- How to make a resin box mold
- How to make food safe silicone molds
- One part vs two part molds
- How to copy chess pieces
- Shiny vs matte silicone molds
ArtResin: The Original Epoxy For Resin Art.