Do I really need to use a torch for surface bubbles in my resin?
Other methods, like popping bubbles with a pin or blowing through a straw can work for tiny areas, but they're slow and impractical for most resin projects. Hair dryers and heat guns add heat, but they also blow air (and potentially dust) across your wet resin. A butane or propane torch gives you the targeted heat and control you need for a smooth, glass-like finish.
If you're intimidated by the idea of using a torch ... please don't be.
From how to fill them and when to use them, we are going to walk you through everything you need to know about using a torch to eliminate bubbles easily and efficiently.
Removing Bubbles: A Torch vs Other Methods
You've probably seen us use torches in our videos and wondered why a torch? What makes it so special?
Let's break it down.
After you've carefully measured & mixed equal amounts of resin and hardener and poured & spread your resin, you're going to notice bubbles rising to the surface. This is because ArtResin is specially formulated with a bubble release agent, making them easier to remove before your resin starts to cure.
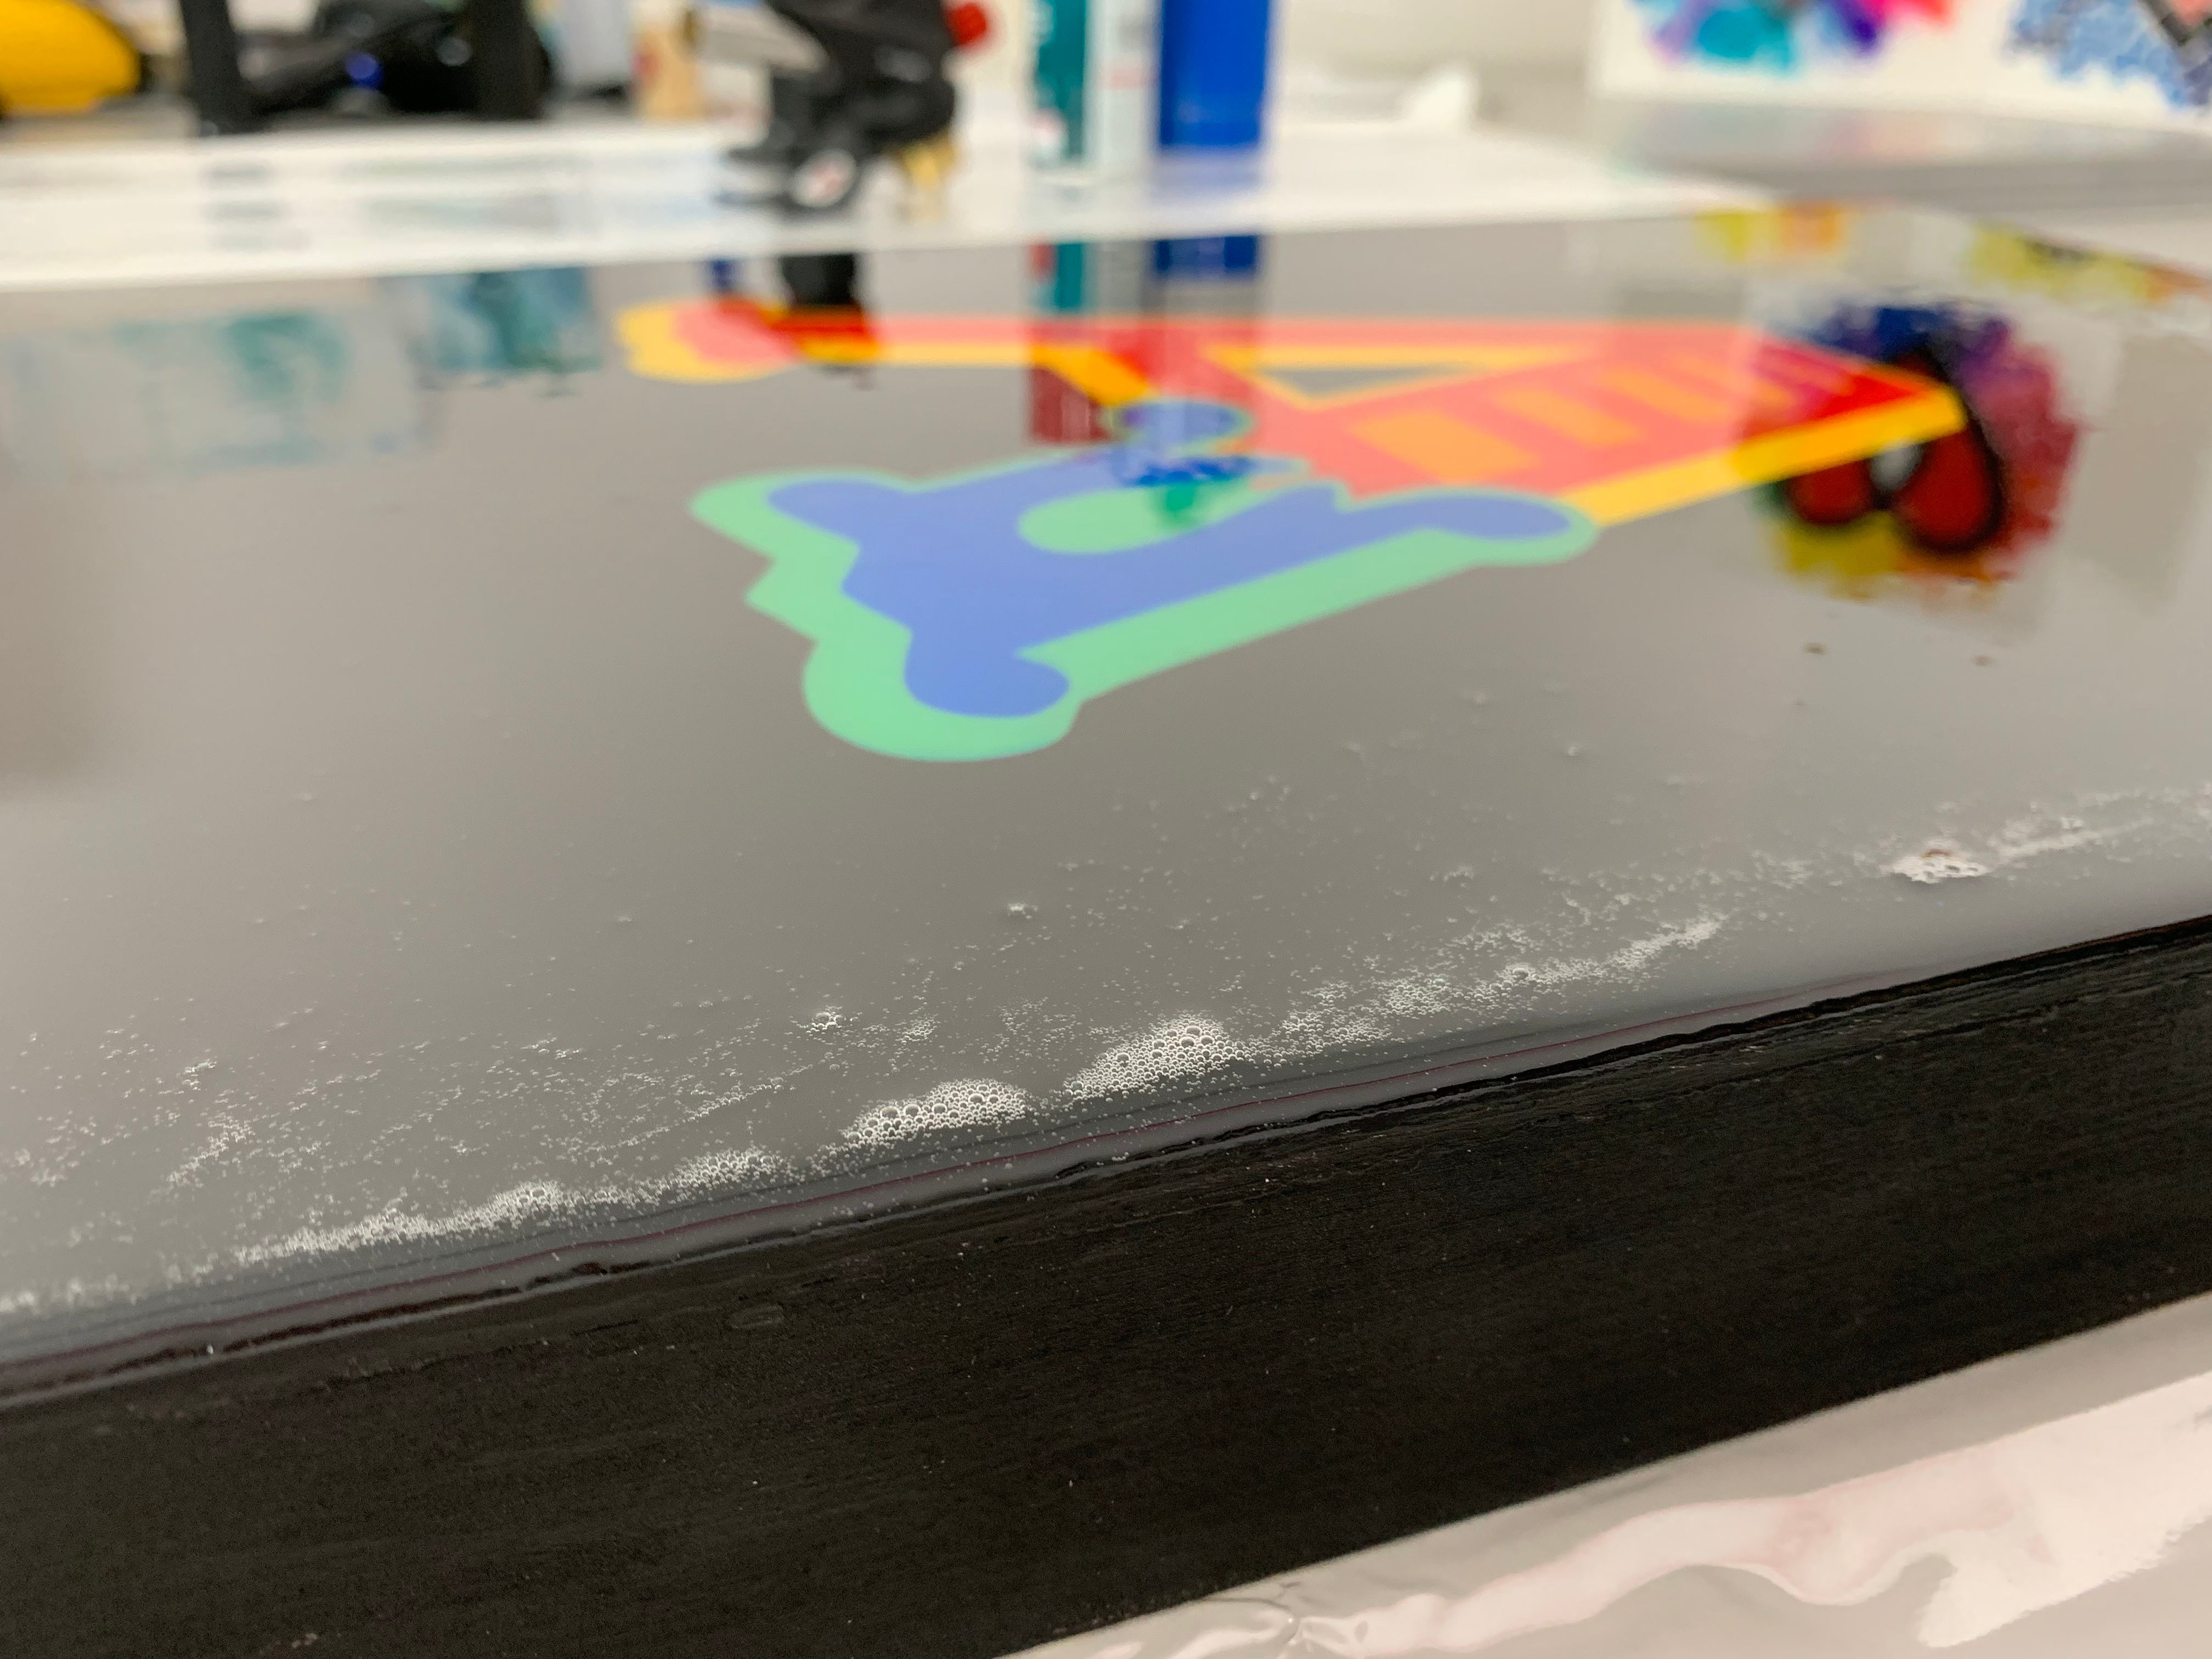
Some of these bubbles will pop on their own once hitting the surface, but to get a flawless, glass like surface, we'll need to get rid of the rest.
There are few different approaches to getting rid of resin bubbles.
Can I Pop Bubbles With A Pin?
Bubbles will pop when you poke them with a pin or a toothpick — it works for a few stubborn bubbles, but it's not a realistic solution for an entire piece of art.
VERDICT: Use a toothpick or pin for last minute touch-ups only :)

Can I Blow on Bubbles With a Straw?
Blowing on bubbles can cause the bubbles to pop, this is true, but it's a super slow process. This method might work on very small pieces like jewellery, but just like with popping bubbles, it's not a realistic method for most pieces of artwork.
VERDICT: Not efficient

Can I Use a Hair Dryer?
Your hair dryer is great for drying hair — but it's not the best tool for resin. The heat isn't strong enough, and the airflow can send dust and debris straight onto your wet surface.
VERDICT: Save the hair dryer for your blowout.
Can I Use a Heat Gun on Bubbles?
Okay ... things are looking up. A heat gun can be a great tool for certain resin techniques, like creating cells and movement in fluid art, working with silicone molds or on materials that contain solvents (like alcohol ink).
But when it comes to removing bubbles, a heat gun isn't quite as effective as a torch. Because it doesn't deliver the same concentrated heat, it can take longer to pop bubbles — which means more heat is transferred into your resin and increases the risk of issues like flash curing, a wrinkled surface, or other imperfections.
VERDICT: Good for some things, but for bubble removal, a torch is the way to go.
💡TIP: Hair dryers and heat guns blow air around so some artists use this to their advantage when making flow art. Applying it to their wet piece, a heat gun or hair dryer pushes the tinted resin around creating cells, lacing and other cool effects! ( Artwork courtesy of @thecurrenttrade )
Using A Butane Or Propane Torch
Now we're talking.
A torch is the only method we use here at the ArtResin studio because it gives you the heat, control and precision needed to quickly remove surface bubbles. The flame will also help incinerate surface dust in the process. Once you've used a torch, you'll never want to go back to any other method.
So whether you feel more comfortable with an easy-to-use handheld tool like our Studio Torch for small pieces, or a bigger propane version like our Propane Torch Head ( a must for large pieces ) a flame is your best bet to really zap out bubbles for a flawless finish.
VERDICT: If you want pro results, a torch is where it's at!

Butane vs Propane Torch
You've seen us reference both butane and propane torches, but what are the differences? How do you know which one to use and when?
Both butane and propane are similar in that they are both ‘liquefied petroleum gas’ and burn at the same temperature. Whether you use a butane or propane torch, both achieve excellent results and it really comes down to personal preference. Our suggestion is that if you're new to using a torch, start with butane. When you become comfortable, you may want to upgrade to a propane torch for larger projects.
Here's a little more information on butane and propane torches:
Butane Advantages & Disadvantages
Butane torches are a great introductory tool and will do the job nicely on most pieces of artwork:
- Butane is a ‘cleaner fuel’ and produces a bit less carbon monoxide.
- Butane torches are more compact and portable.
- Butane is a bit cheaper than propane.
- You need to ensure you have the correct fuel canister to fit your torch.
- Butane doesn’t do that well in colder temperatures.
- Butane's lower storage pressure means smaller flames
- Butane torches hold less fuel so need to be refilled more often.

Propane Advantages & Disadvantages
The larger flame of a propane torch is perfect for removing bubbles from big pieces:
- Most popular world-wide so tanks are easy to find.
- Propane burns and stores better in the cold.
- Propane is stored under higher pressure, allowing for larger size.
- Propane flames as it shoots out of the torch.
- Propane's larger fuel tank gives you a longer run time on larger pieces of art.

How To Use A Torch
The secret to torching is simple: keep it moving. You're not trying to heat your resin — you're just giving the surface a quick pass of heat to pop those bubbles.
- Hold the torch a few inches above your artwork, just close enough so that the flame lightly kisses the surface of the resin. You should see the bubbles disappear before your eyes. If you don't see bubbles popping, move in just a little bit closer.
- Keep your torch moving at all times in a back and forth motion as if you were ironing clothes. Give the entire surface of your artwork one or two good passes with the torch, until all the bubbles have disappeared.
⚠️ PLEASE NOTE: As with any tool that uses a flame, always use your torch safely:
- Always point the flame away from you when igniting or using the torch.
- Never leave a flame unattended.
- Keep the lit torch well away from flammable substances.

⚠️ PLEASE NOTE: When it comes to torching, less is more. You don't want to end up over torching your resin, which is what may happen if you hold your torch too close to the resin surface or in one spot for too long. Over torching can result in dimples or ripples in your cured resin surface, yellowing and even burn marks. Read more about over torching in our blog.
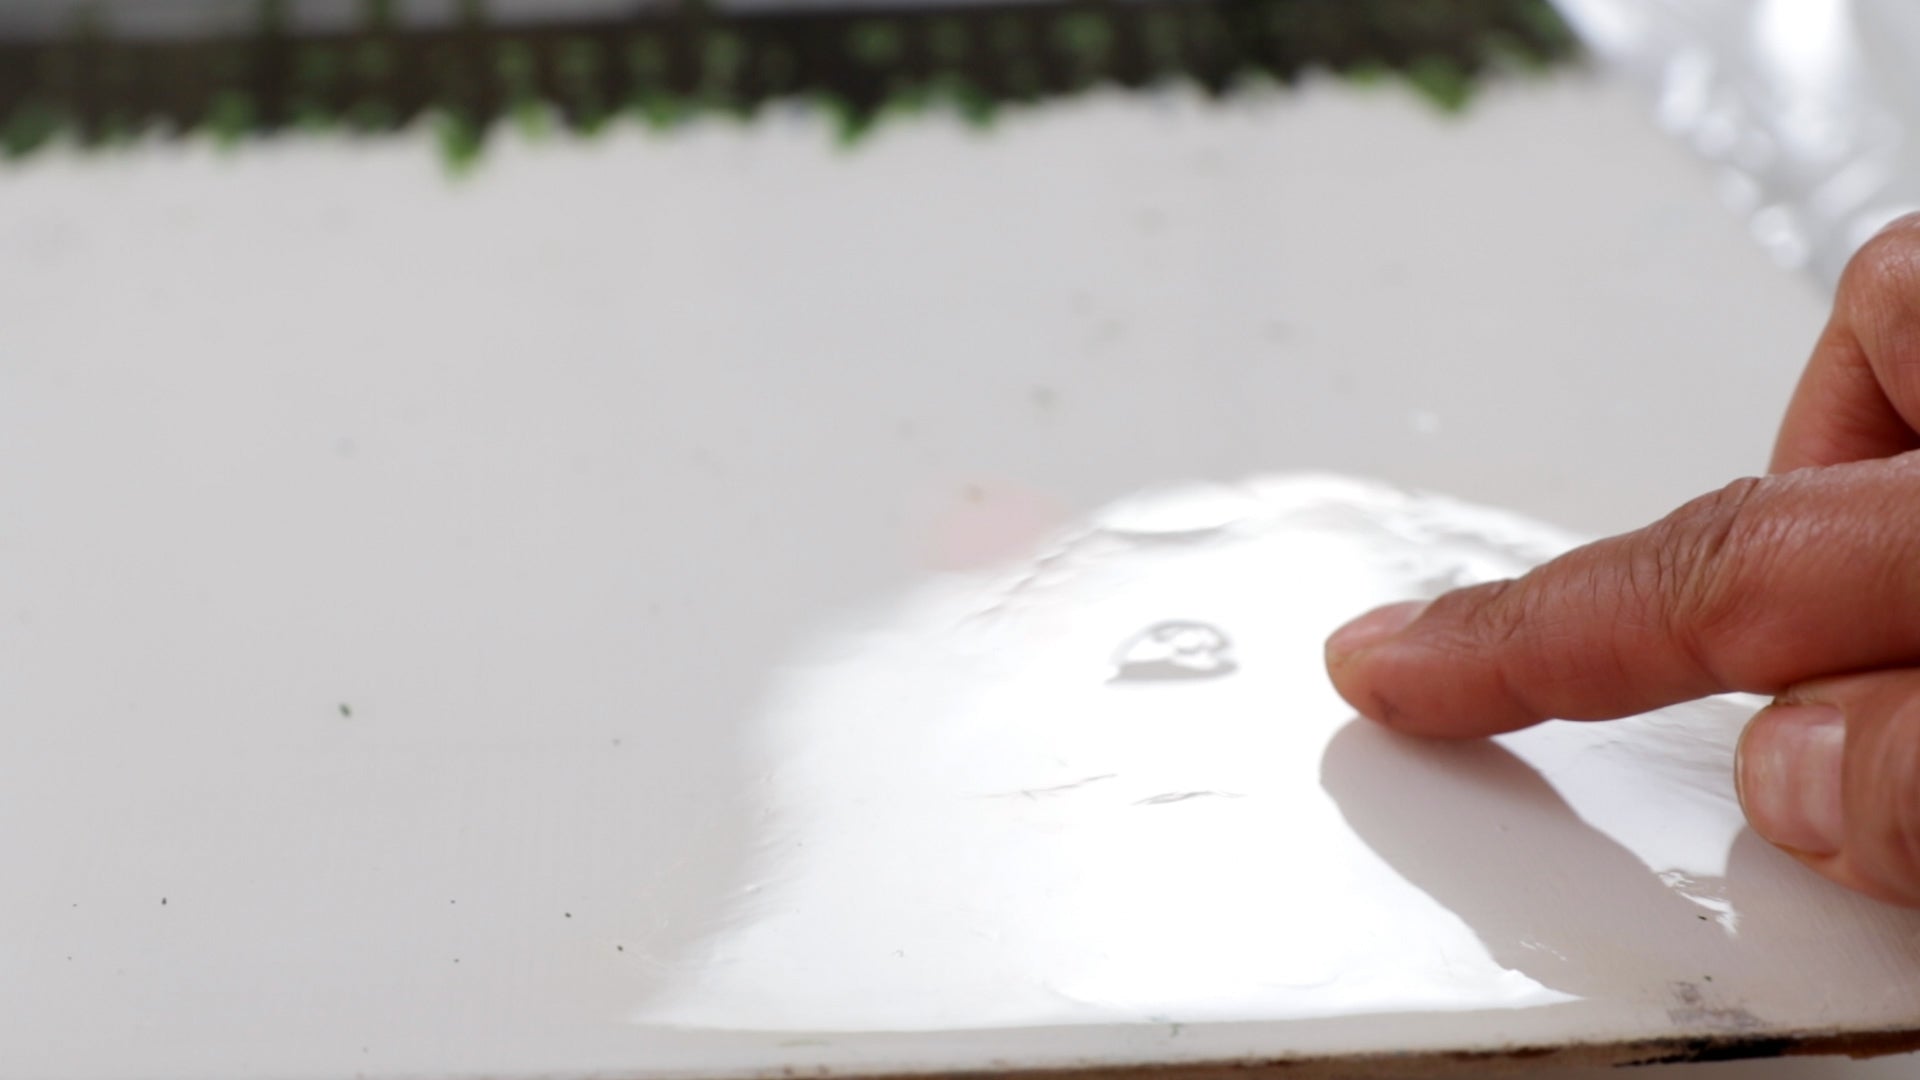
How To Operate A Resin Torch
Both butane and propane torches are straightforward to fill and easy to operate. Let's run through everything you need to know, from fuelling them to using them:
How To Fill A Butane Torch
When you purchase a butane torch, you'll also need to purchase a canister of butane fuel to fill it with: butane refill canisters can easily be found at any hardware store.
Before you purchase a butane refill canister, be sure to check the valve at the bottom of the torch to ensure you buy the correct one:
- if your butane torch has a recessed refill valve: you'll need to choose a refill canister has a long nozzle and a narrow neck to fit.
- if your butane torch has a flat based refill valve: it should work with any type butane canister

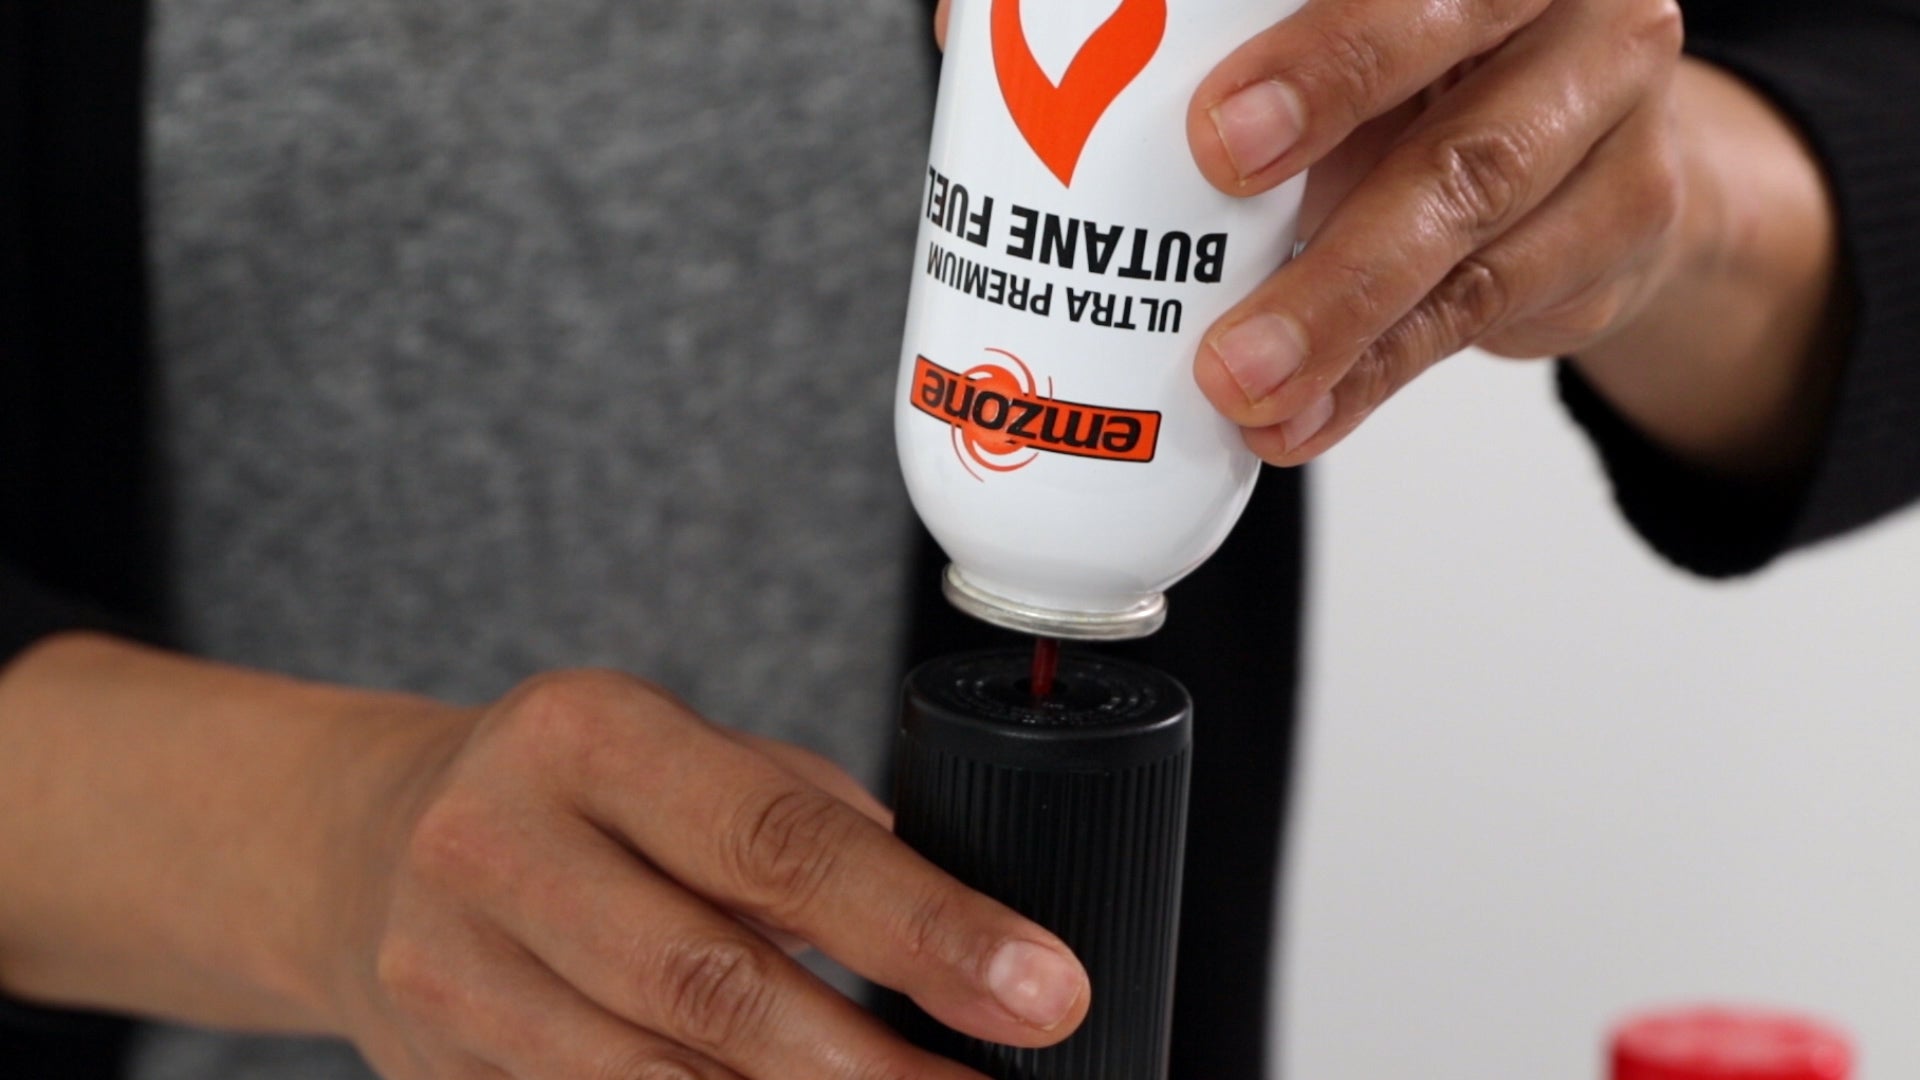

How To Operate A Butane Torch
This the part that seems intimidating ( but totally isn't ) ... turning on the torch 😊
Here's how to do it, step by step:
1. First, locate the Gas Gage on the side of the torch and slide it down to the lowest setting.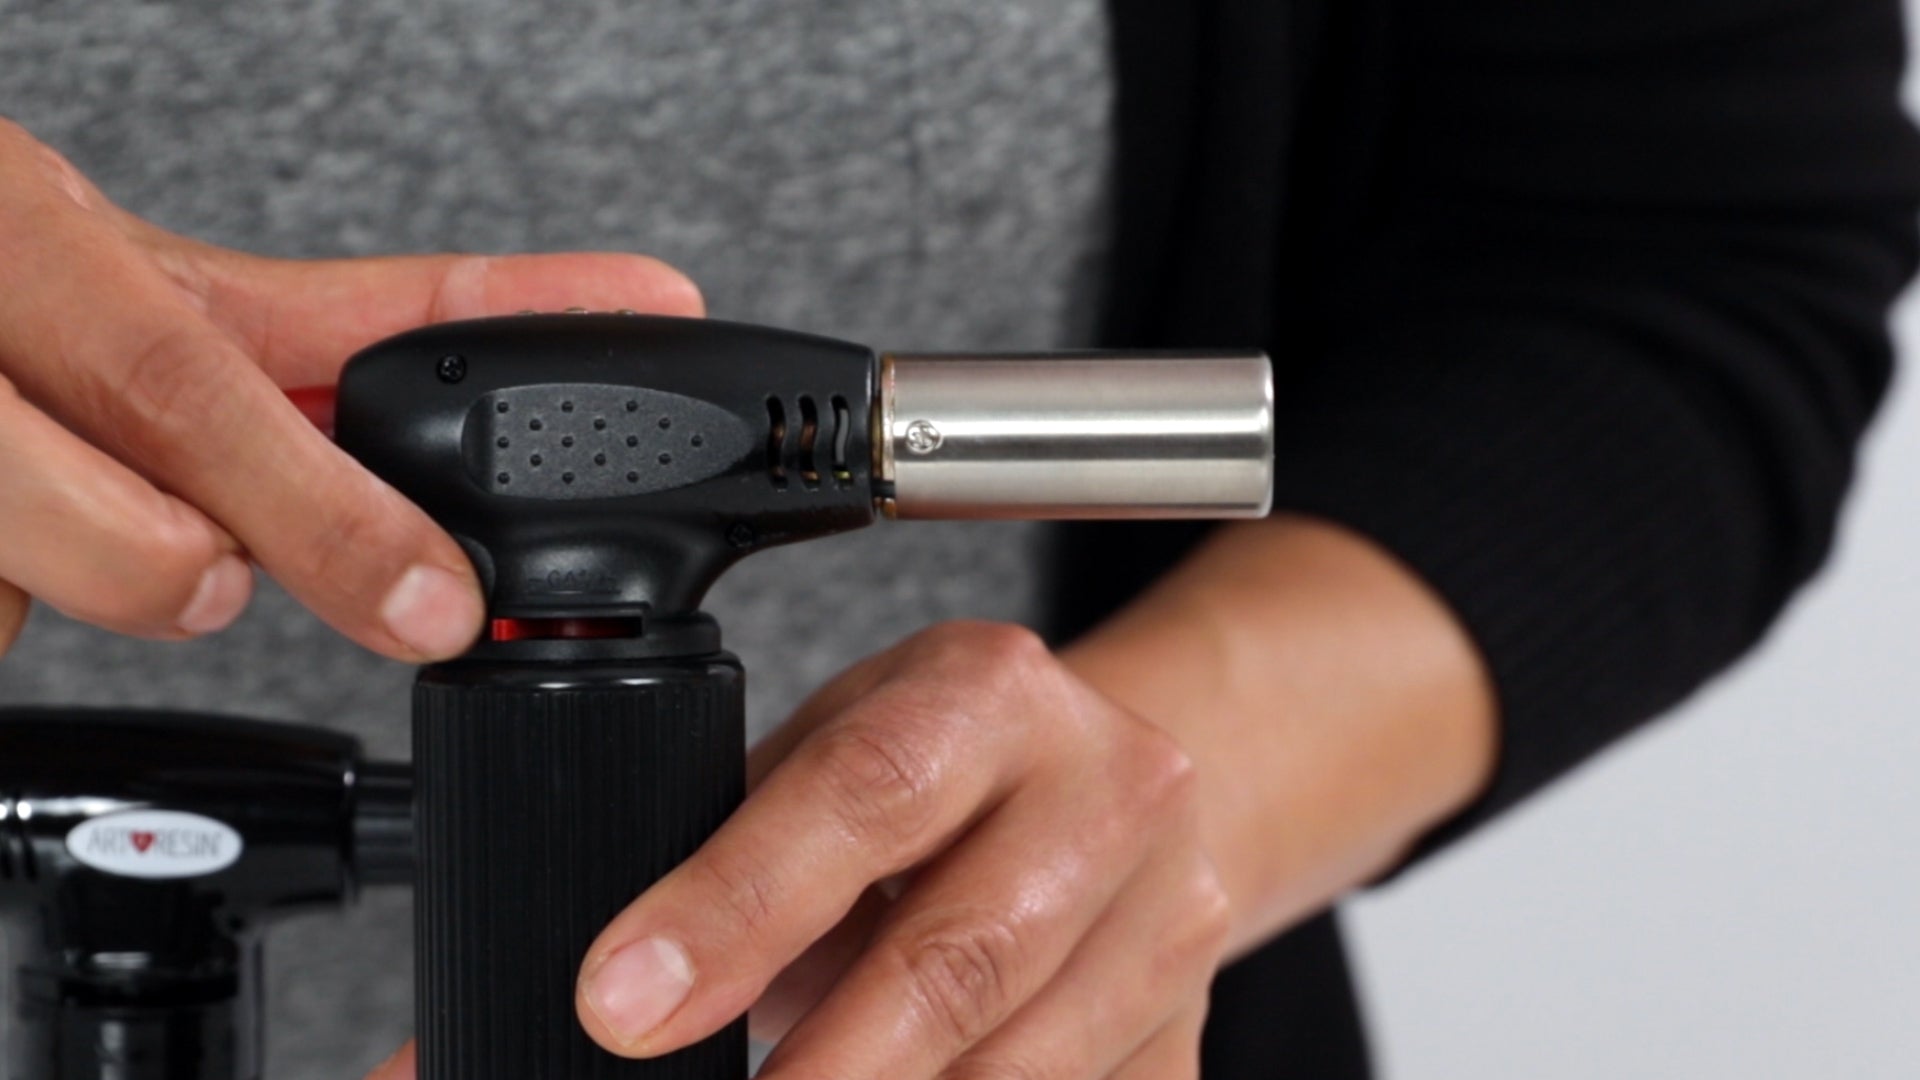
2. Next, find the Child Safety Lock located under the Ignition Button and slide it down until it clicks into place.
3. Then, placing your thumb on the Ignition Button, press it down to ignite the flame. Keeping your thumb depressed on the Ignition Button, turn the torch to locate the Continuous Lock Button located on the side of the torch. Slide the Continuous Lock button to the 'on' position to maintain the flame. Adjust the intensity of the flame using the gas gage. Now your torch is ready to go! 

How To Operate A Propane Torch
When you purchase a Propane Torch Head, you also need to purchase a propane tank to attach it to. You can easily find propane tanks ( like the ones below ) at the hardware store. Either one works perfectly well!
1. Remove the cap from the propane tank and screw the torch head on.
2. Once the torch head is screwed onto the tank, open the valve to release the gas, and click the ignition button to light the flame. Adjust the valve to increase or decrease the intensity of the flame.

Whether you choose a handheld butane torch or a larger propane torch, the first time you see those bubbles disappear before your eyes, you'll understand why resin artists love torching.
Once you try it, you'll never want to pour without one again. We promise.
Learn more about using a torch in your resin projects in our guides:
How To Use A Torch With ArtResin?
ArtResin: Made For Artists, By Artists.