
What is paper collage?
Paper collage is the technique of cutting and overlapping individual pieces of material to create a whole new work of art. The beauty of collage is that, from afar, the finished piece looks like a geometric abstract, but up close, all the small hidden details reveal themselves.
Artists may select their materials based on a color palette or a theme. These materials are then cut into small pieces and affixed onto a wooden panel or canvas. By arranging materials with a variety of textures, patterns and colors in a purposeful way, artists can create an eye-catching visual statement.
Can you apply resin over collage art?
Yes, epoxy resin is a great way to finish collage art. It provides a glossy, professional looking finish that protects the paper, it enhances the color and adds a layer of depth and dimension.
What materials work well for paper collage?
You can use a variety of materials to build a paper collage including photos, fabric, and paper. It's best to use high quality coated paper, ideally that has a texture or an image printed on it. Cuttings from high end magazines and books work very particularly well.
Join artist Daniel Anstett as he creates a collage entitled Coastline, following a simple but striking pattern suitable for beginners or experienced artists alike. He also covers the tools you'll need to recreate this piece at home and shares his tips and techniques to set you up for success!
Let's get started!
Supplies & Materials
Getting started with paper collage art is simple. Here's what you'll need:
- a 12 x 12 wood panel, painted white
- Good quality paper from a coffee table book or high end magazine, in the theme or color palette of your choice
- Scissors
- Glue stick
- Ruler
- Pencil
- Utility knife to trim the edges
- Stands to prop your panel up (painter’s pyramids or plastic cups)
- Masking tape
- Clear acrylic medium or brush on sealant
- Foam roller or foam brush
- Plastic sheet to line your work surface
- ArtResin Epoxy Resin
- Nitrile gloves
- Measuring Cup
- Mixing Stick
- Spreader
- Torch
- Dust Cover
Explore our resin art tools & supplies!
Step 1: Prepare The Paper
Choose high quality, coated paper based on a color palette, on a theme or an idea you'd like to convey. The paper quality is very important: thin paper can be see-through, so you'll end up seeing the print on the other side. Low quality paper can also absorb the resin, buckle and curl. Once you've sourced the paper and cut it into long strips approximately 2-3" wide.
💡 TIP: Daniel likes to source paper from coffee table books bought at thrift shops or in the bargain section of bigger book stores. He finds that photography or art books work particularly well. You can also use pages from high end magazines like National Geographic or Vogue. 
Step 2: Find The Center Of The Board
On a wooden panel that has been painted white, use a ruler to draw an X through the board, corner to corner, in order to find the center. Don't erase these lines: they will become guidelines as you build out your collage. 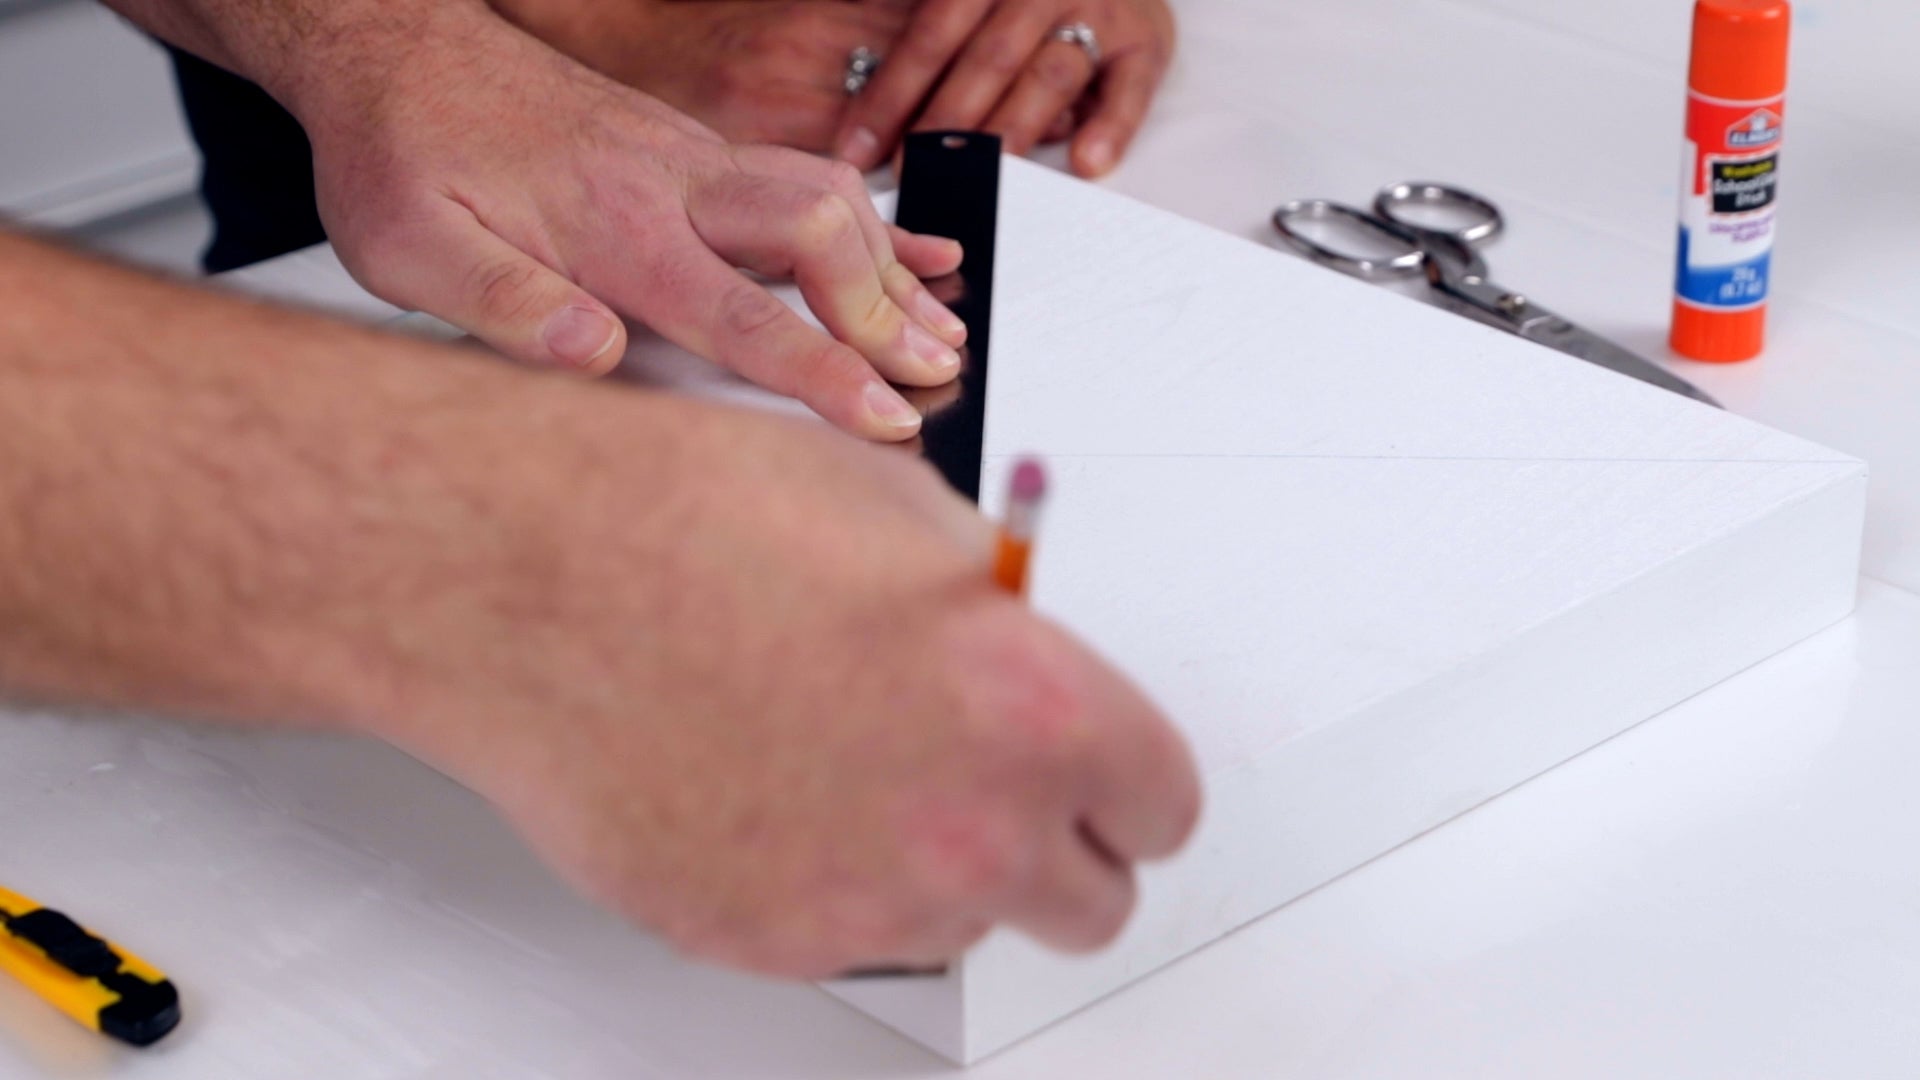

Step 3: Create The Center Circle
Daniel creates the center circle using the darkest color paper. Once you've decided which strip you'd like to use, cut it into smaller pieces, approximately 1/2" wide. The pieces don't all have to be the same size, but ensure you don't cut them too narrow - wider pieces will make it easier to create a circular pattern. 
Using a glue stick, apply a strip of glue along one of the guidelines in the center of the board. The glue should be the same size as the first piece of paper you intend to lay down.
💡 TIP: A glue stick offers effective and even coverage with more control and less mess than liquid glue. Since it doesn't dry right away, you have an opportunity to adjust or reposition the paper if need be.
Lay down the first piece of paper along the strip of glue, burnishing it with your finger to ensure it's well adhered and that there are no air pockets trapped underneath.
Moving in a clockwise fashion, apply a strip of glue to the back of the next piece of paper and lay it down over the first, placing it on an angle (opposite corner to opposite corner.)


Repeat this clockwise pattern, laying down one strip at a time corner to corner, until the circular pattern is complete.
Step 4: Lay Down The Second Row
Choose a paper strip to use for the next circle - you can choose by color or by pattern, but ultimately, it should be based on what looks best beside the center circle.
Lay down the first strip on the guideline, slightly overlapping the center circle.
Lay down the second strip: this time, you'll place the strip so that the bottom sits in the center of the first strip and the top sits corner to corner. 

To create visual interest, Daniel suggests mixing up the orientation as you lay down each strip. 

About a third of the way through the circle, change up the paper you're using to a different pattern or color that will compliment what you've already laid down. Daniel used beach imagery for the first third, then switched over to turquoise water that complimented the darker water in the center.

For the last third, choose another complimentary image or color. Daniel chose to use wave imagery that features a lot of white. Again, he changed up the orientation on a few of the strips to break up the pattern and create some interest.
Repeat this pattern until the second circle is complete, ensuring there are no spaces or gaps left between the strips.
Step 5: Lay Down The Third Row
For this row, Daniel suggests using 4 different patterns to create visual interest. He starts off by using the same dark turquoise water used in the center circle. He overlaps each piece, center to corner, ensuring there are no gaps left between strips. 


Step 6: Lay Down The Final Row
Plan out the placement for the last row, balancing it out so that the same pattern or color does not appear side by side between rows. Daniel used three different patterns for this last row.
Daniel starts the final row with the dark turquoise, making sure he lays it down next to a lighter sand color.


Step 7: Fill In The Corners
The last step is to fill in the 4 corners of the panel. This is where it's really important to balance out the color with what's already been laid down. Daniel made sure the colors worked by laying down the full strips in each corner: he placed sand next to turquoise water, matching lights and darks in a way that looks balanced.

Once he was happy with his choices, he cut the strips into pieces and began filling in the corners. Rather than placing the pieces in a clockwise pattern, Daniel started by placing the first strip on his guideline, right in the middle. He then built out on either side until the corner was completely covered.

Repeat this pattern until all four corners are covered.

Step 8: Trim The Edges
Using a utility knife, trim away excess paper from the edges. Work your way around the perimeter of the board, using a sawing motion.
💡TIP: Place your thumb against the blade to act as a guide, ensuring the blade stays flush with the side of the panel as you make your way around.

Once you've trimmed off all the excess, look for any pieces of paper that may be lifting away from the panel. Place a little dab of glue on a scrap strip of paper, and place it under the loose piece to apply a little glue to the underside. Press down so that the paper adheres to the panel. 


Step 9: Seal The Collage
Before resining, apply a clear sealant over top of the collage to prevent the paper from curling up and to help prevent the resin from soaking in. Daniel uses a clear acrylic gloss medium applied with a foam roller but you can also use a brush on sealant and/or a foam brush. Allow the sealant to dry according to the label instructions.
Step 10: Prepare The Panel
Before you apply the resin, tape off the edges and bottom of your wood panel with a good quality painter's tape. This not only ensures nice clean edges, but the tape will catch any resin drips that may run down the sides. After 18-24 hours, the tape can be removed and the resin drips right along with it!
💡 TIP: If you wish to apply resin to the sides of the panel, tape off the bottom only to catch the resin drips, and use a gloved hand to guide the resin over the edges.

Mount the panel up and off of your work surface with some plastic cups or painter's pyramids - this will prevent any resin drips from adhering the panel to the table top. Because resin is self-levelling, use a level to ensure your work is perfectly horizontal. If the piece is leaning to one side, the resin will run off.

Step 11: Apply The Resin
Wearing gloves, measure and mix the ArtResin according to the label instructions.
💡 TIP: To determine how much ArtResin you'll need to cover your panel, simply enter the dimensions into our Resin Calculator. The Calculator will let you know how much resin and hardener you'll need and even which kit to buy.
For our 12 x 12" panel, we needed 5 oz total, made up of 2.5 oz of resin and 2.5 oz hardener. We decided to make 6 oz total. 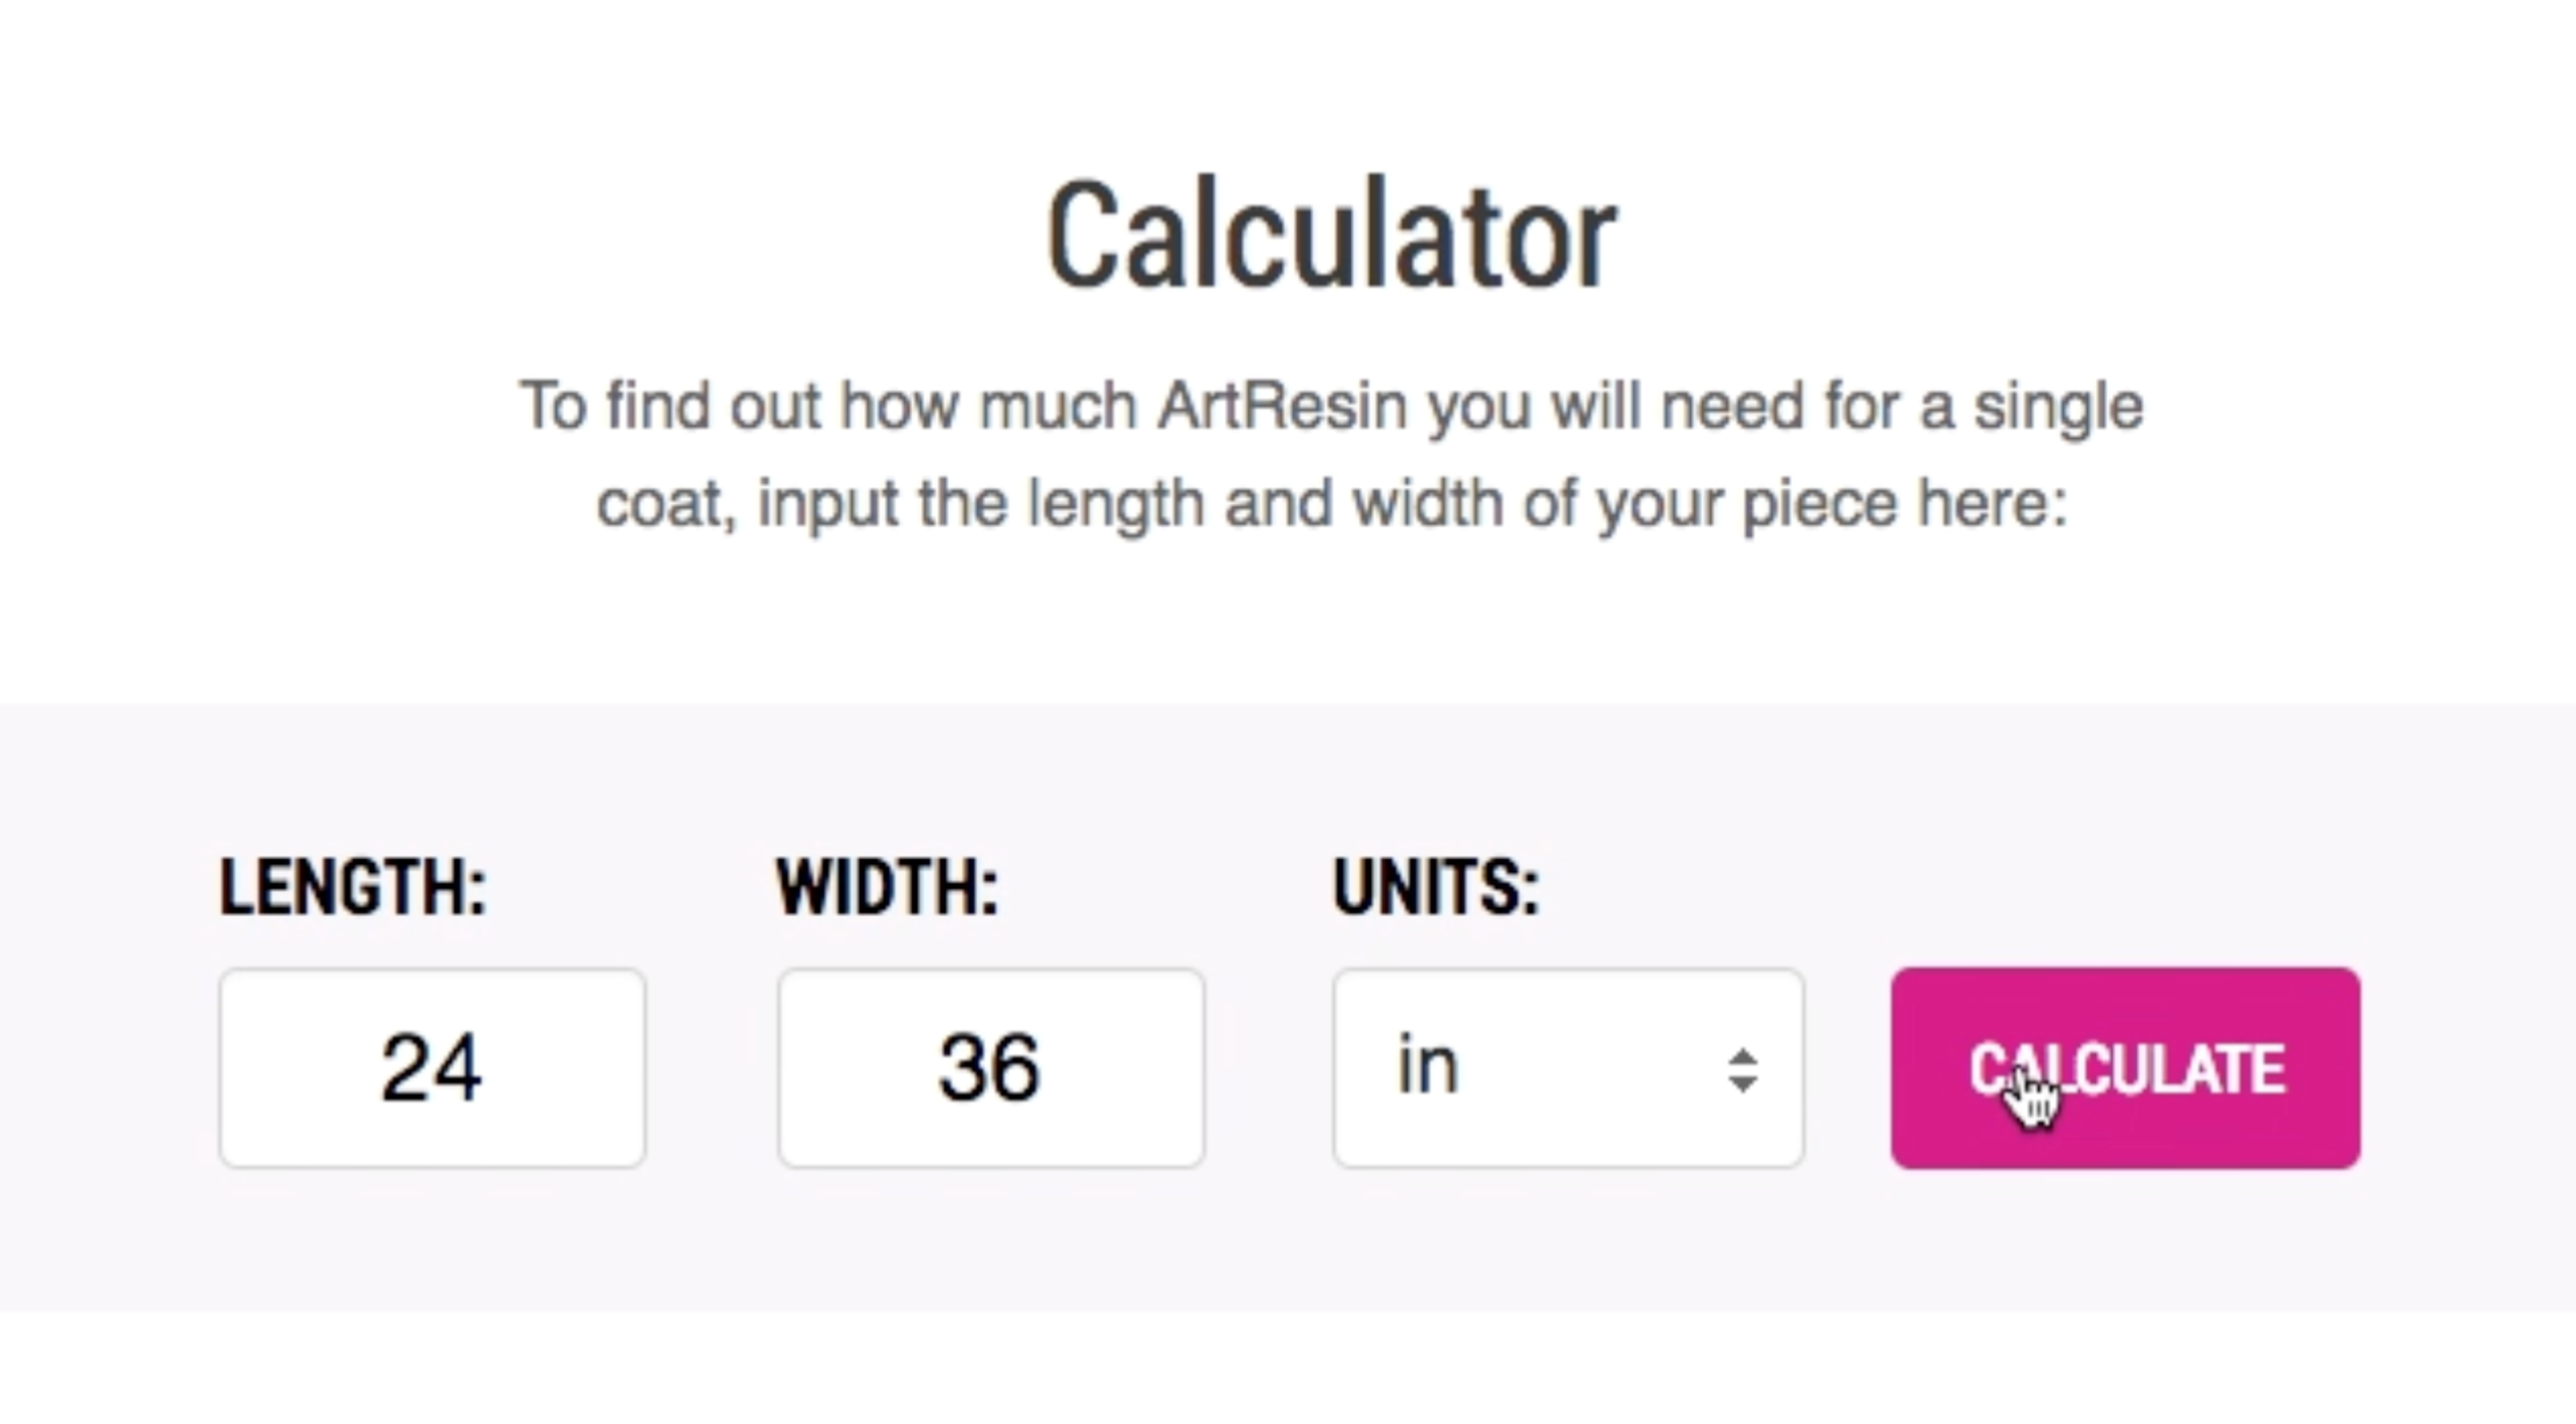
Measure equal amounts of resin and hardener (in our case, 3 oz each) into a plastic mixing cup. It doesn't matter if you pour the resin or the hardener first, as long as both parts are equal by volume.


With a plastic stir stick or a craft stick, mix the resin and hardener together for at least 3 minutes, ensuring you scrape the sides and bottom of the mixing cup as you stir.
Pour the resin onto the center of the panel. Be careful not to scrape the resin out of the mixing cup, as you would if you were scraping batter from a bowl. There may be traces of unmixed resin or hardener stuck to the sides that could create soft, sticky spots in your resin. 
Using a plastic spreader, gently guide the resin out to the edges of your piece. You have approximately 45 minutes to spread the resin before it gets too thick to work with.
Run a flame torch quickly over the surface of the resin to remove bubbles. Don't hold the flame too closely to the resin and keep it moving at all times. 
Looking at the resin under the light, remove any bits of dust or hair. 
Place a clean plastic tote over the wet resin in order to protect it from dust as it cures. Allow the piece to cure overnight.

Step 12: Reveal Your Masterpiece!
The next day, once the resin has cured to the touch, remove the plastic tote. At this point, you can remove the tape from the sides of the wood panel. It's best to remove the tape between 18-24 hours, while the resin is still flexible.

Admire your work! The resin will be fully cured by the 72 hour mark. At this point, you can hang the piece on the wall but if you're planning to ship the piece out, wait until the resin has finished curing and it's rock hard.
Daniel says" "ArtResin makes the colors pop. It gives it a cool look that I don't think you can get with anything else."

We hope you enjoyed this tutorial and feel inspired to create a paper collage piece of your own!
To see more of Daniel's work:
Visit his website: www.thedeadant.com
Follow him on Instagram: @thedeadant
Please leave any questions or comments below - we'd love to hear from you!
Do you want to learn more about resin art techniques. See below our how-to tutorials:
- Introduction to Resin Art
- How to Make Ocean Resin Art
- How To Create A Black Resin Ocean With A Gold Crackle Shoreline
- Selective Embellishment
- How to Make Resin Flow Art
- Create Lacing and Cells in Resin
- How to Make Epoxy Resin Matte
- How to Make Mandala Resin Art
- How to Make Resin Art with Dried Flowers
- How to Resin Mixed Media Paintings (Step-by-Step Tutorial)
- How to Resin Marker Pointillism
- How to Resin Spray Paint
- How To Make A Resin Crystal
- How to Resin A Glossy Photo
ArtResin: The Original Epoxy For Resin Art.
