How do you apply resin to a large painting?
The basic principles of applying epoxy resin remain the same whether you're working on a large or a small piece: measure, mix, pour, and cover. However, large pieces of artwork also come with some unique challenges that need to be problem solved:
What's the best way to mix a big batch of resin?
Can you apply resin to a large stretched canvas?
How do you cover a large resin painting to protect it from dust while it cures?
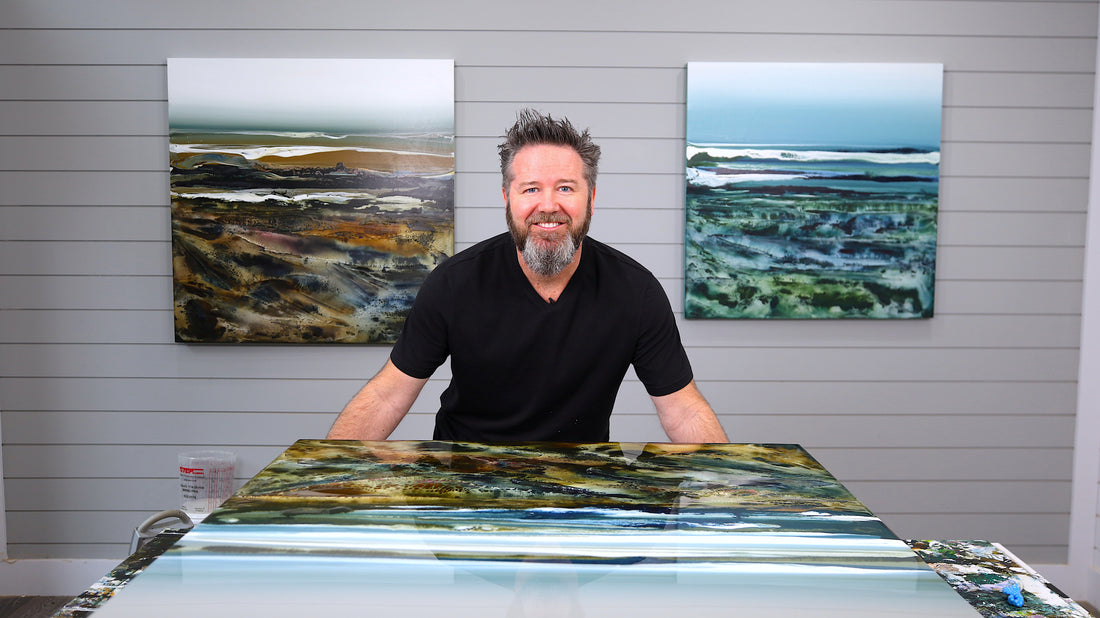
Artist Greg Benz has learned how to troubleshoot the most common issues when applying epoxy resin to large paintings, and he is going to share his tips and techniques with us.
Let's get started!
Step 1: Use A Wood Panel
If you're planning to apply epoxy resin a large piece of artwork, the best supportive surface to use, hands down, are wood panels. They're strong, sturdy and, unlike a stretched canvas that can stretch and sag in the middle, wood panels will support the weight of the resin.

Step 2: Tape Off The Back Of The Panel
Taping off the back of the painted panel provides clean edges with no resin drips. It allows you to work quickly over a large surface area and to spread the resin over the edges without fear of creating a mess on the back.
The tape catches the resin drips as it runs off the sides of the panel. After about 24 hours, when the resin is dry to the touch, you can remove the tape (and the drips) revealing a smooth, clean, edge. It's one of those things that only takes a few minutes but can save you so much time in the long run.
💡GREG'S TIP: Use a good quality painters tape, like 3M's Scotch Blue tape. Lower quality painters tape can absorb resin or tear easily, making it difficult to remove.

Step 3: Prop The Painting Up Off The Work Surface
Raise the painting up off the table with plastic stands, plastic cups or large plastic containers. Using plastic stands keeps the bottom of the painting clean and prevents the resin from curing your piece to the table top
💡 GREG'S TIP: Use plastic stands to prop up your work. Resin doesn't stick to plastic so once it has cured, you can simply peel it off. 

Step 4: Resin Multiple Pieces At Once
Work smarter, not harder! Greg suggests batching your work so that you can resin a couple of paintings at once to save time in the long run. Ensure paintings are taped off, propped up, and level before you measure and mix so that you can pour as soon as the resin is ready.

Step 5: Mix Large Quantities Of Resin With A Drill Mixing Attachment
To prepare a big batch of epoxy resin, Greg suggests mixing in a large plastic container using a drill outfitted with a mixing attachment. Allow the mixing paddle to touch the sides and bottom of the container so that all the resin and hardener are combined. The drill will cause the resin to appear frothy but don't worry - the torch will eliminate those bubbles.
In this case, Greg has 2 paintings that are both 36 x 36" and each require 1300 ml. Greg likes to play it safe and mix up a little bit more: 3000 ml total to cover both pieces.
💡 GREG'S TIP: Not sure how much resin you need? Enter the length and width of your piece into ArtResin's online Resin Calculator. It will determine how much resin you’ll need and even which kit to buy.

Step 6: Spread The Resin Efficiently.
A spreading tool allows you to spread the resin across the surface of the painting quickly and efficiently. Greg likes to use the spreader in ArtResin's Accessory Kit: the different jagged edges allow you to control the flow of the resin.💡GREG'S TIP: You have 40 minutes of working time, but a very large painting will sometimes require an extra pair of hands to help spread the resin, especially in the summer when the heat can prompt a faster cure.

Step 7: Use Gloved Hands To Spread The Resin Over The Sides
The most efficient way to apply the resin to the sides of the panel is with gloved hands. It allows you to spread the resin quickly and evenly over the edges for a clean, smooth finish.

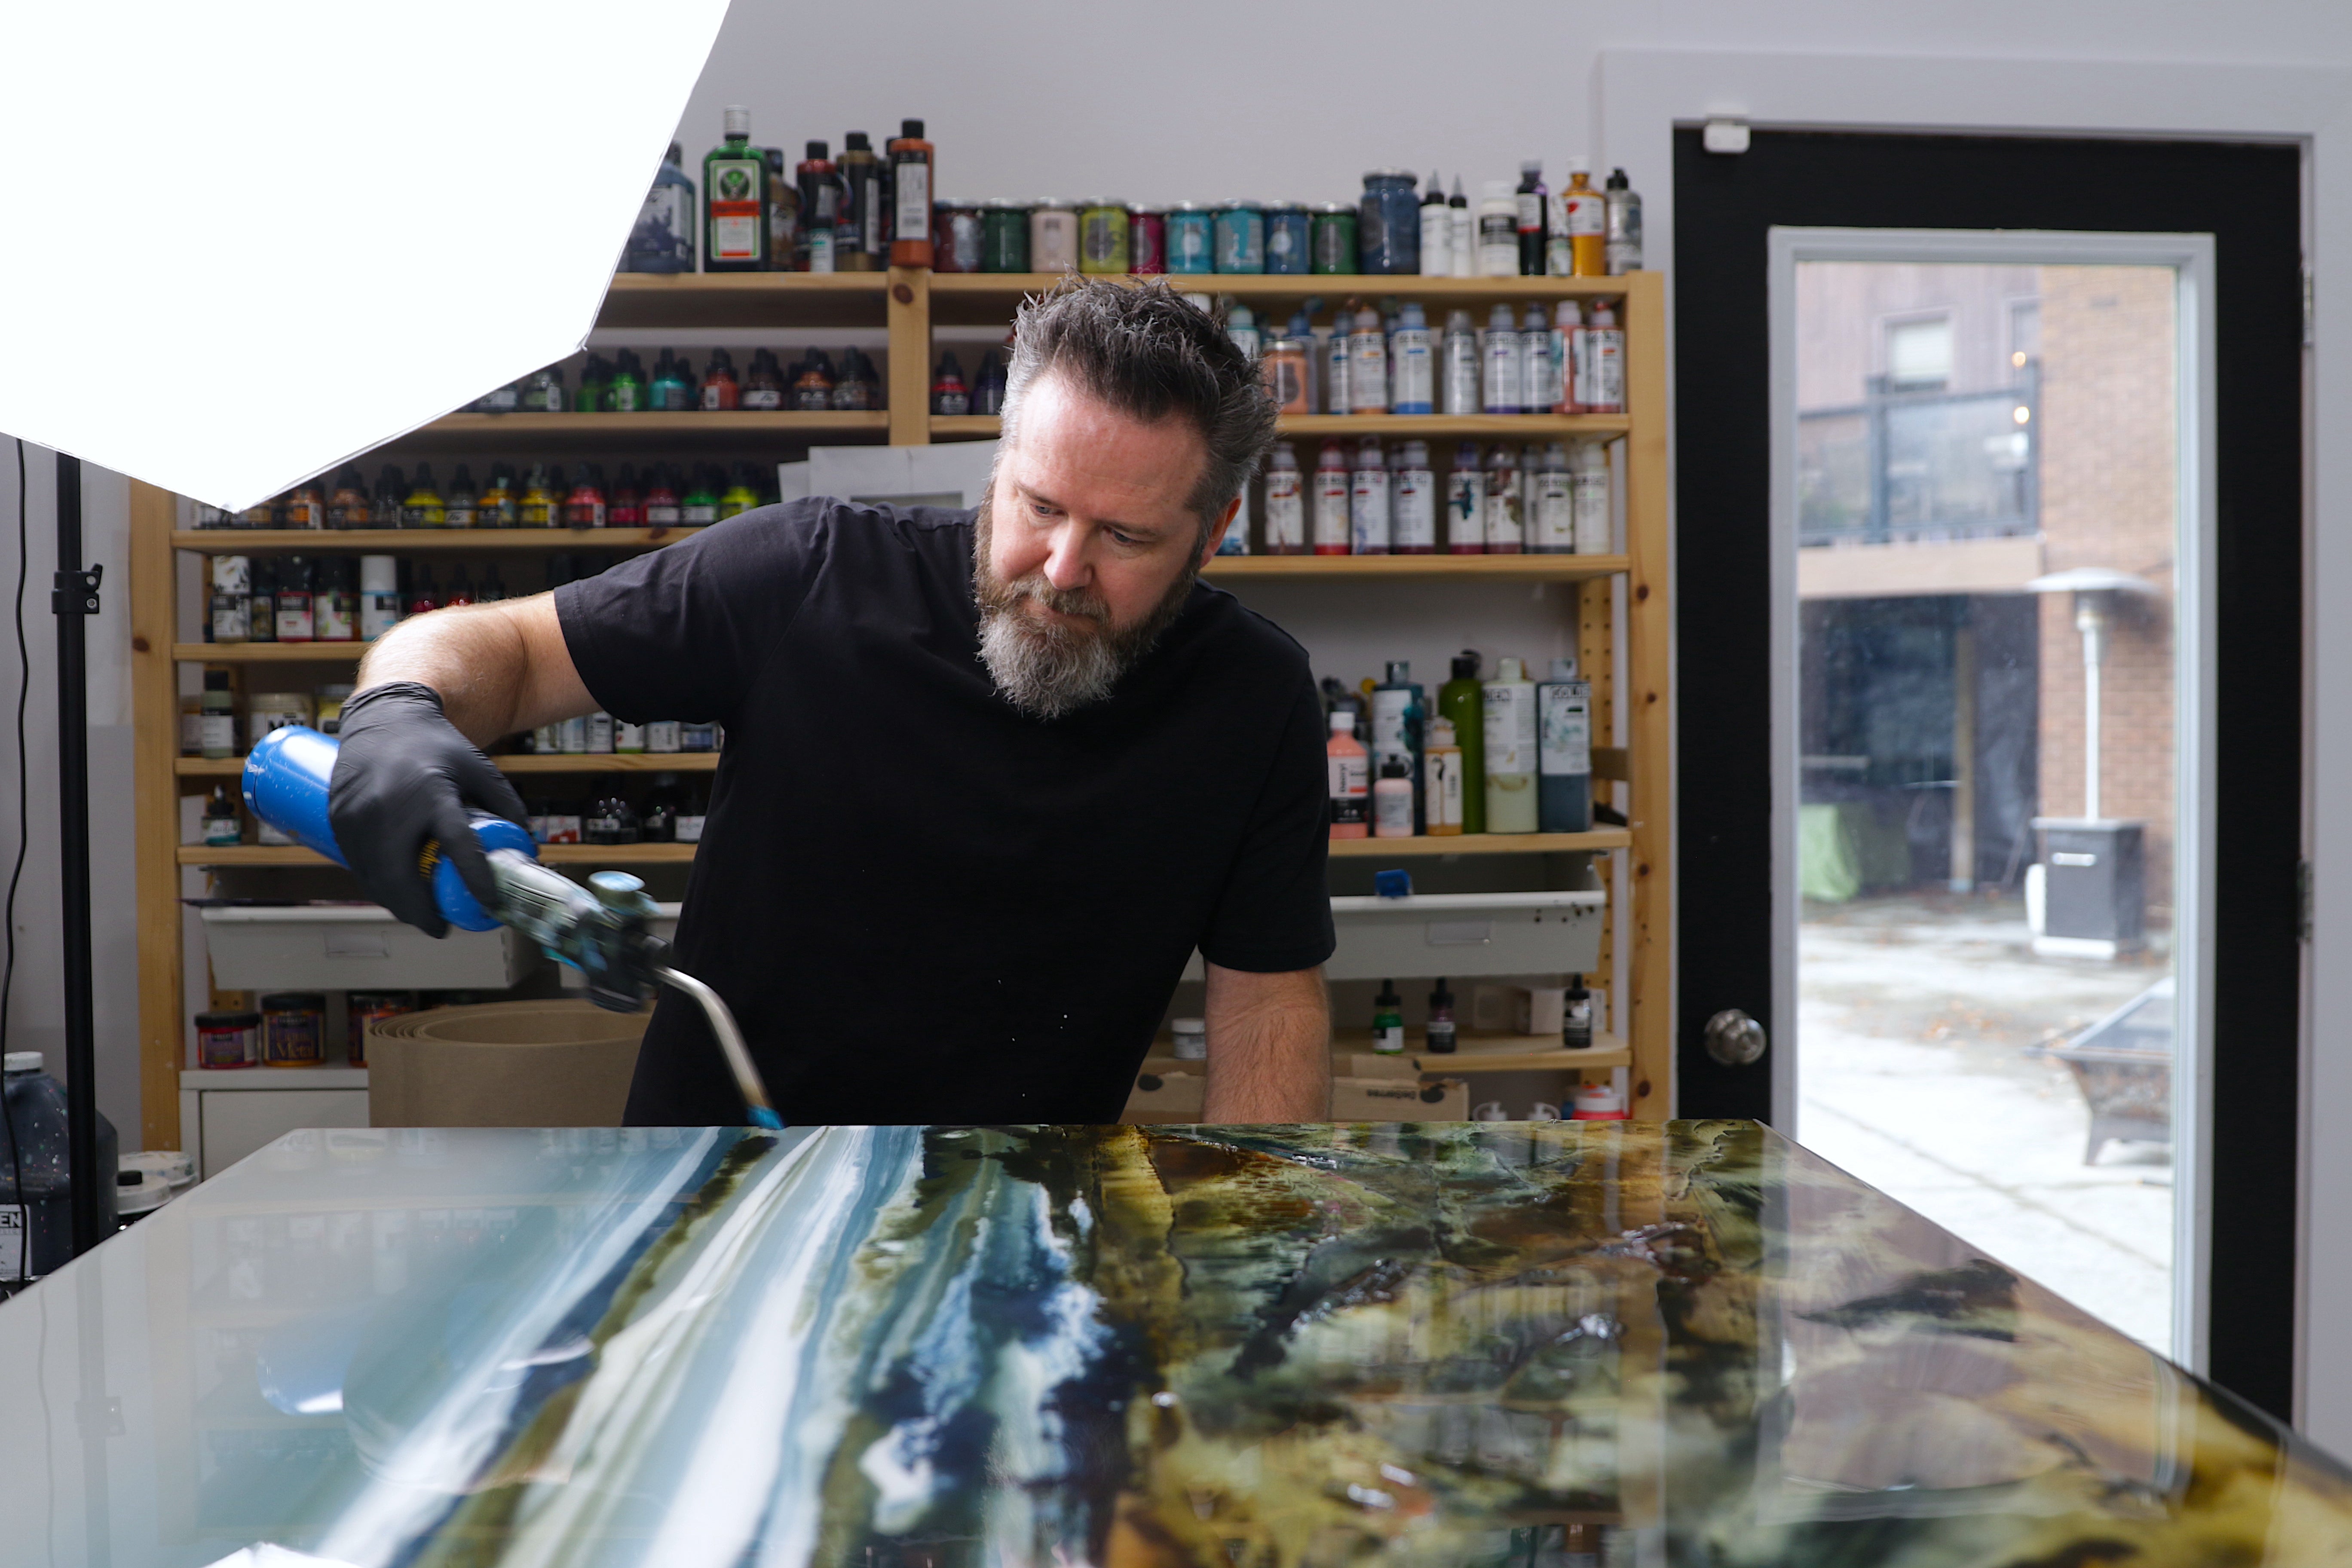
Step 8: A Propane Torch Removes Bubbles From Large Paintings
Nothing beats a propane torch when applying epoxy resin to a large piece of artwork. It removes bubbles from a large surface area with ease and efficiency.
💡 GREG'S TIP: Do an initial pass with the propane torch to remove bubbles, and then give it a light follow up about 10 minutes later to catch any bubbles you may have missed, or new ones that may have popped up.

Step 9: Babysit A Large Resined Piece For The First Hour
After you've removed bubbles with the propane torch, inspect the resin under a good light source for dust, hair and other surface contaminants. These can be removed with a toothpick.
💡GREG'S TIP: It pays to babysit your work for the first hour or so. Check for bubbles or dust every 10 minutes or so for the first hour. 
Step 10: Use An Extra Large Cardboard Box To Use As A Dust Cover
One of the biggest challenges when working with large panels is how to protect it from dust while the resin cures. While you can create a tent with plastic sheeting or build a custom box, Greg found an easy solution: he ordered an extra large box, bigger than his panel, from U-Line. The box is big and sturdy and can be re-used over and over again.
If you can't find a box big enough and you need to build your own, read our blog How To Cover Large Resin Artwork To Protect From Dust to see how artist Alexis Puleio built a custom wooden crate for her large format painting.

There you have it! We hope you found Greg's tips helpful. If you have questions or a favorite tip of your own, please leave a comment below.
To learn about reducing dust in your work space, please see our blog How To Reduce Dust Before You Resin.
To see more of Greg Benz's work:
vist his website: www.gregbenz.com
follow him on Instagram: @gregbenz_artwork
ArtResin: The Original Epoxy For Resin Art.
