How To Pack Your Resin Art
Proper packing with the correct materials helps protect your resin artwork, preventing damage and ensuring it arrives safely to its destination. ArtResin's Rebecca has some great tips for packing small to medium sized pieces of art.
1. Ensure your resin has fully cured.
2. Wear gloves and work on a cushioned surface.
3. Wrap your piece with glassine paper, parchment, butcher or kraft paper.
4. Wrap the entire piece with padding material like polyfoam or fabric.
5. Use cardboard protectors on the corners of your wrapped artwork.
6. Box and send.
For large pieces of art that require extra care, resin artist Mike Hammer shares his techniques for packing your art like a pro with custom-made wooden crates.
Rebecca's Packing Do's and Don'ts - 0:27
Mike Hammer's Small Crate - 6:12
Mike Hammer's Big Crate with Strapping - 9:05
Mike Hammer's Viewing Crate and Shipping Container - 10:55
How To Pack Small & Medium Pieces Of Resin Art:
Set Up
First, and most importantly, ensure your resin has completely cured. Please don't wrap or ship your artwork before the 72hr mark. Though it may seem ready before this point, it hasn't had enough time to dry all the way through, making it susceptible to dents and marks.
💡TIP: A full ArtResin cure is 72hrs for a standard 1/8" pour. If you pour thicker than this, please allow additional time for the resin to cure completely.
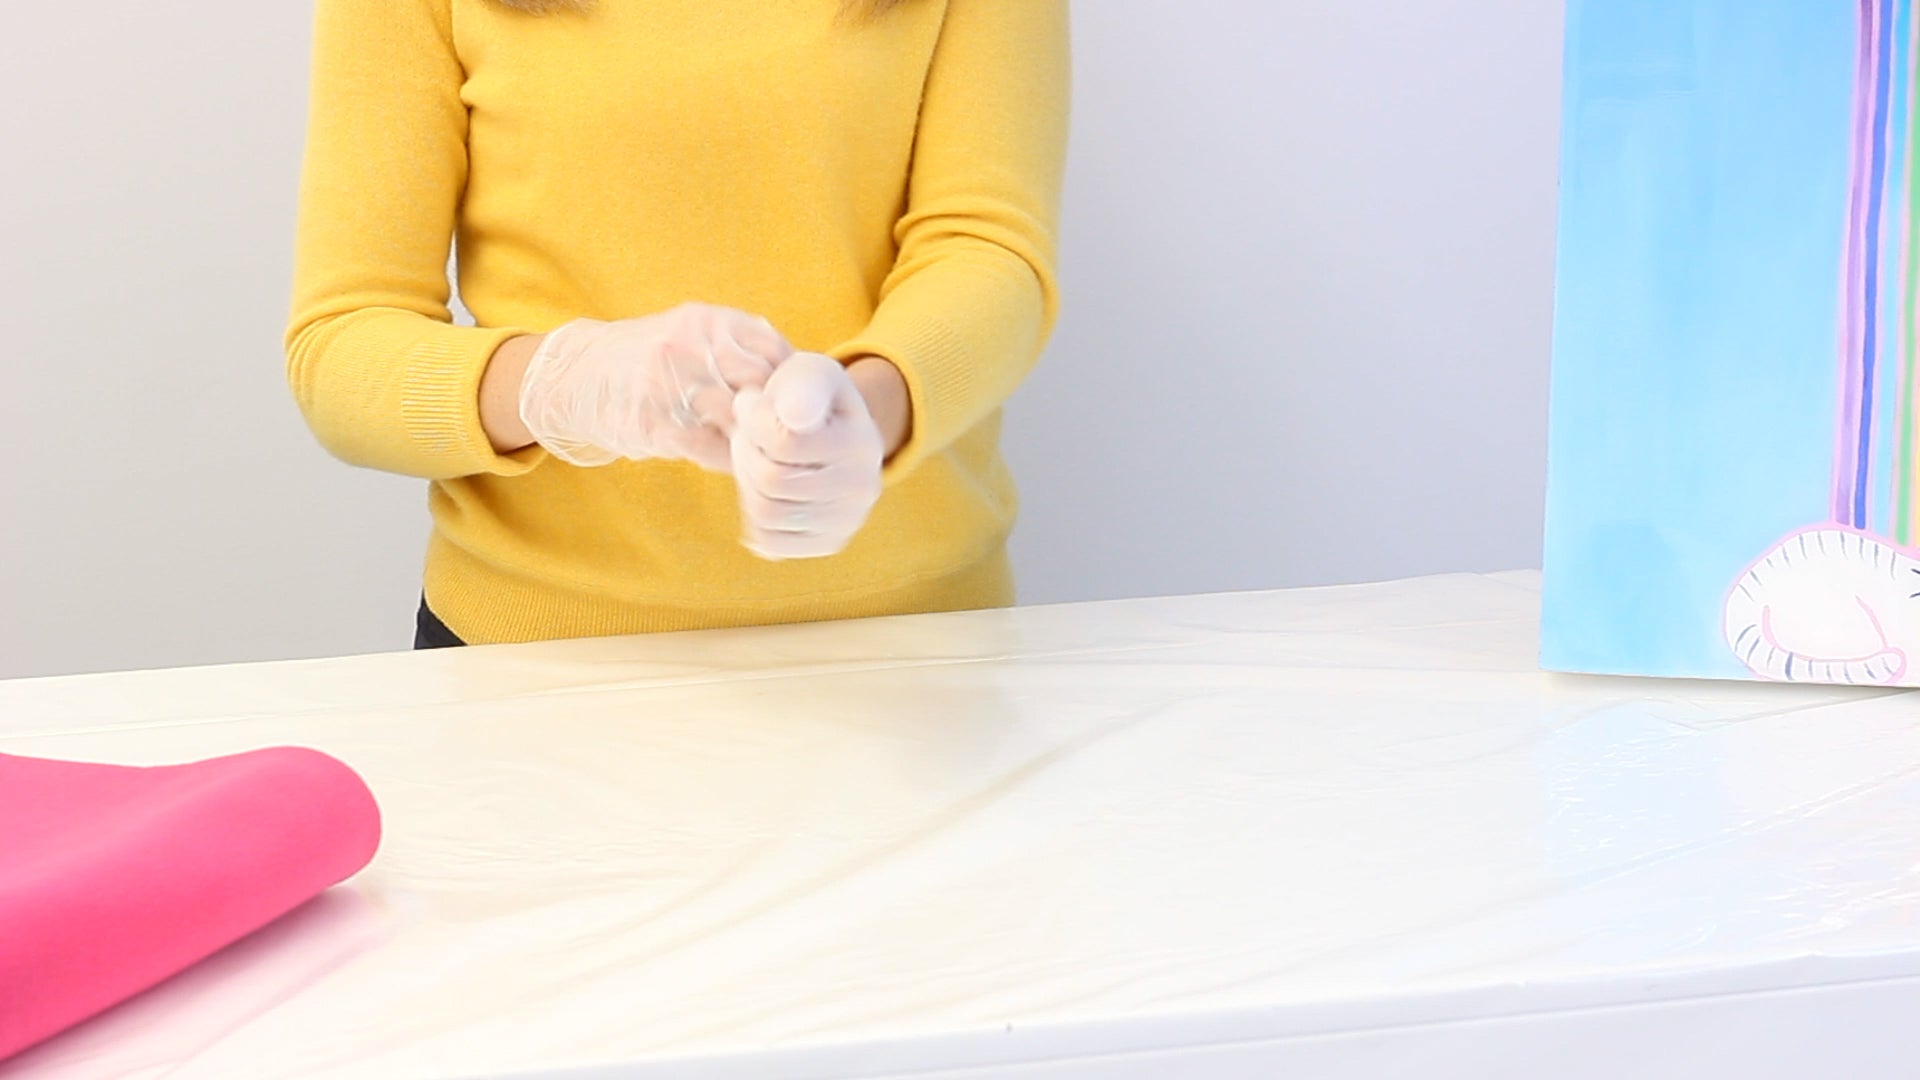
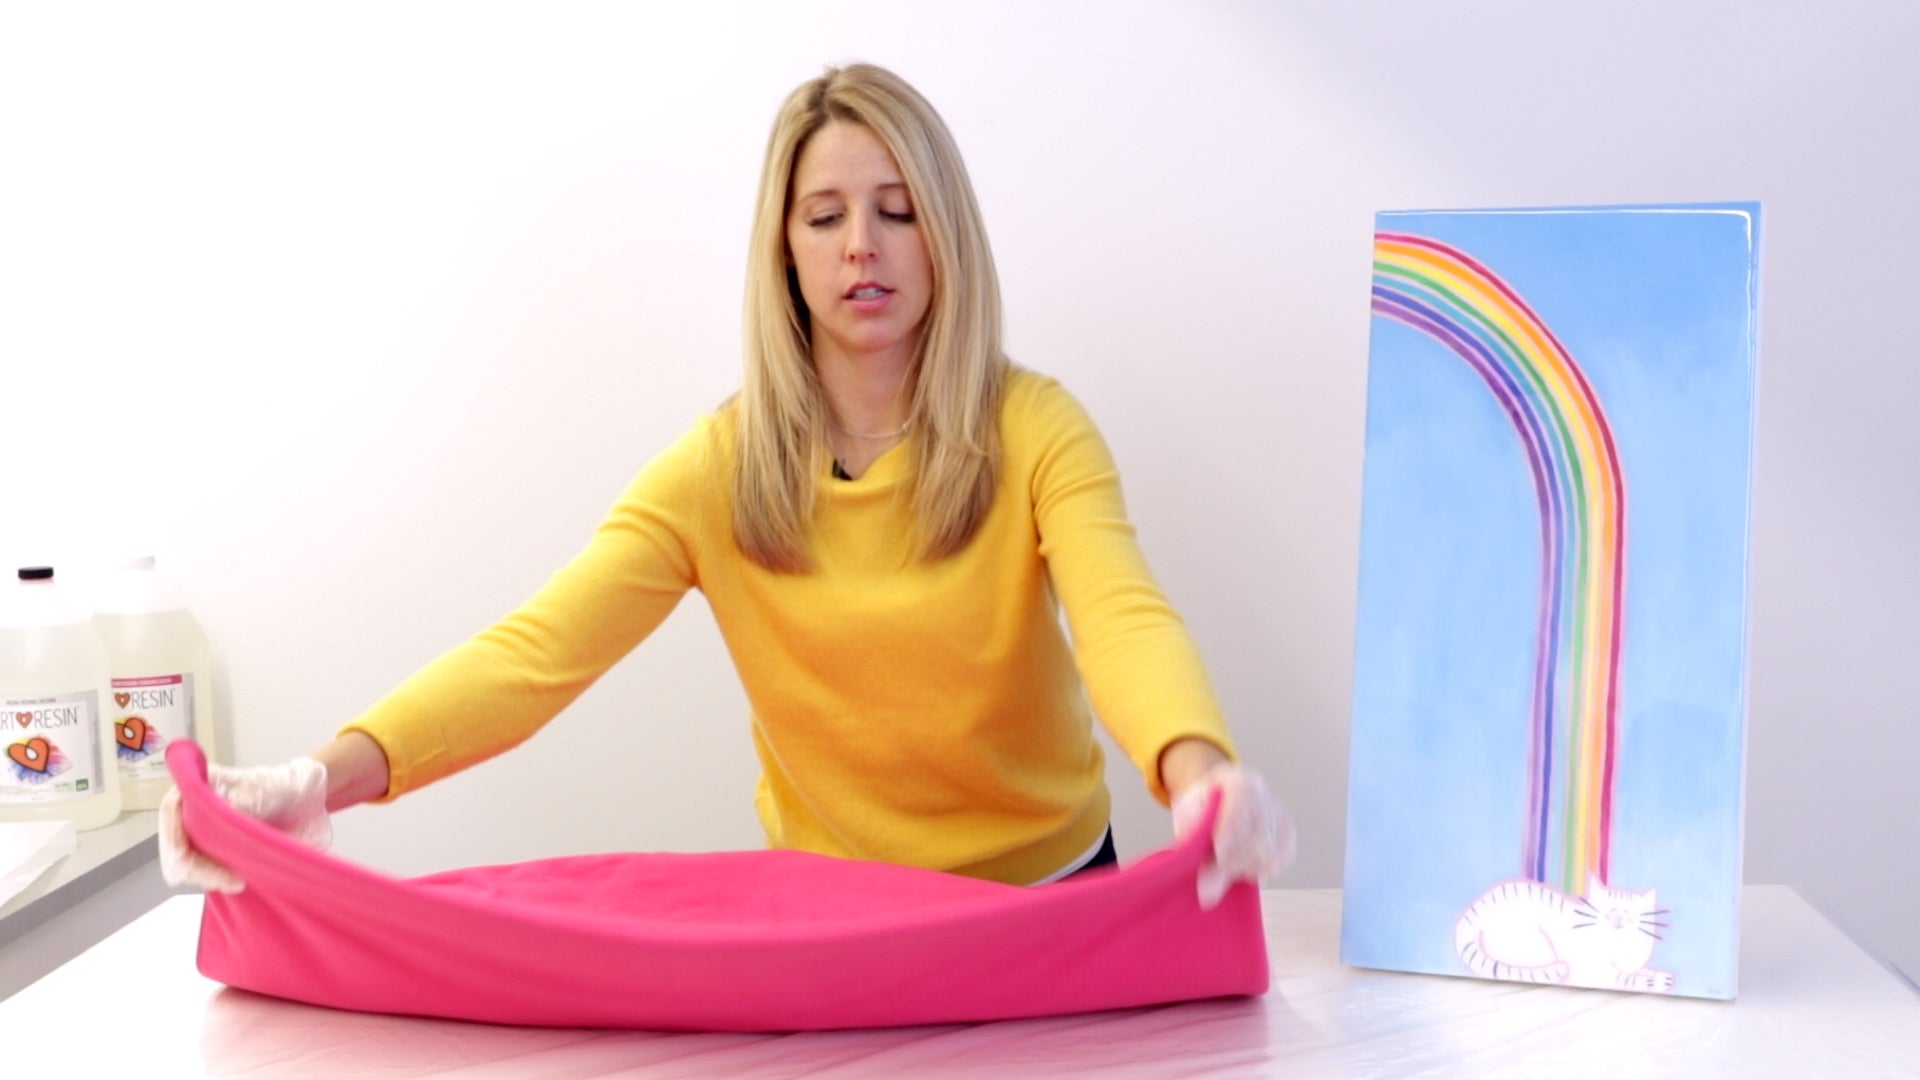
Wear nitrile gloves and wrap your artwork on a soft blanket: you don't want to get fingerprints, smudges, or dents on that glossy resin finish.
The First Layer
The first protective layer really is the most important because it comes into direct contact with your artwork, so choose wisely.
For this critical first layer, ArtResin's material of choice is Glassine art paper. Glassine is a glossy, exceptionally smooth paper that is non-abrasive and acid-free. Unlike tissue paper, it is moisture and grease resistant and has no tooth so it won't stick to your resined surface. It's no wonder that glassine paper is used by art galleries and museums to wrap their paintings.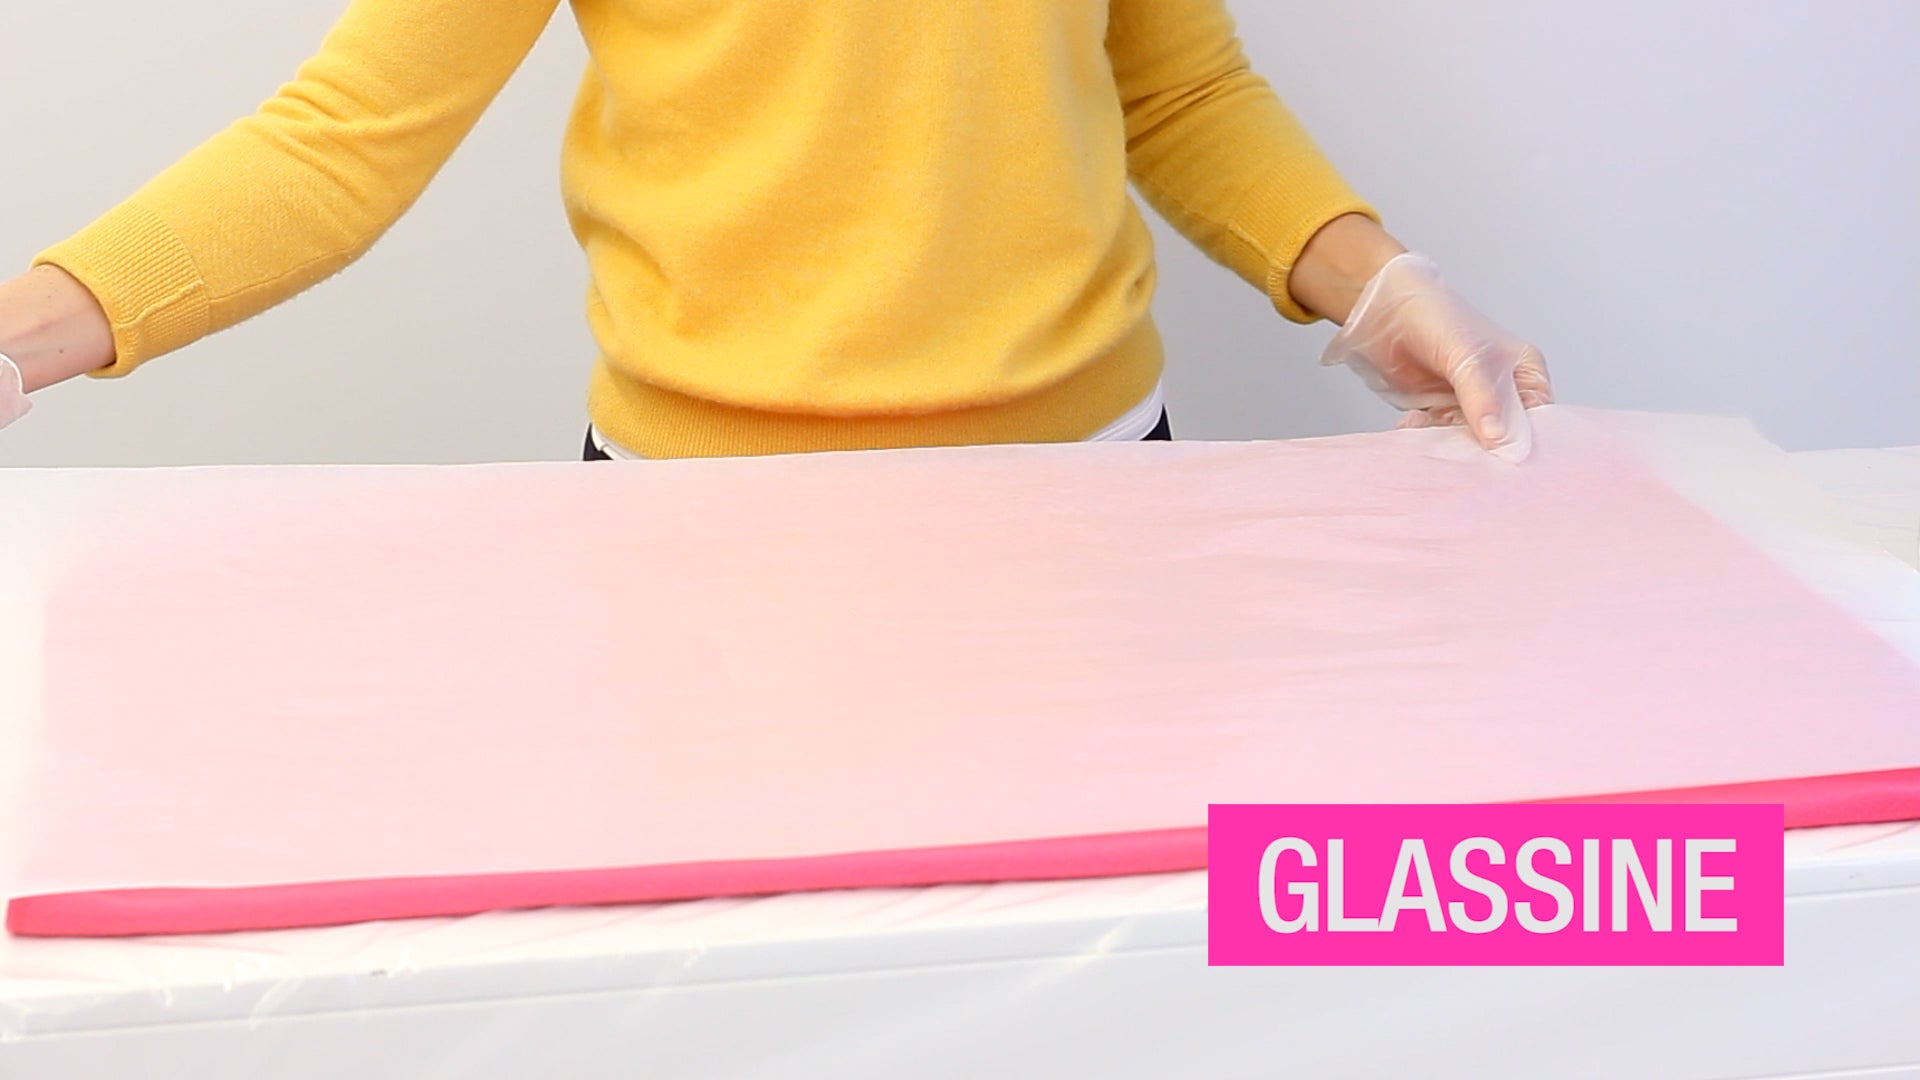
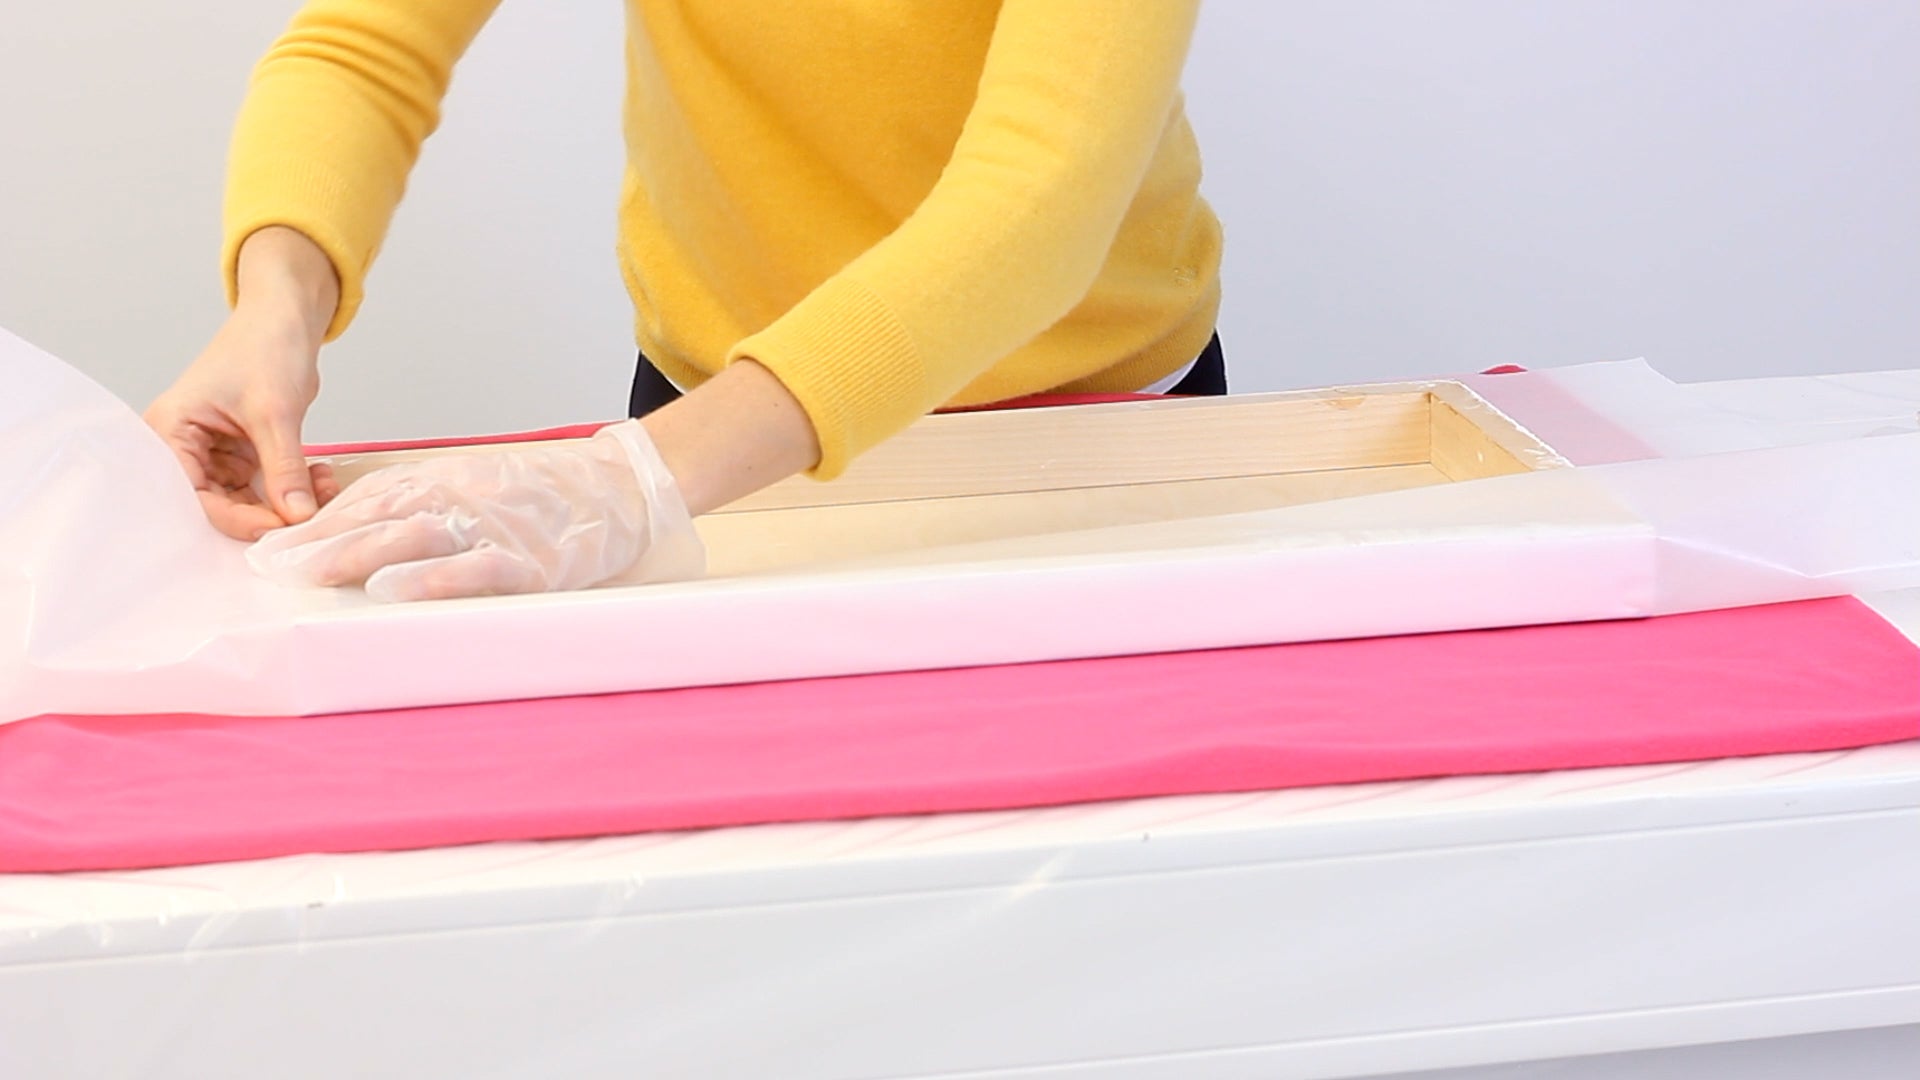
Glassine paper can be purchased in sheets or rolls at art supply stores or on Amazon. While glassine may not be the most budget-friendly option, it's highly recommended for wrapping delicate artwork. If glassine paper is outside your budget, consider alternatives like parchment, butcher paper or kraft paper. They are more affordable options, but be aware that they lack the acid-free qualities of glassine.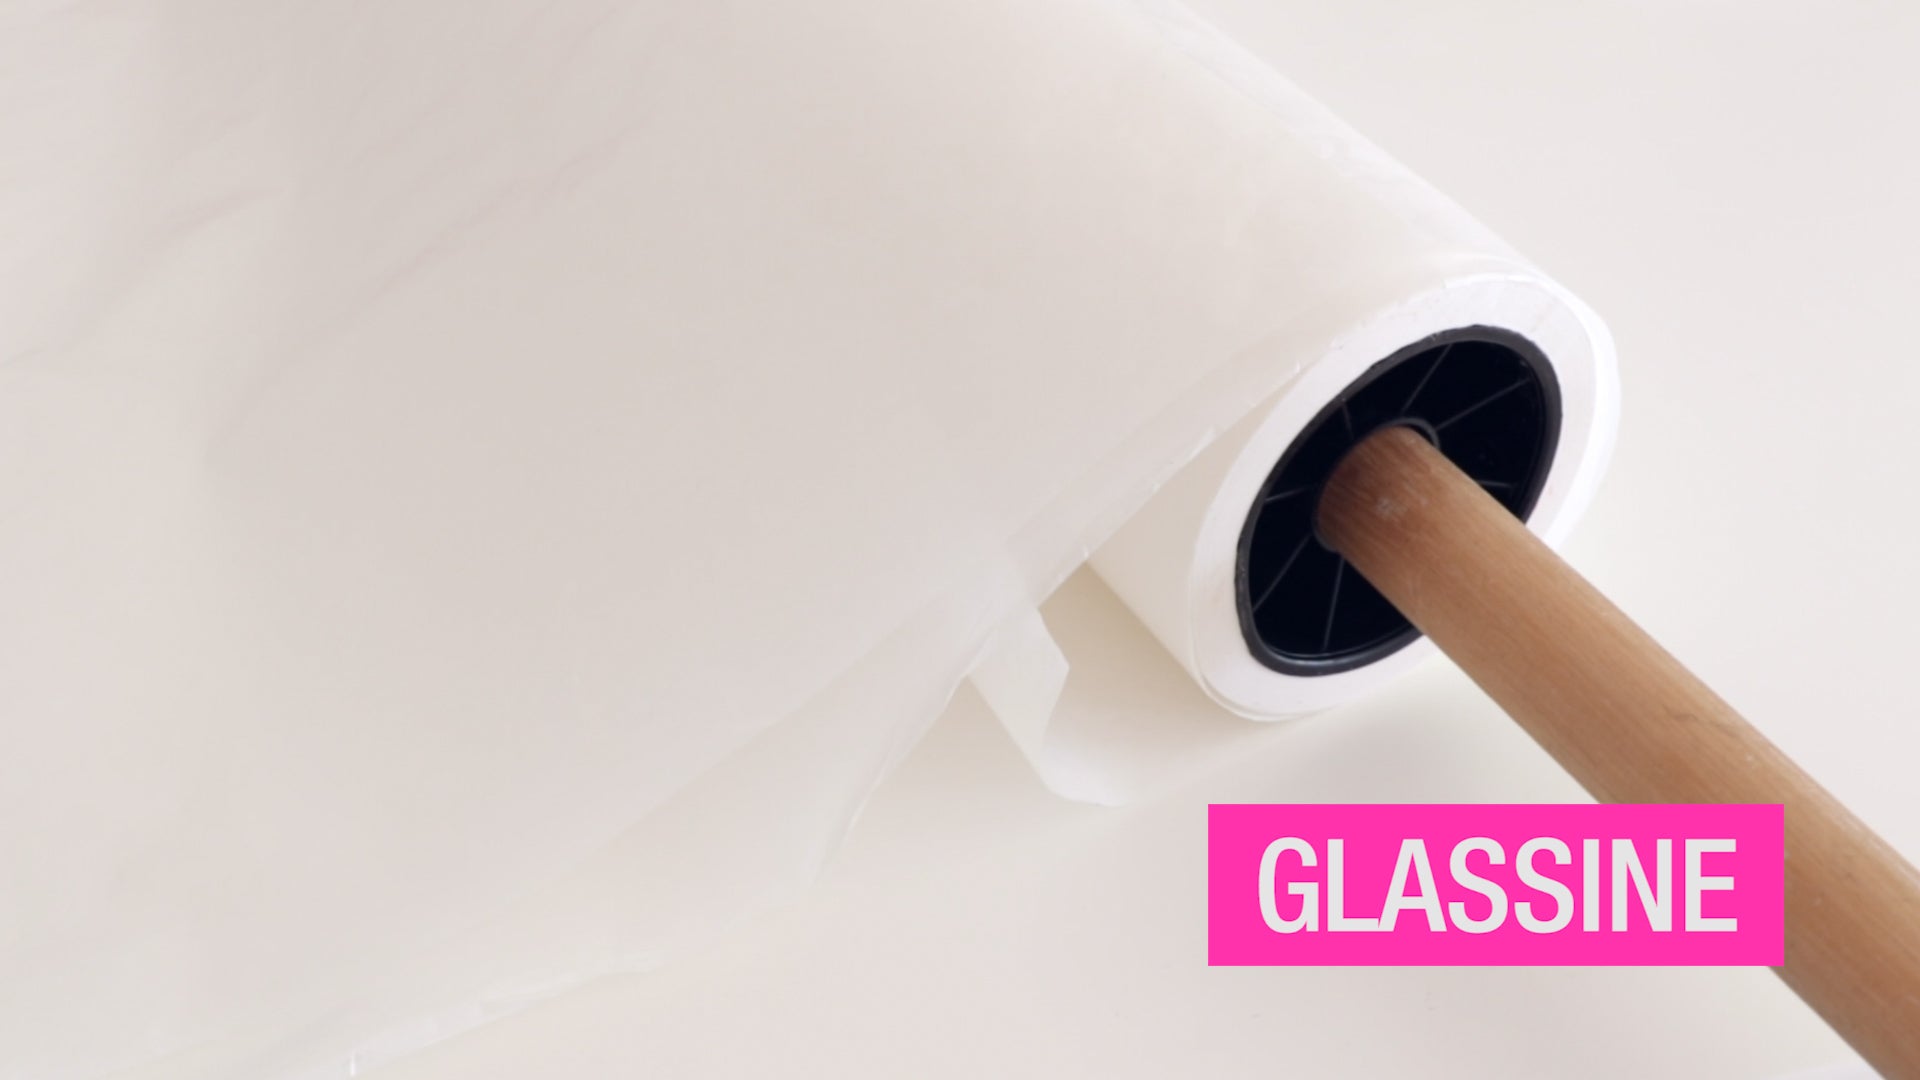
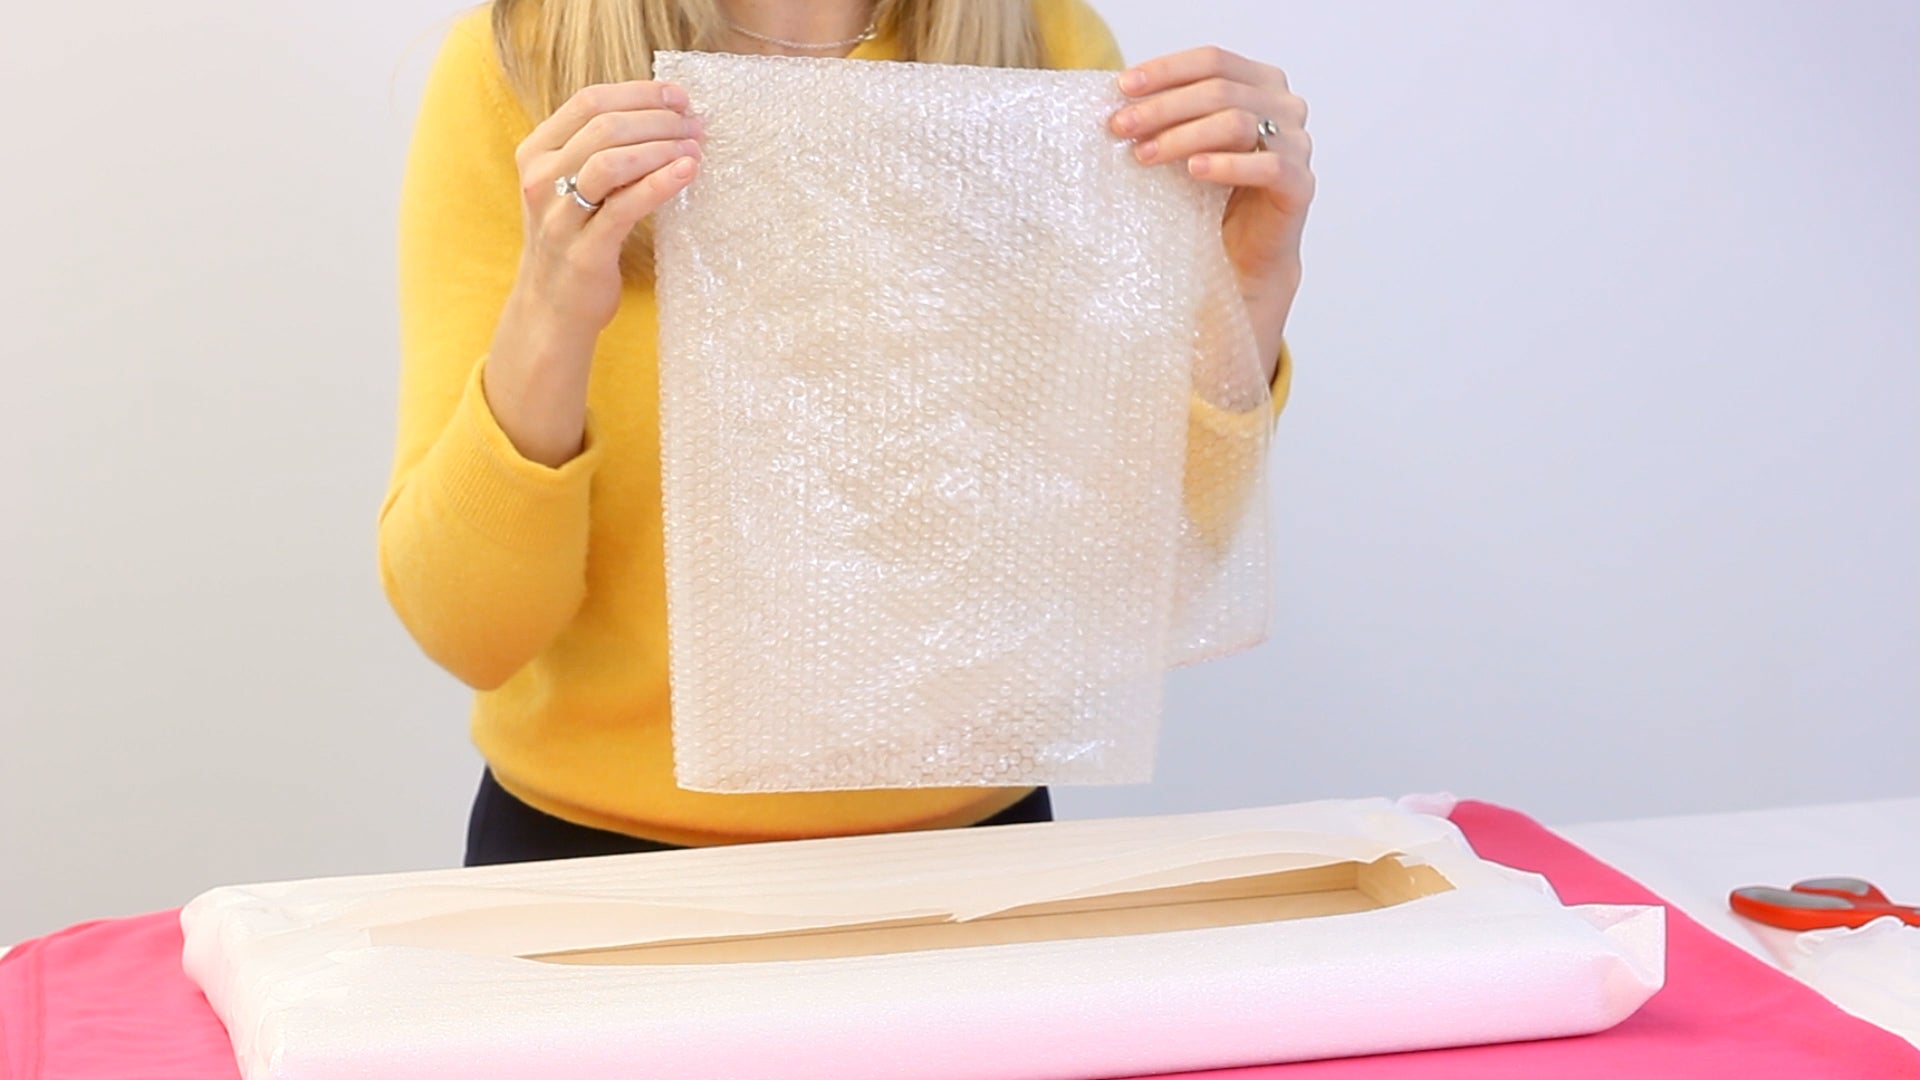
💡TIP: DO NOT place plastic packing materials of any kind directly on the surface of your cured epoxy resin. Plastic will stick and leave marks that are difficult to remove. Bubblewrap, in particular, should be avoided. It's known to leave small, circular impressions on your resined surface. If you must use bubble wrap, use it only as exterior padding with the bubble side facing away from your artwork, to reduce the risk of marks.

The Outer Layer
Once you have a protective barrier, glassine or otherwise, you need to cushion appropriately with padding. ArtResin recommends polyfoam for this purpose, but other good options include fabric, canvas, sheets, towels, or cardboard. 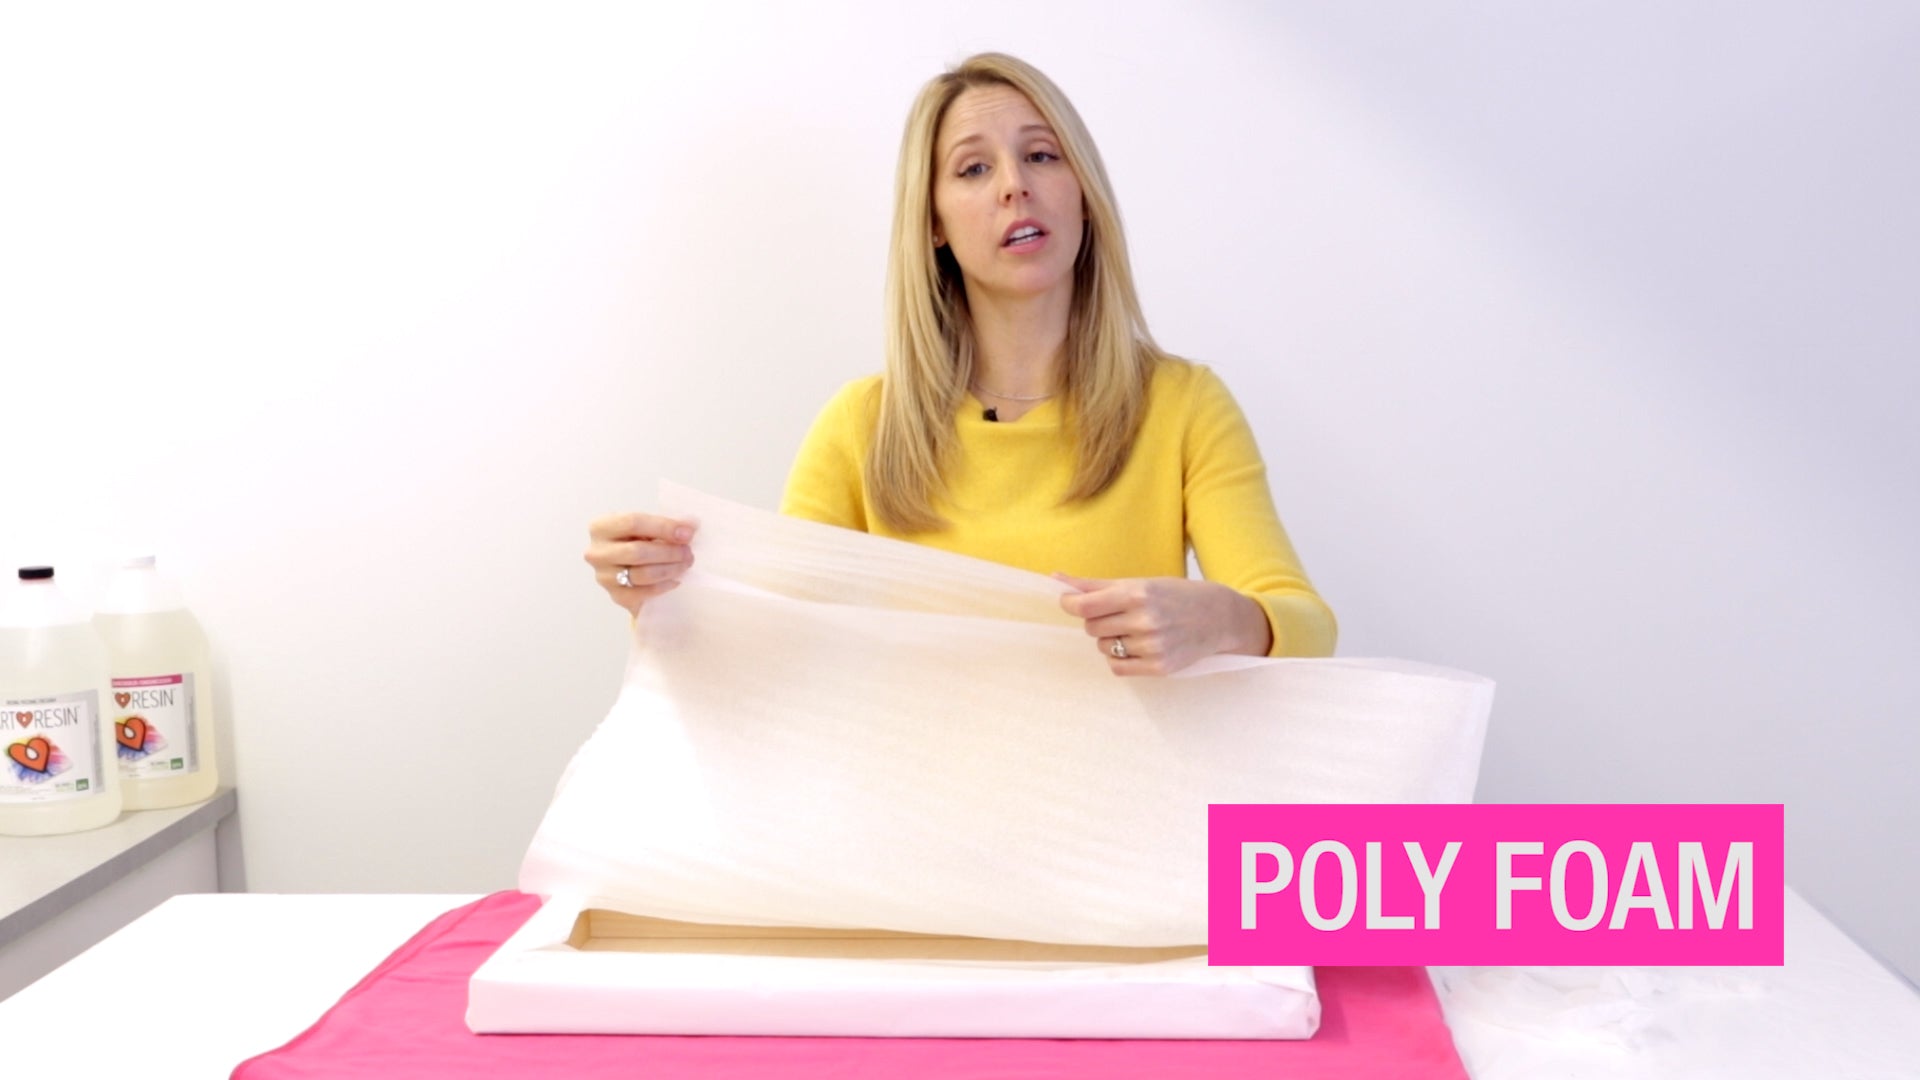
Finally, it's time to box and send your properly protected artwork on its way!
Now ... these are great tips for packing small to medium sized pieces. But what if you have large works of art that require extra attention? Well, we turned to our friend Mike Hammer to discover professional techniques for packing your large-format art.
How To Pack A Large, Heavy Piece Of Resin Art:
Meet Toronto resin artist Mike Hammer:
Mike is known for his large-format blob paintings, which he regularly ships to clients and art galleries worldwide. Due to the nature of his paintings - their weight, the impressionable resin surface, and the delicate paint drips on the sides of his work - Mike has experienced instances of artwork damaged during transit. As a result, he developed a custom wood crating system specifically tailored to protect his large paintings during shipping.
Here are Mike's 3 main crate systems:
Crate 1
Crate 1 is the smallest of his wood crates. 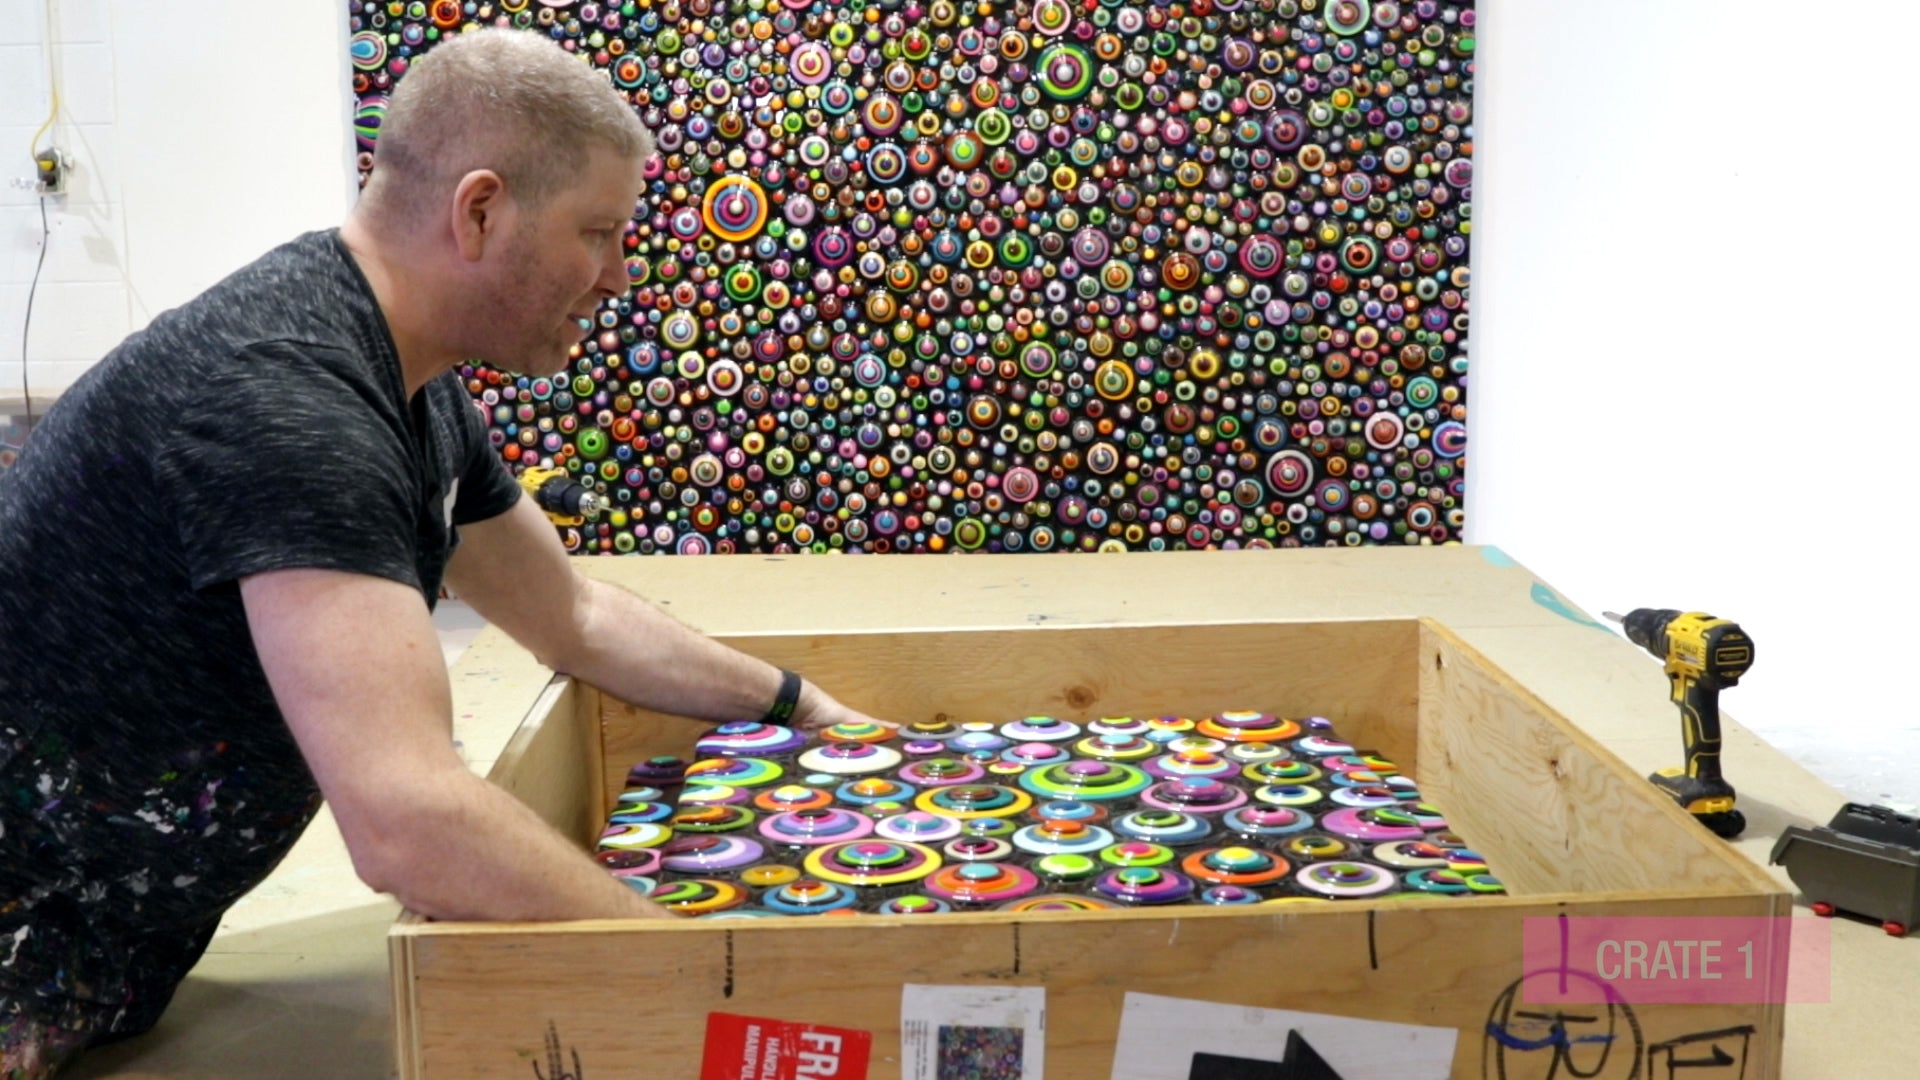
- To pack his artwork securely, Mike starts by crafting a frame from 3/4" plywood. This frame is approximately 6" larger in both length and width than the artwork itself, creating a 2-3" gap on all sides.
- Once the frame is built, Mike affixes styrofoam to the interior using a glue gun. This styrofoam acts as a protective layer for the artwork on all sides.
- Next, he constructs the front and back of the frame using 3/8" plywood and attaches the back of the frame.
- To raise the artwork slightly and safeguard the paint drips on its sides, Mike uses 3/4" plywood bumpers. These bumpers are screwed into both the back of the painting and the back of the frame, allowing the artwork to essentially "float" within the frame.
- Finally, Mike attaches the front face of the frame, and the artwork is ready for shipping.
Crate 2
Crate 2 is essentially same as Crate 1, but bigger to accommodate larger and heavier pieces. Strapping on the front and back provides strength and reinforcement.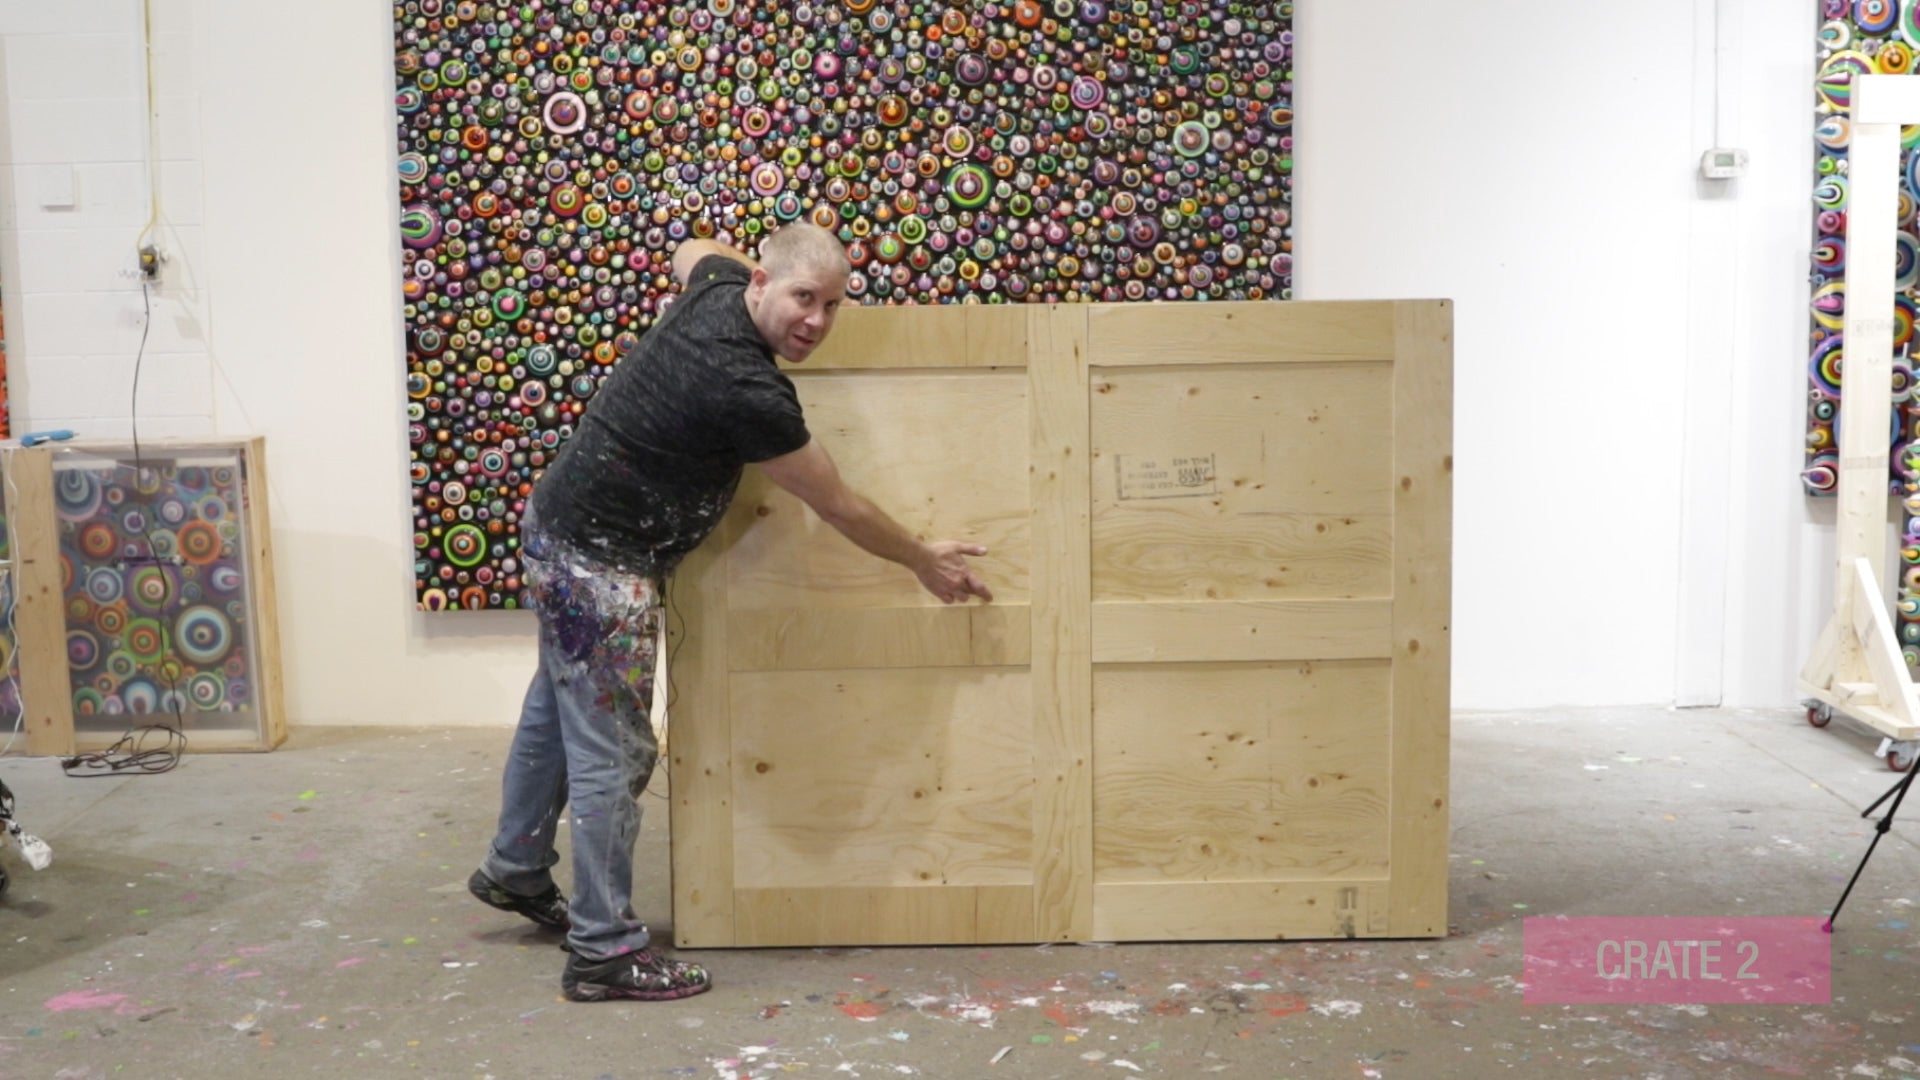
- Similarly to Crate 1, Mike begins by constructing a frame for this crate using 3/4" plywood, with 3/8" plywood for both the front and back of the frame.
- To enhance support, strength, and rigidity, Mike adds a grid of 3/8" plywood strapping on both the front and back of the crate.
- He also includes a bumper on the back of his artwork, making sure to securely screw the bumper not only to the backing but also to the strapping for added stability.
Crate 3
Crate 3 is an excellent option for both storing and shipping multiple pieces of artwork.
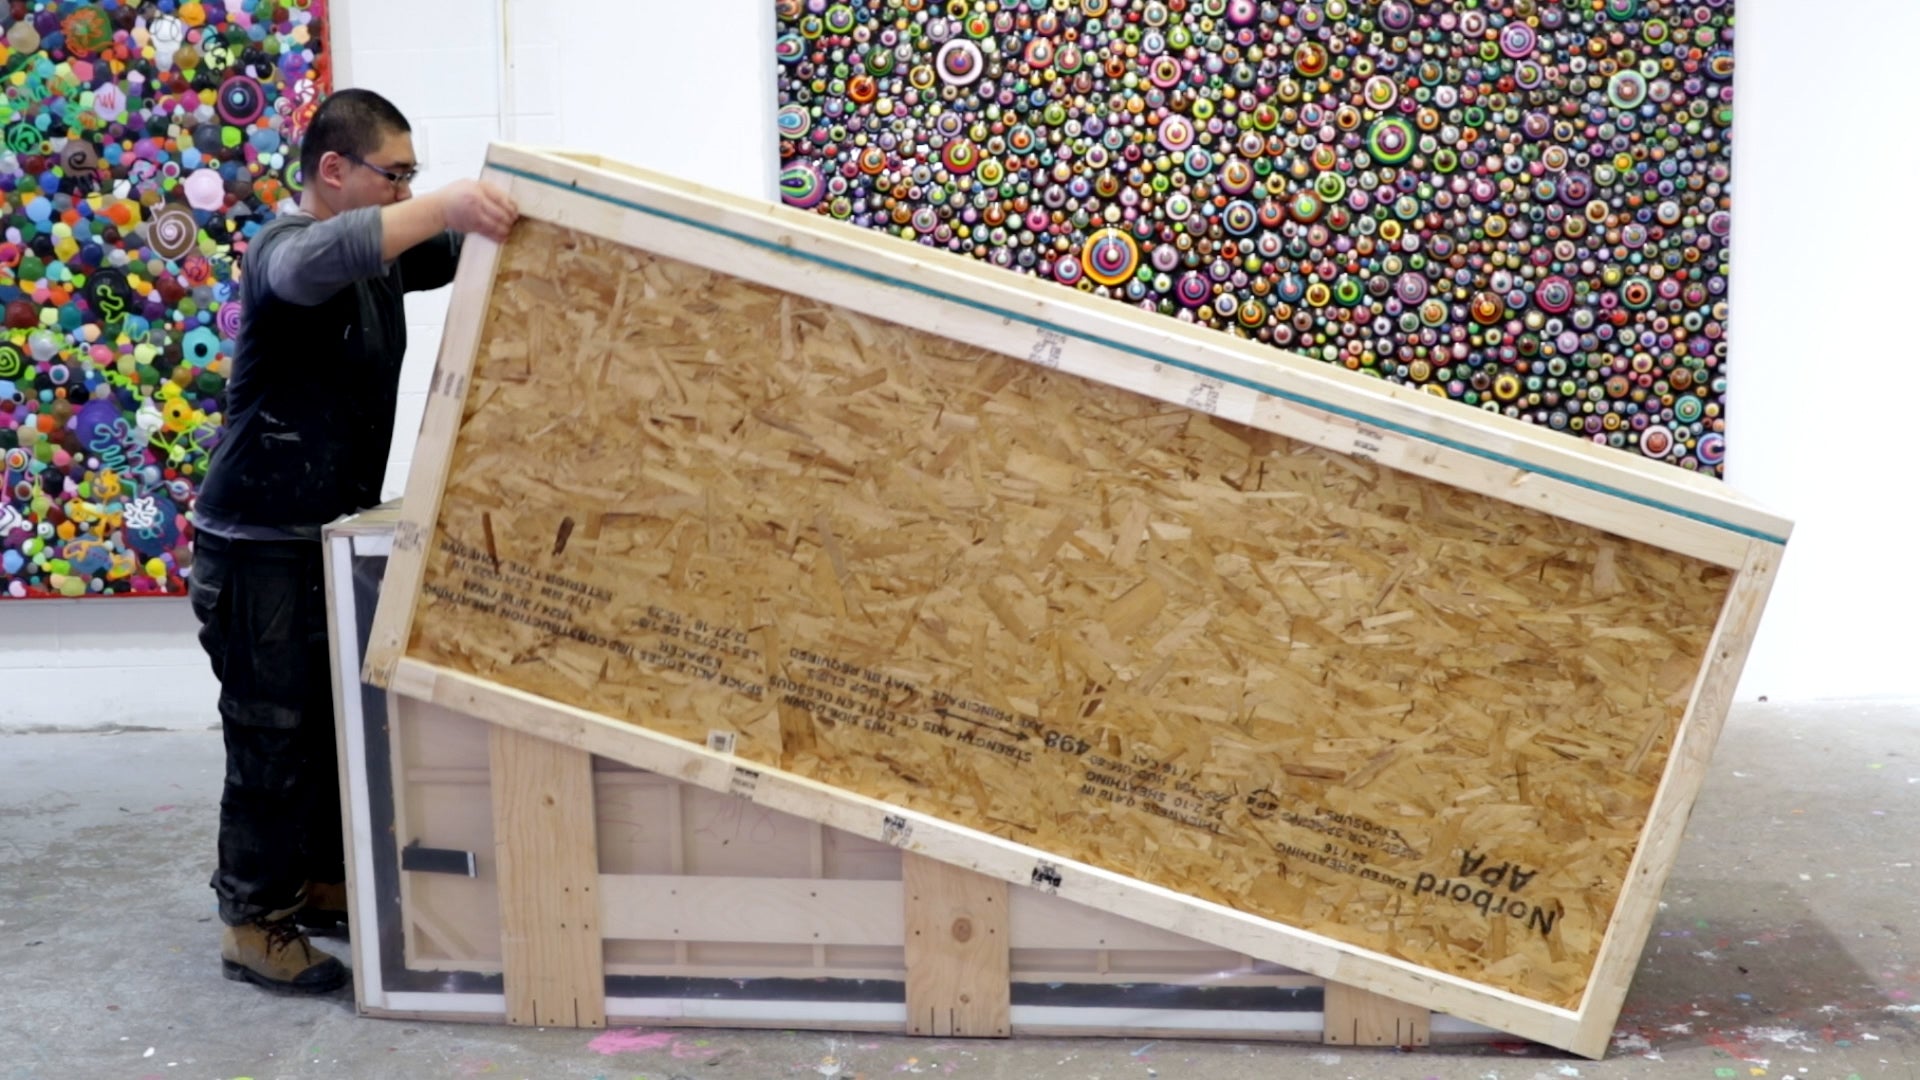
Crate 3 uses a two-part approach: First, it involves constructing individual viewing crates for the artwork. Second, it involves creating a shipping container capable of housing 4-5 separate viewing crates. 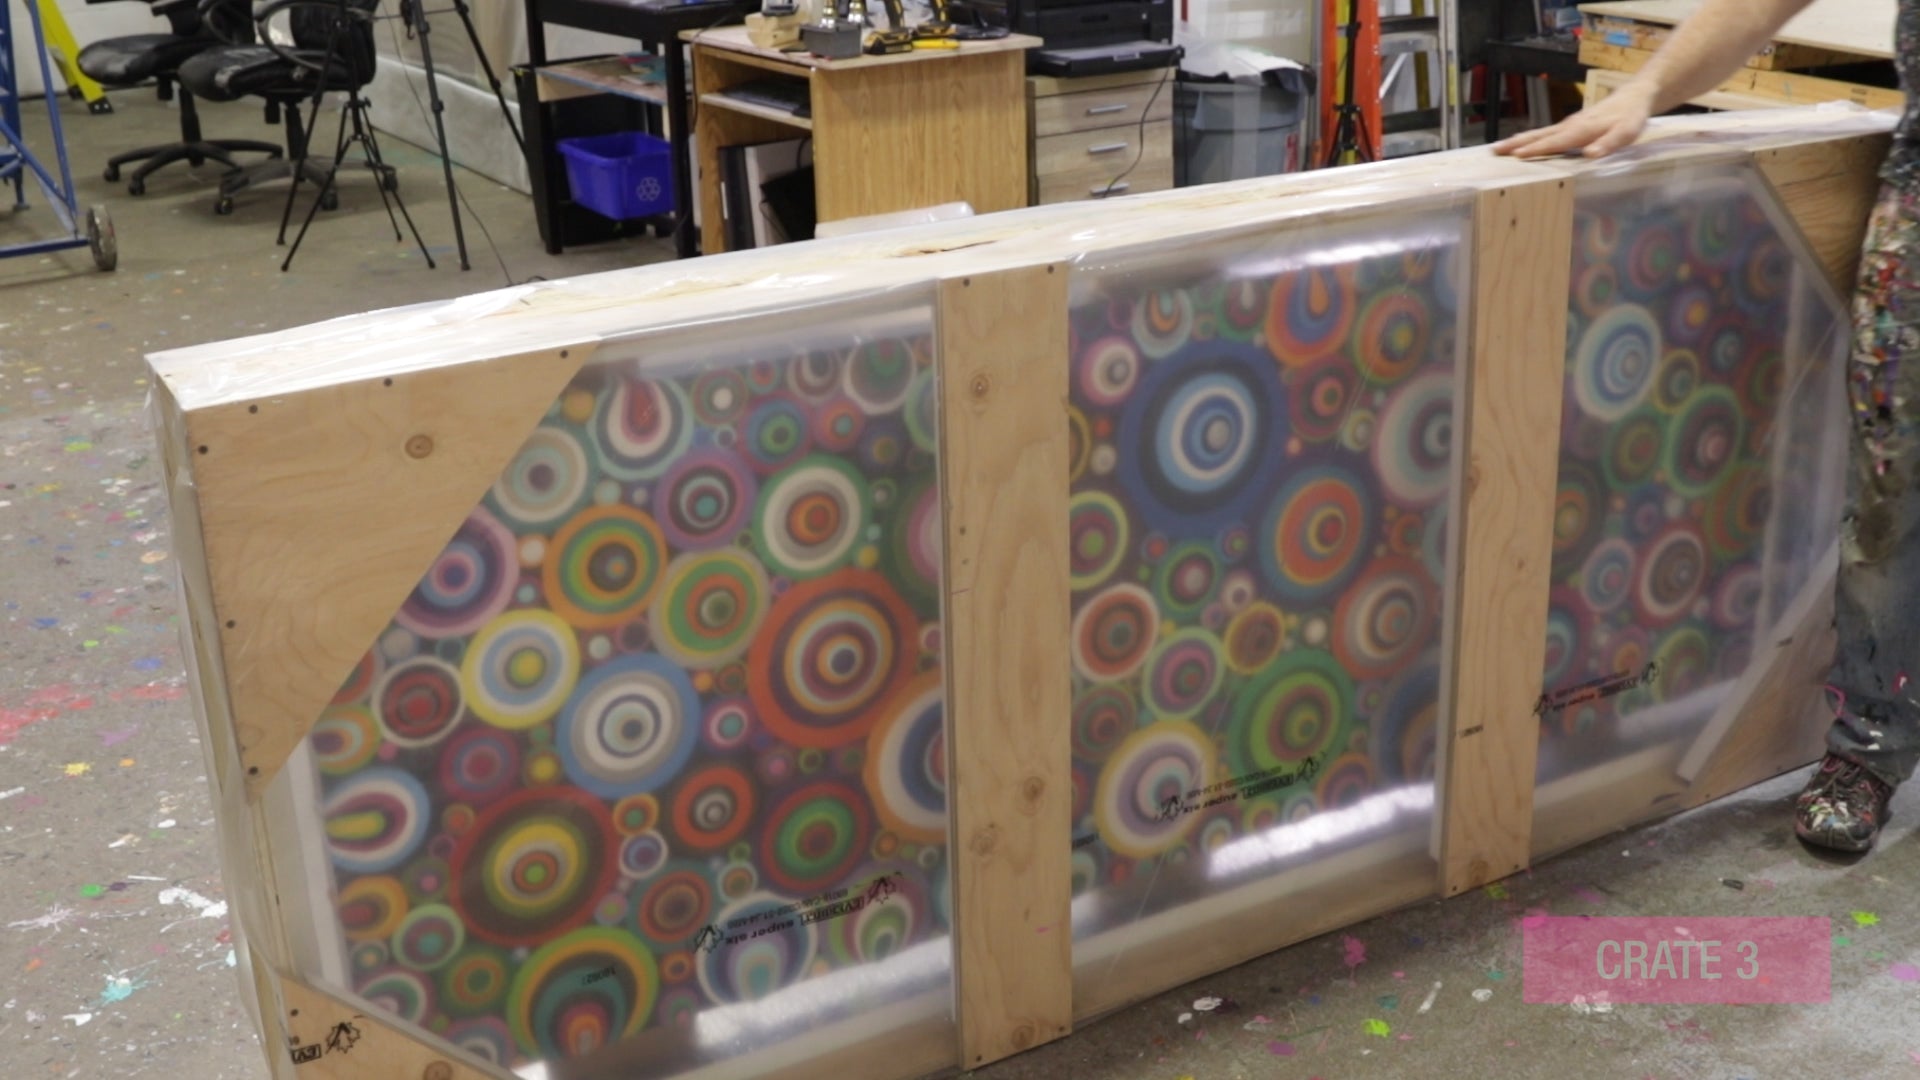
- Just like in Crate 1 or 2, Mike begins the construction of the viewing crate by building a frame using 3/4" plywood, allowing for a 6" overage, and lines it with styrofoam.
- However, instead of a full front or back, Mike attaches two or three 3/4" plywood slats on both sides. These slats not only act as braces but also allow for easy viewing of the artwork.
- He then adds a bumper to the back of his artwork, cutting it at a 45-degree angle to allow for hanging, and secures the bumper to the back slats, allowing the painting to float.
- Next, he staples plastic lining to the front and back to keep the piece dust-free and protected while still enabling easy viewing.
- Finally, Mike creates a larger shipping container using OSB. He forms a face and back, framing them with 2x3 plywood for strength and stability. Mike sandwiches the painting between the front and back and constructs the top and bottom from OSB framed with plywood.
- For the sides, he makes one side open and close like a door, which allows him to easily slide 4 or 5 pieces in and out. He often includes legs on the bottom of his piece to facilitate lifting with a forklift.
We hope you enjoyed these great packing suggestions!
Remember, damage to your artwork can be avoided by ensuring your resin has fully cured and investing in the proper materials and packing techniques.
Your artwork is valuable and special and worth protecting :)
Check out our blog on Pouring Thick, Layered Resin.
ArtResin: The Original Epoxy For Resin Art.

