
Resin Bloom flower coasters use alcohol ink and resin to create a design that spreads and "blooms" as the resin cures, forming soft petal-like shapes that just like real flowers.
Resin flower coasters are a fun and easy project with impressive results! Popular with crafters and resin artists, but still approachable for beginners, they offer plenty of room to experiment with color, depth and petal shapes.
Artist Elena Gribanova from Allure Decoration has mastered the art of 3D resin flowers and is here to walk you through the process. Once you've got the basics down, it's easy to switch up the color palette and petal shape to create your very own custom designs.
Let's get started with our Resin Bloom flower tutorial.

What You'll Need:
Before you get started, gather your supplies. This project uses a mix of epoxy resin, alcohol inks, silicone molds, and a few simple tools to create that signature blooming flower effect.
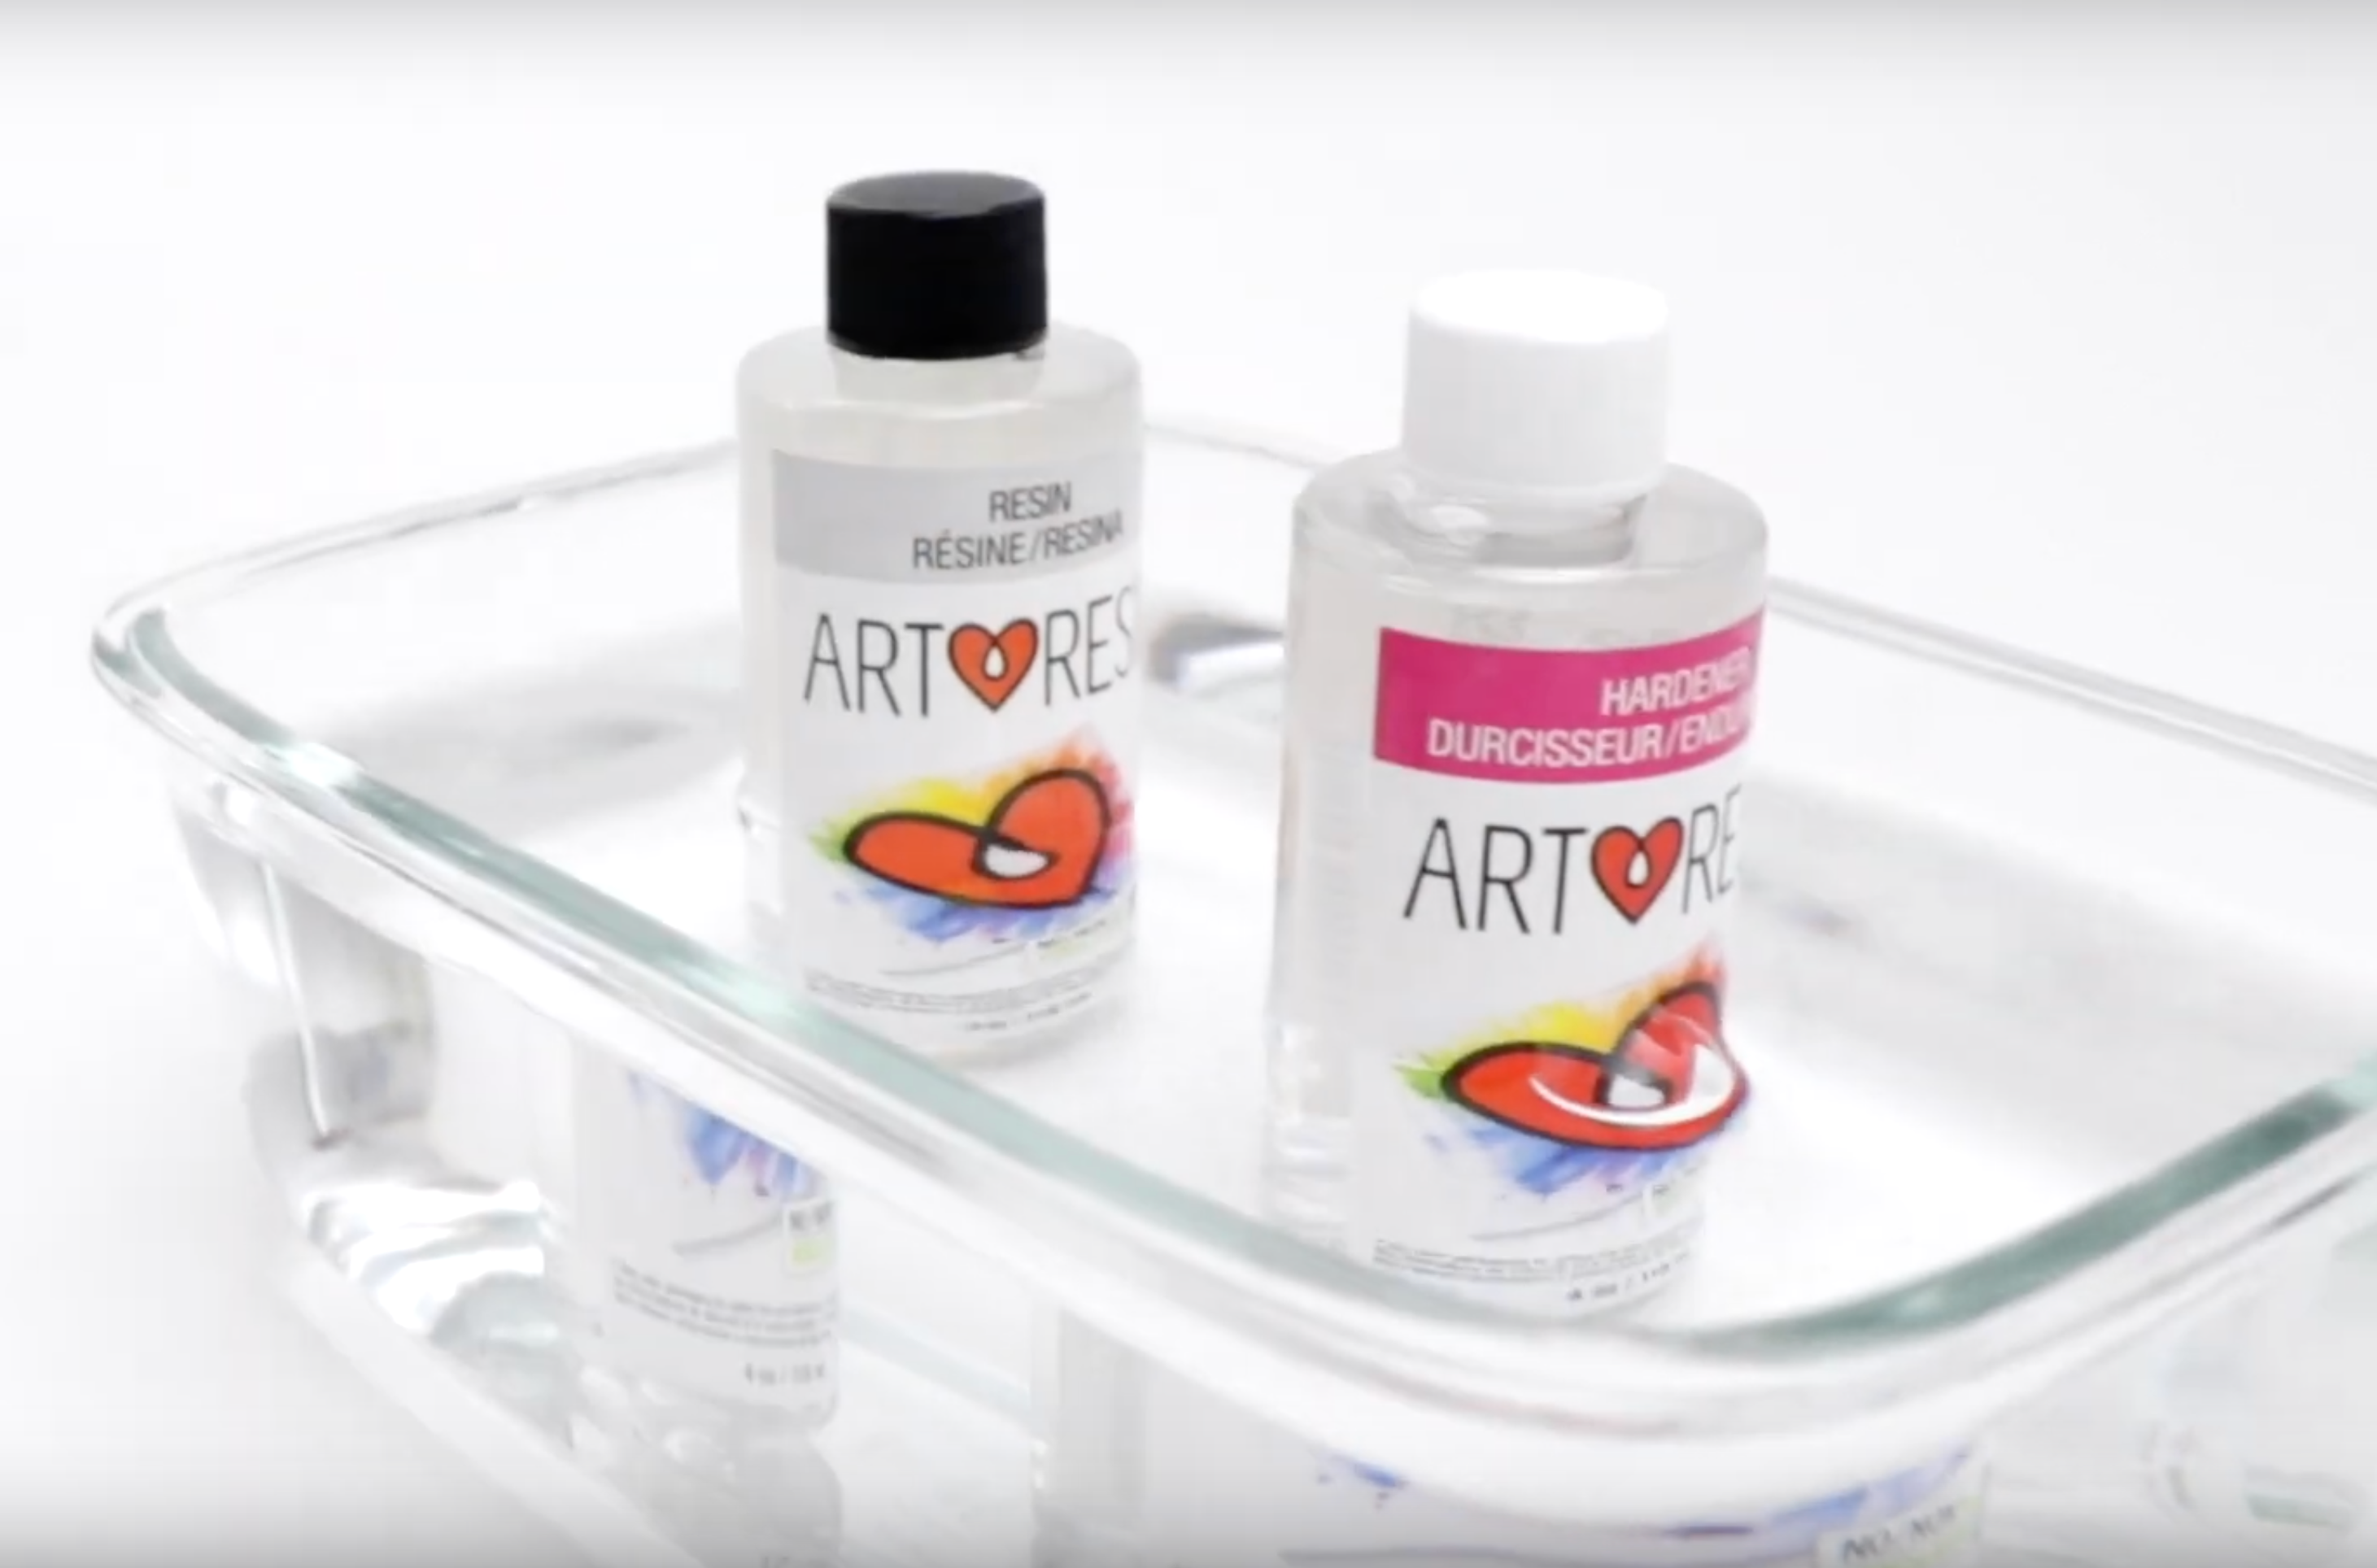
- ArtResin epoxy resin
- Alcohol Ink (Elena used blue and purple)
- Ink Sinker (white alcohol ink which will create the petal shapes. You can also use white resin paste).
- Disposable nitrile gloves (a few pairs)
- Graduated mixing cup + stir stick (plastic or silicone)
- Small plastic or silicone cups (one for each color)
- Craft or popsicle sticks (about 4)
- Toothpicks
- A plastic piping bag, plastic cup, and scissors
- Small glass chips and chunky glitter (Elena used gold glass chips and blue glitter)
- Extra fine glitter for sparkle (optional)
- Round, silicone coaster molds (1 large and 1 small)
- A heat gun
- A dust cover (a clean cardboard box, plastic tote or large deli tray lid)
💡 TIP: Try out ArtResin's Resin Bloom Bundle: it contains an 8 oz ArtResin kit, our Alcohol Ink 8-pack, Ink Sinker, and a silicone coaster mold. (Available in US only).

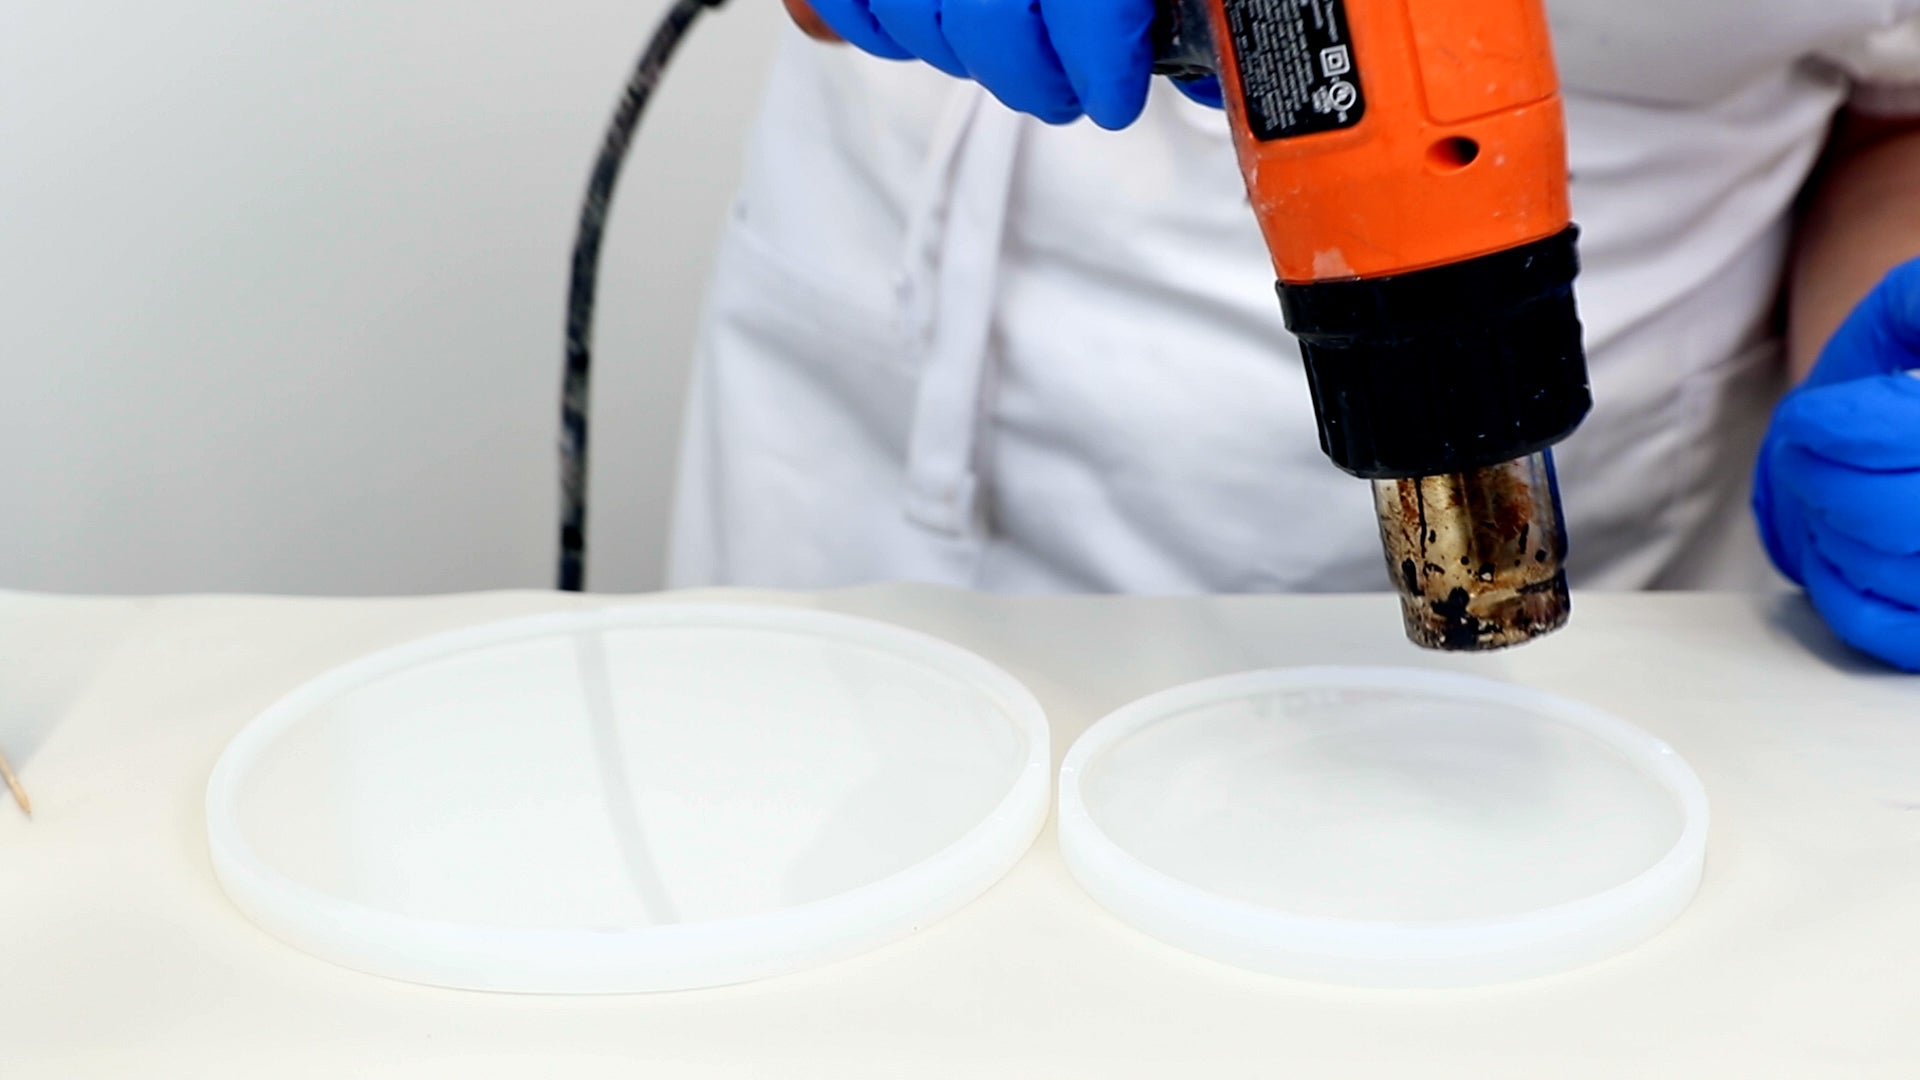
Step 1: Warm the Resin and Hardener
Step 2: Measure and Mix the ArtResin
Wearing gloves, measure the ArtResin according to the label instructions. For this project, we used 400 ml total - 200 ml of resin and 200 ml hardener - to fill both the large and small silicone molds.


Mix the resin and hardener together slowly, taking your time to scrape the sides and bottom as you mix. A steady, gentle stir is key here - mixing the resin too quickly will create excess bubbles.
Once the resin has been mixed, allow it to sit for approximately 15 minutes. This will allow the bubbles time to rise to the surface and will also encourage the resin to thicken up a little bit to prevent the ink from spreading. 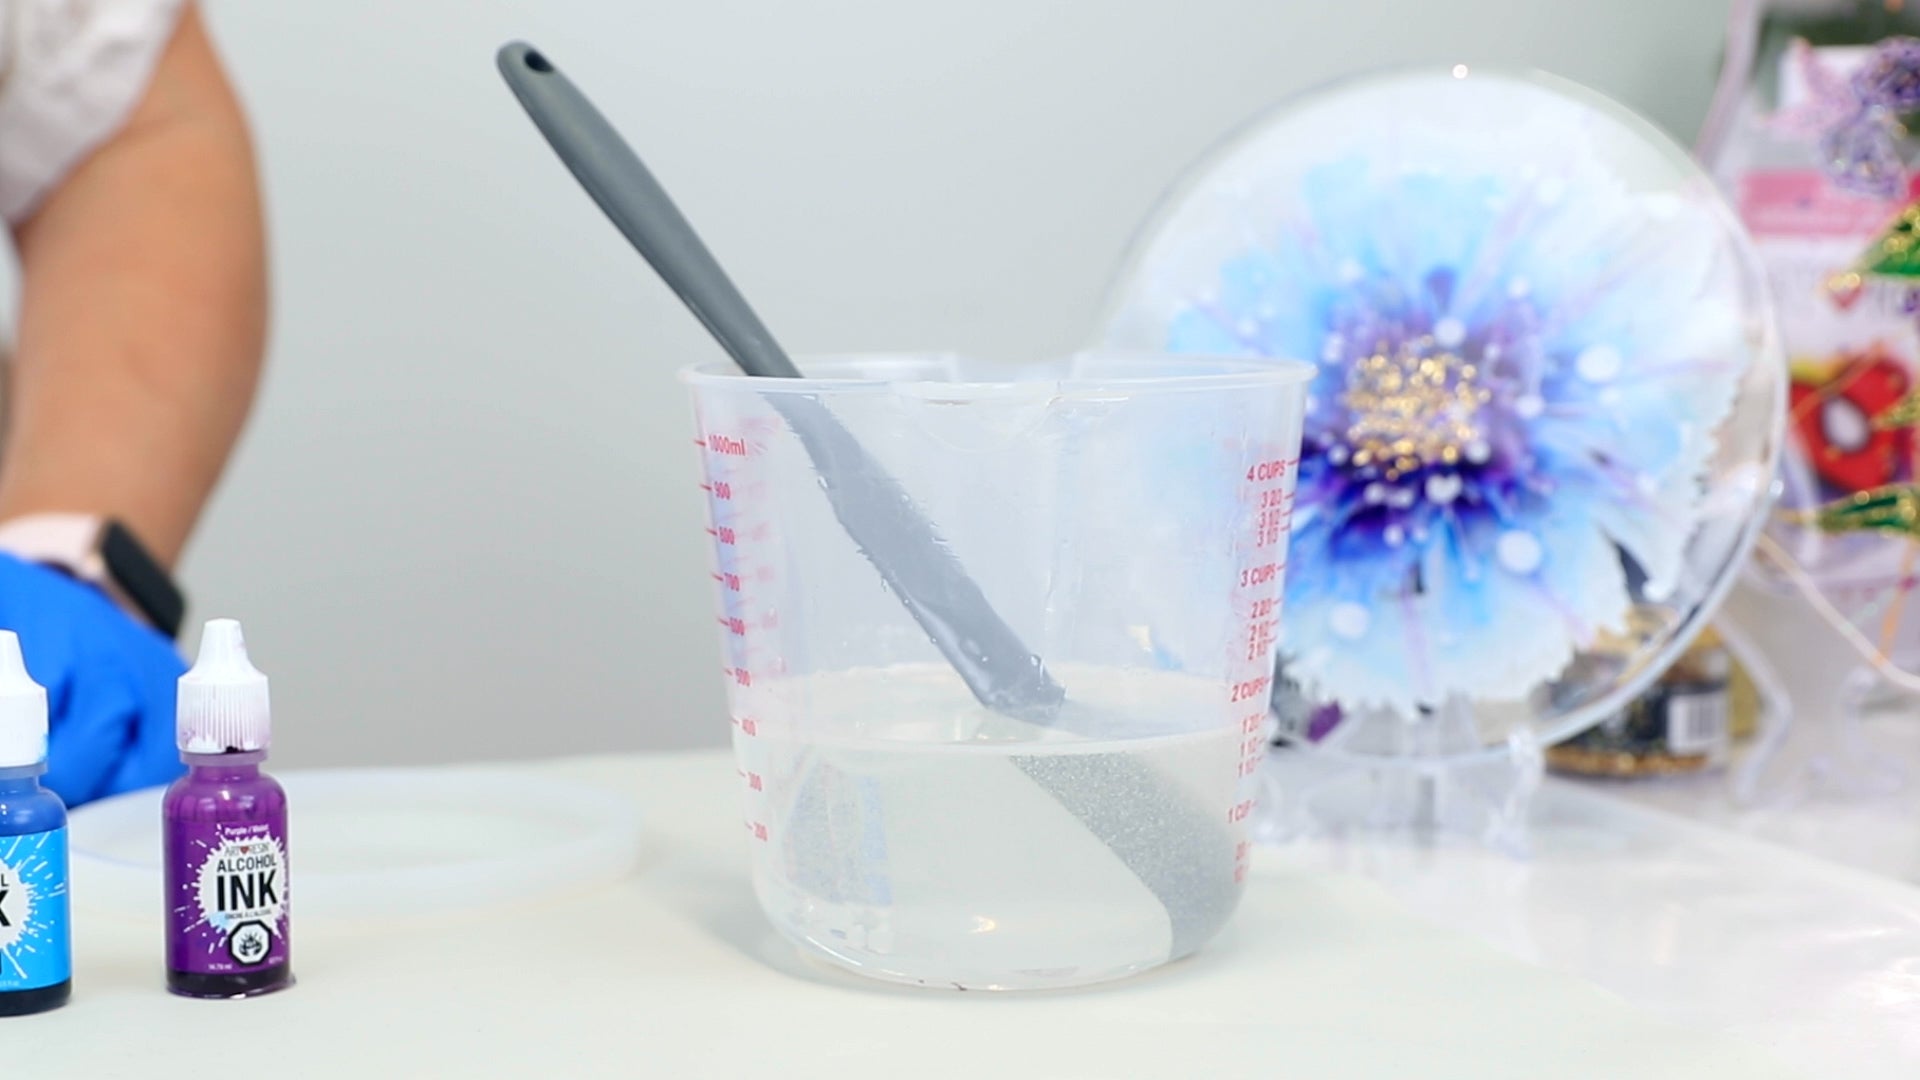

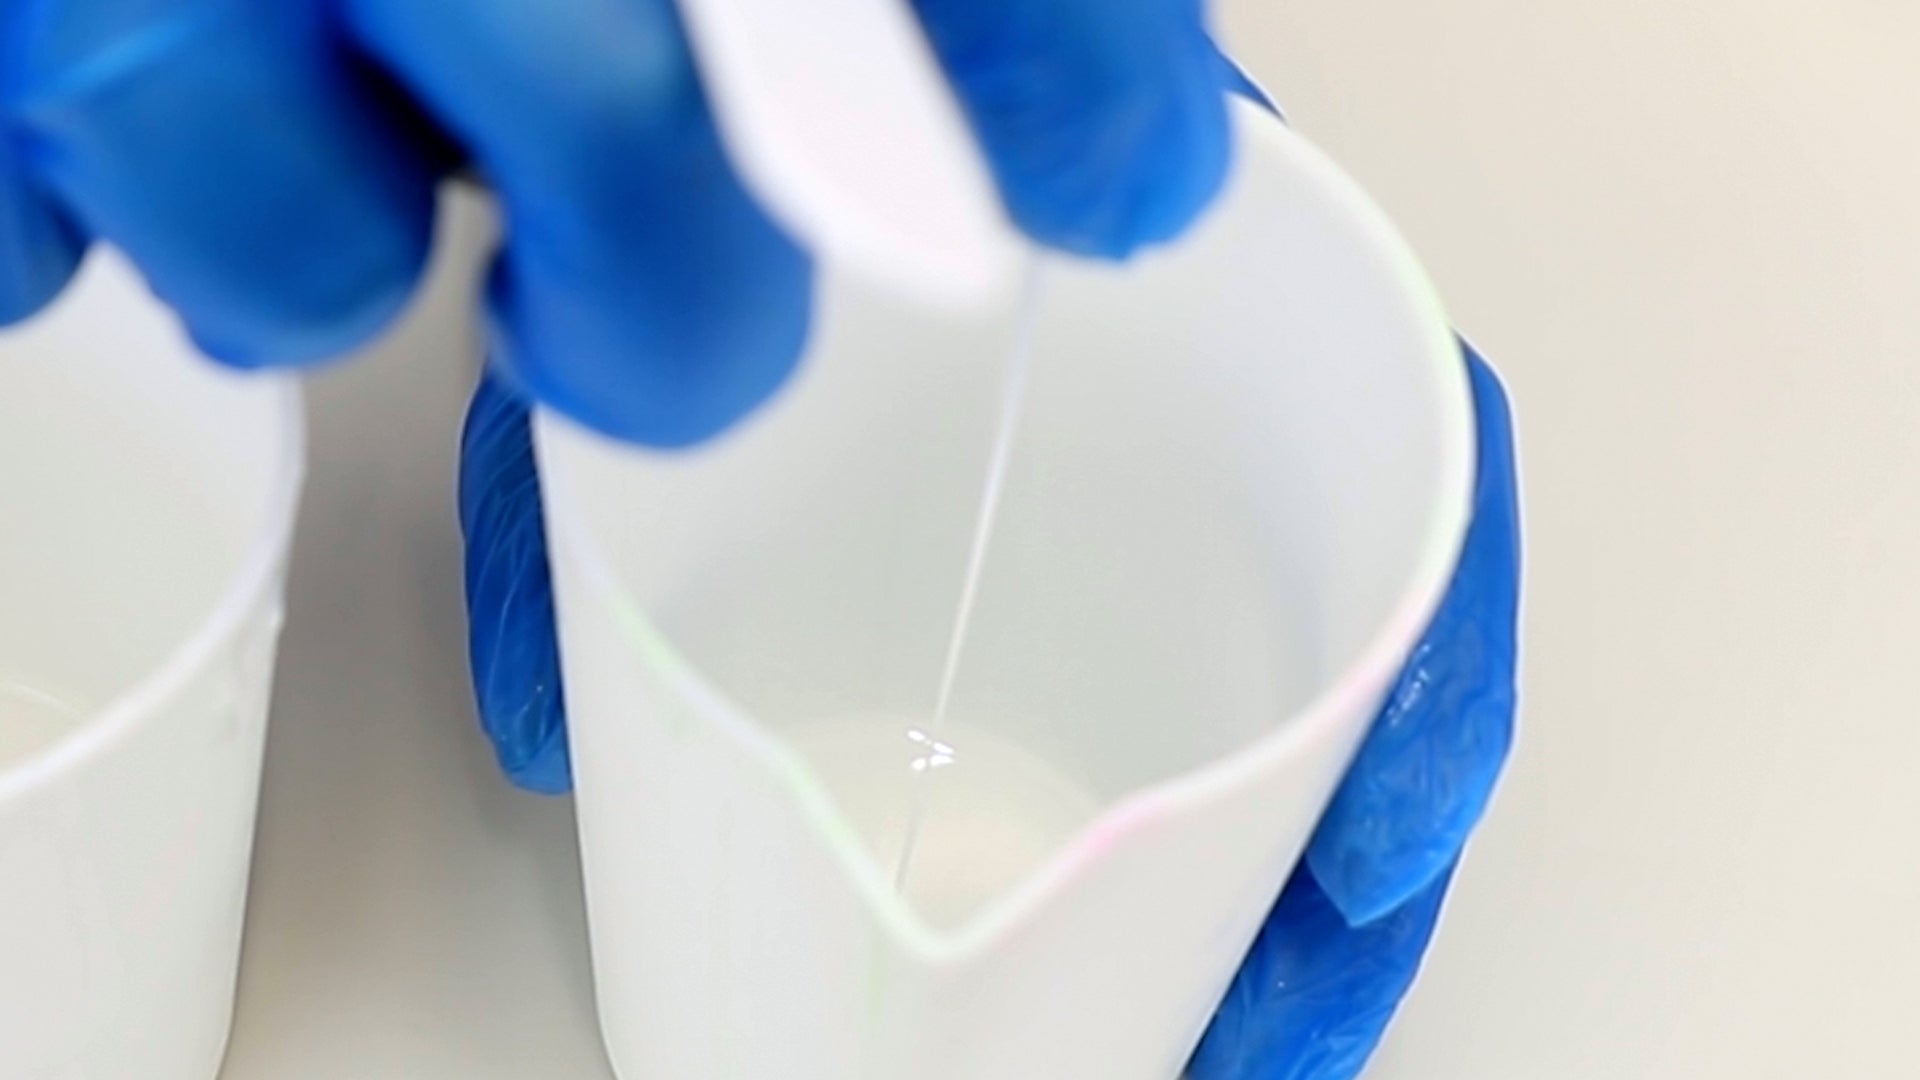
Step 3: Tint the Resin


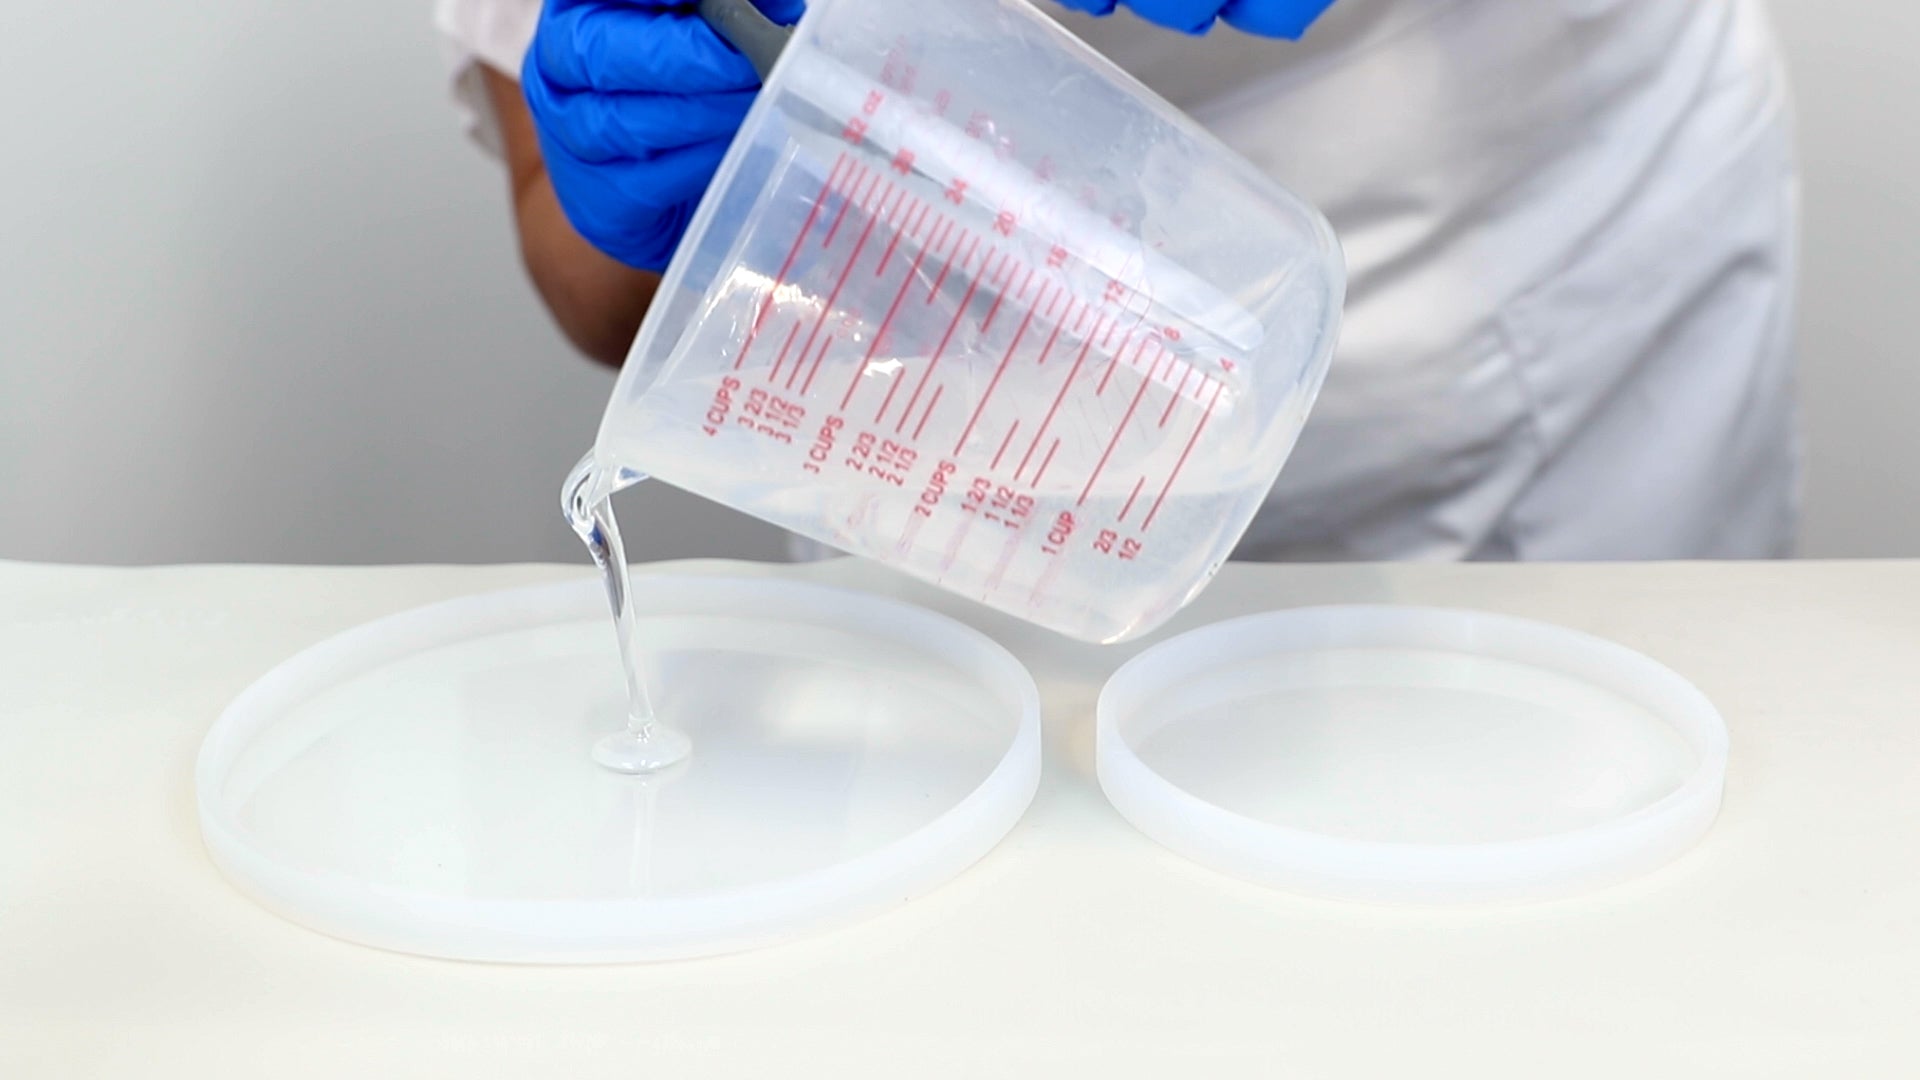
Step 4: Pour the Resin into the Mold
Pour the clear resin into the center of the mold, letting it naturally spread across the surface. Stop when the mold is just a little over half full.


Use a heatgun to pop surface bubbles.
💡 TIP: Don't hold the heat gun too close or in one spot for too long or you risk damaging the mold and overheating the resin. 
Add more resin until the mold is almost full. Use the heat gun once again to get rid of surface bubbles.
Now we're ready to decorate the flowers!
Step 5: Create the Center of the Flower
Using a craft stick, add some gold glass chips and large blue glitter to the center of the mold. Feel free to use crystals, glass shards or stones instead. Blend them until they are well mixed.


Run the heat gun over the mold once again to eliminate any bubbles.

Step 6: Build the Petals


Use the heatgun to eliminate any bubbles.
Drop purple alcohol ink dots all the way around the glitter center.
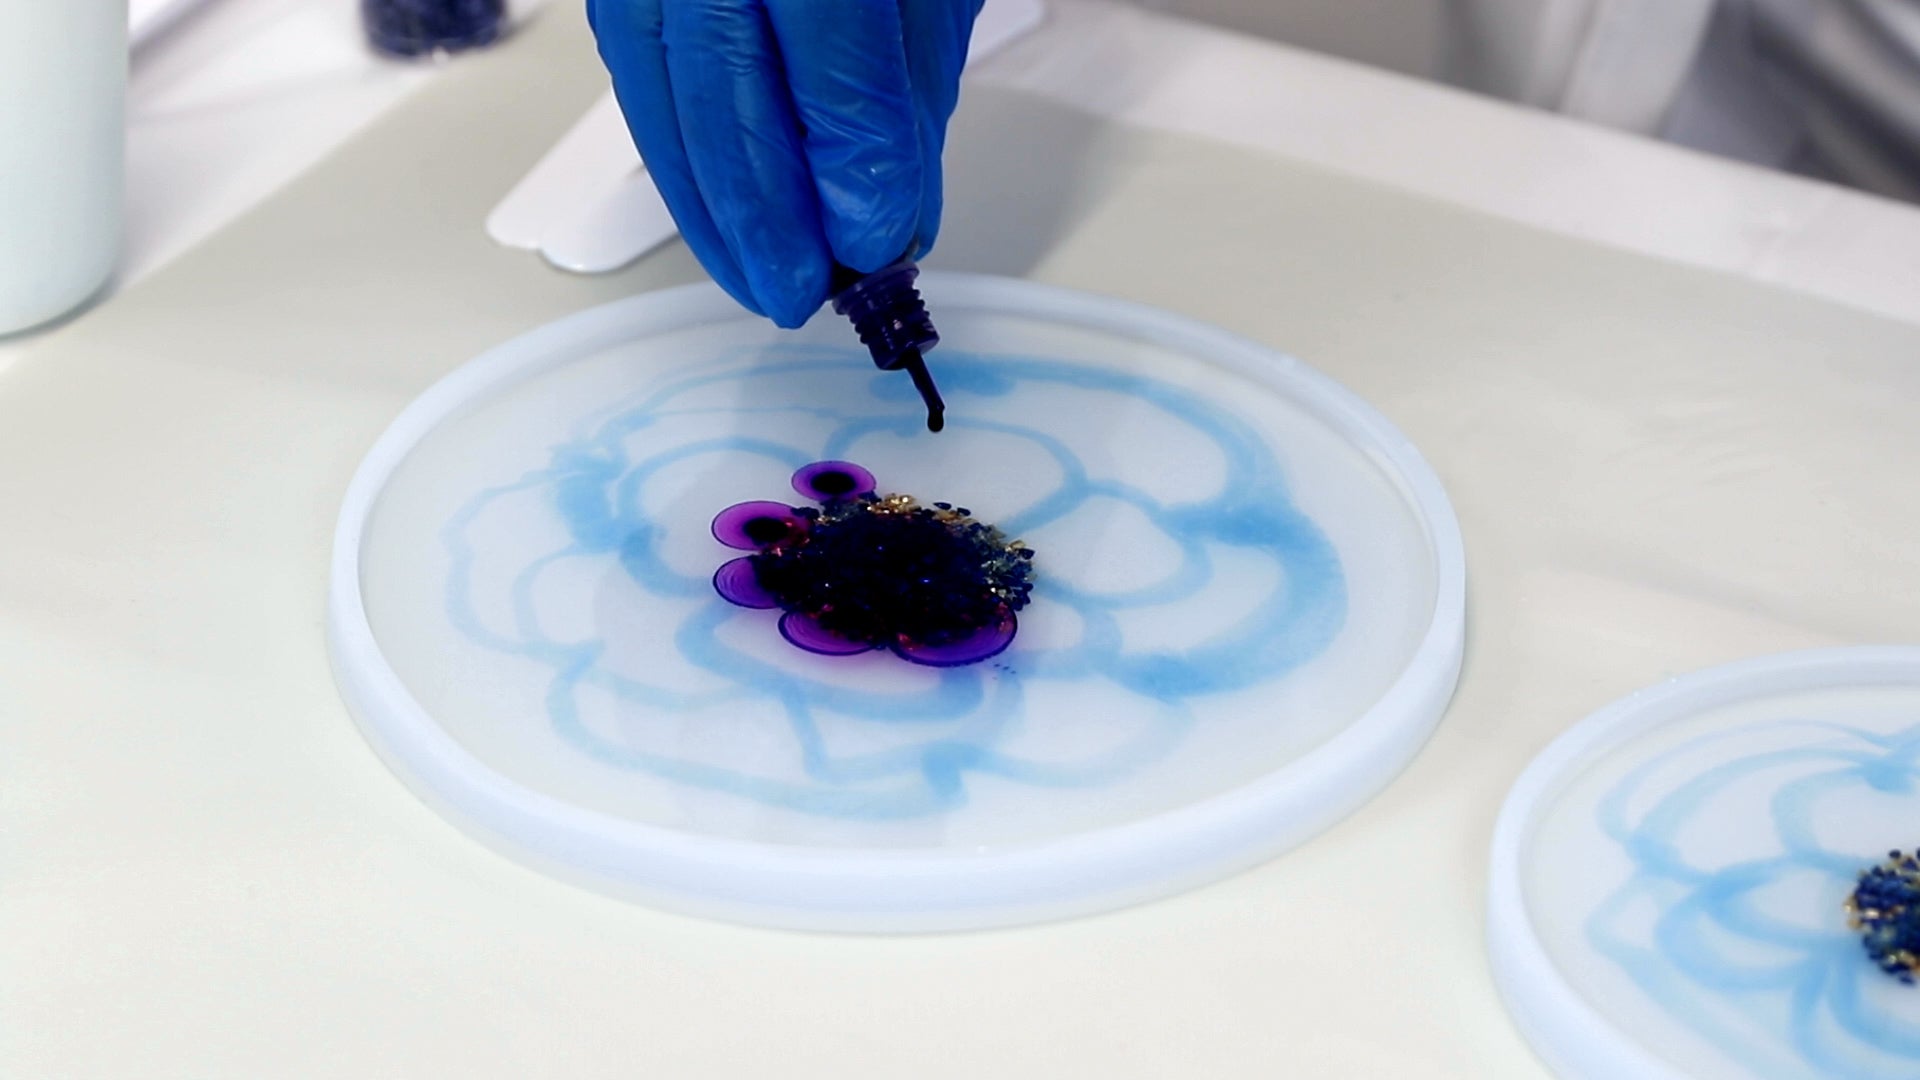

Add a row of blue alcohol ink drops in between the purple dots.

Add a few more drops (approximately 4 drops) of purple in the center. Once you've added the purple drops, allow the ink to sit for a little while while you prepare the white resin.
Pour the white resin into a piping bag or a ziploc bag set in a plastic cup.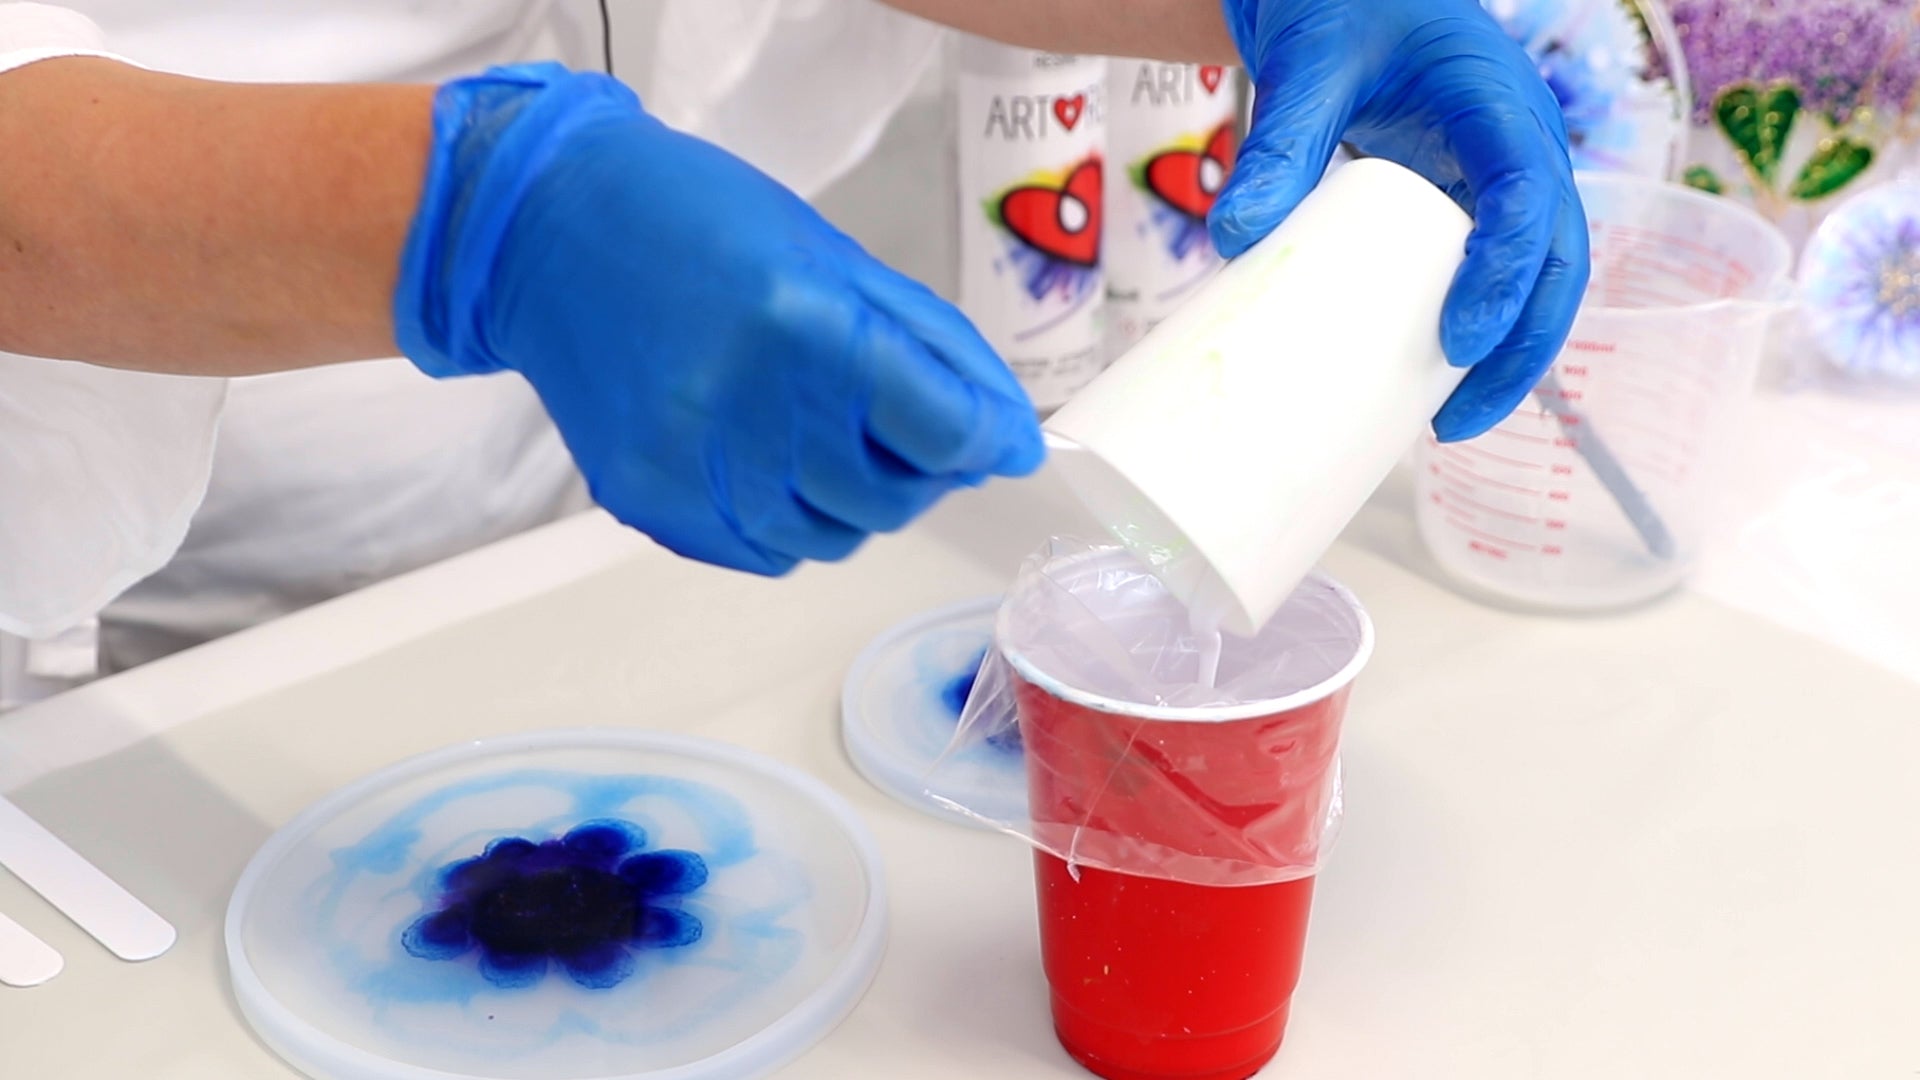
Push the resin down to the bottom of the bag, ensuring there are no air pockets in the resin, then secure the bag with a knot and/or a plastic clip.
Snip a tiny opening in the bottom of the bag with a sharp pair of scissors.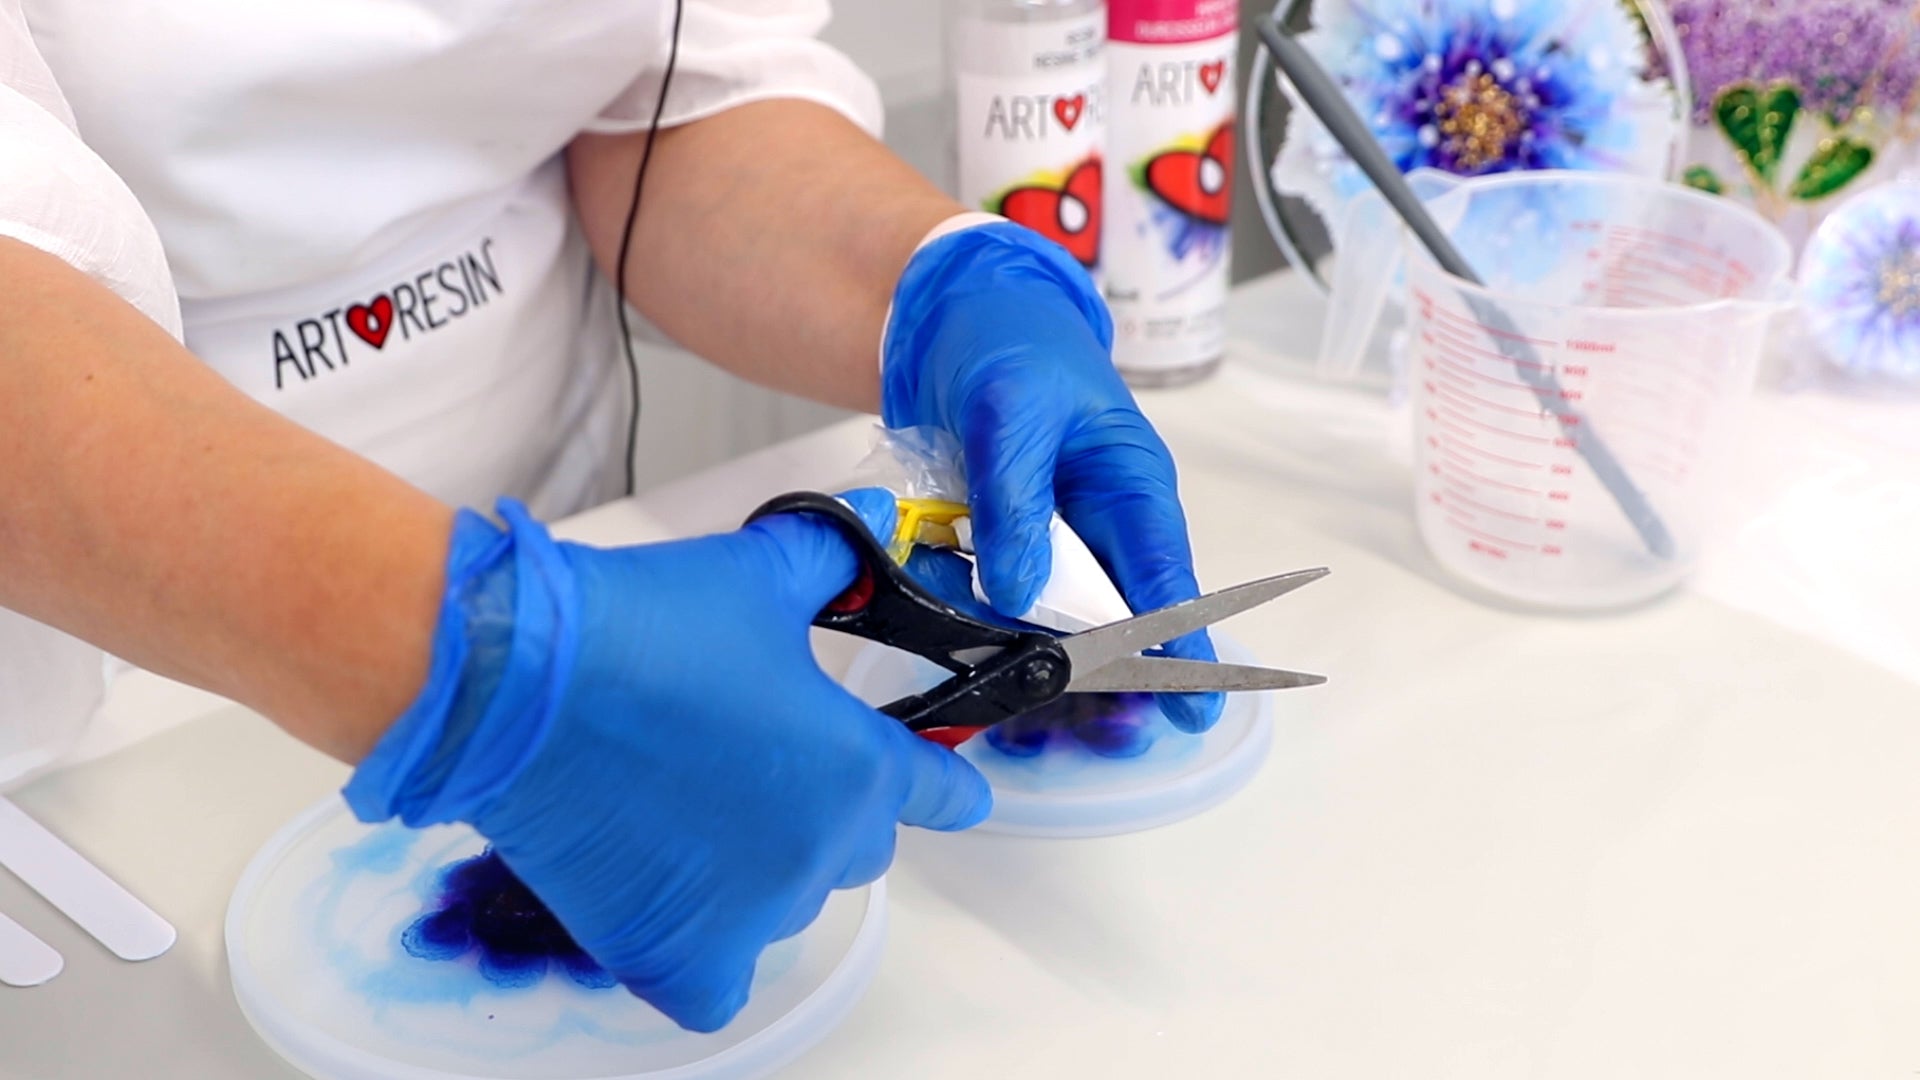
Use the heatgun over the molds once more to get rid of any bubbles that may have risen to the surface.
💡TIP: If you find you have a lot of fine microbubbles, you can sprinkle a little fine glitter over the surface of the resin. This will mimic the bubbles and create a sparkly effect.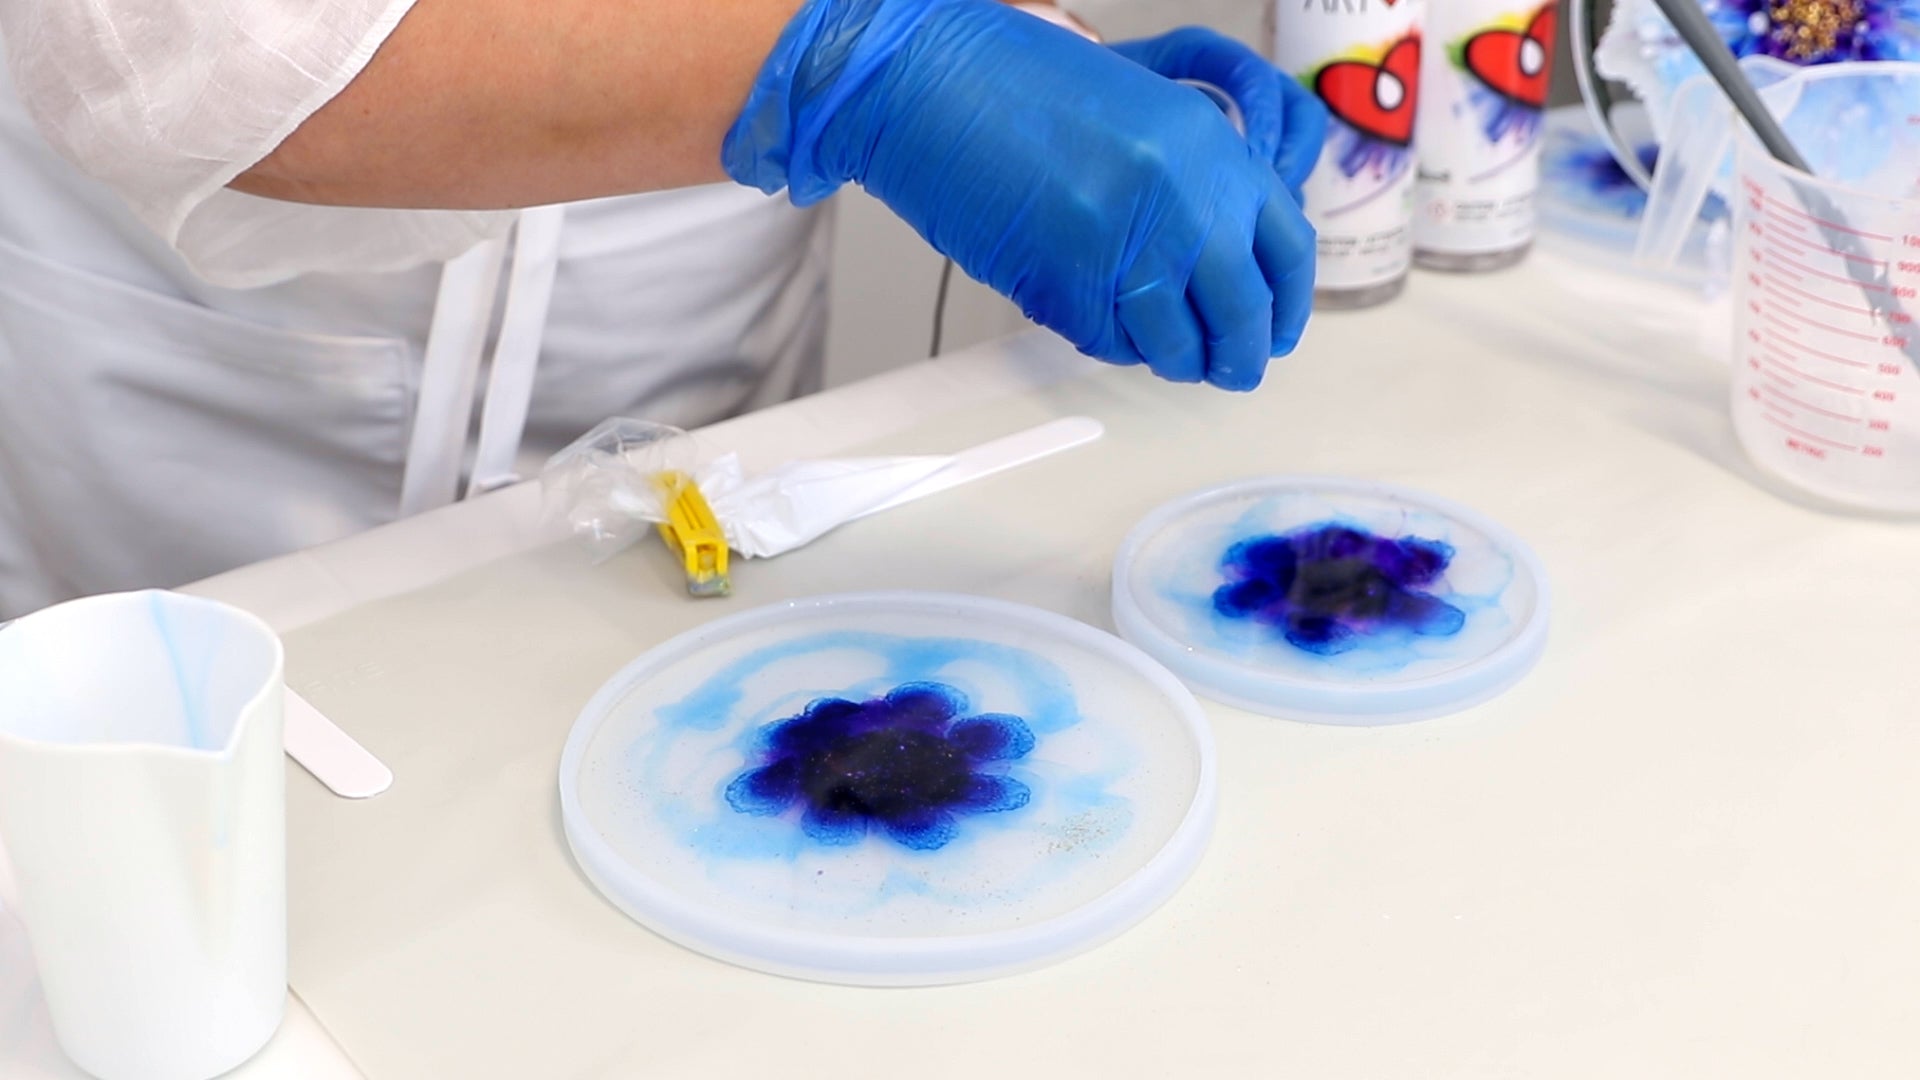
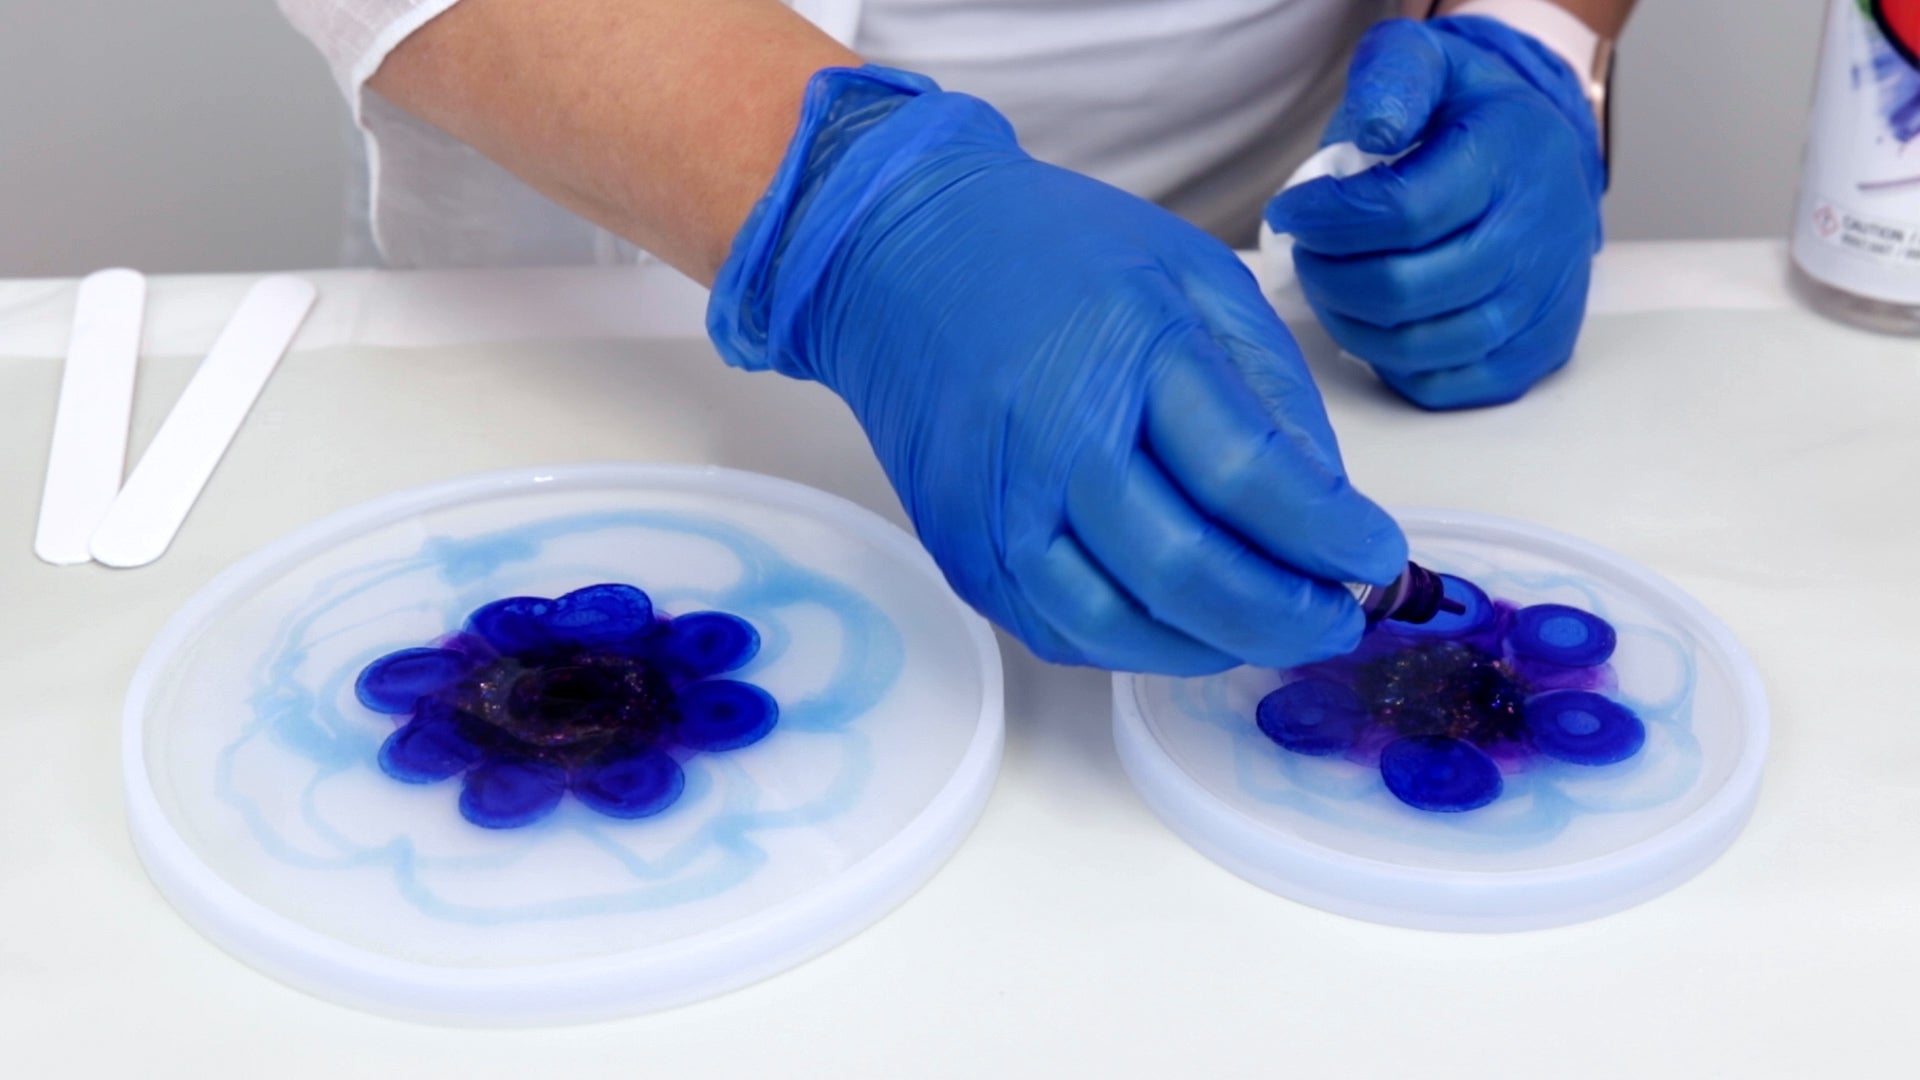
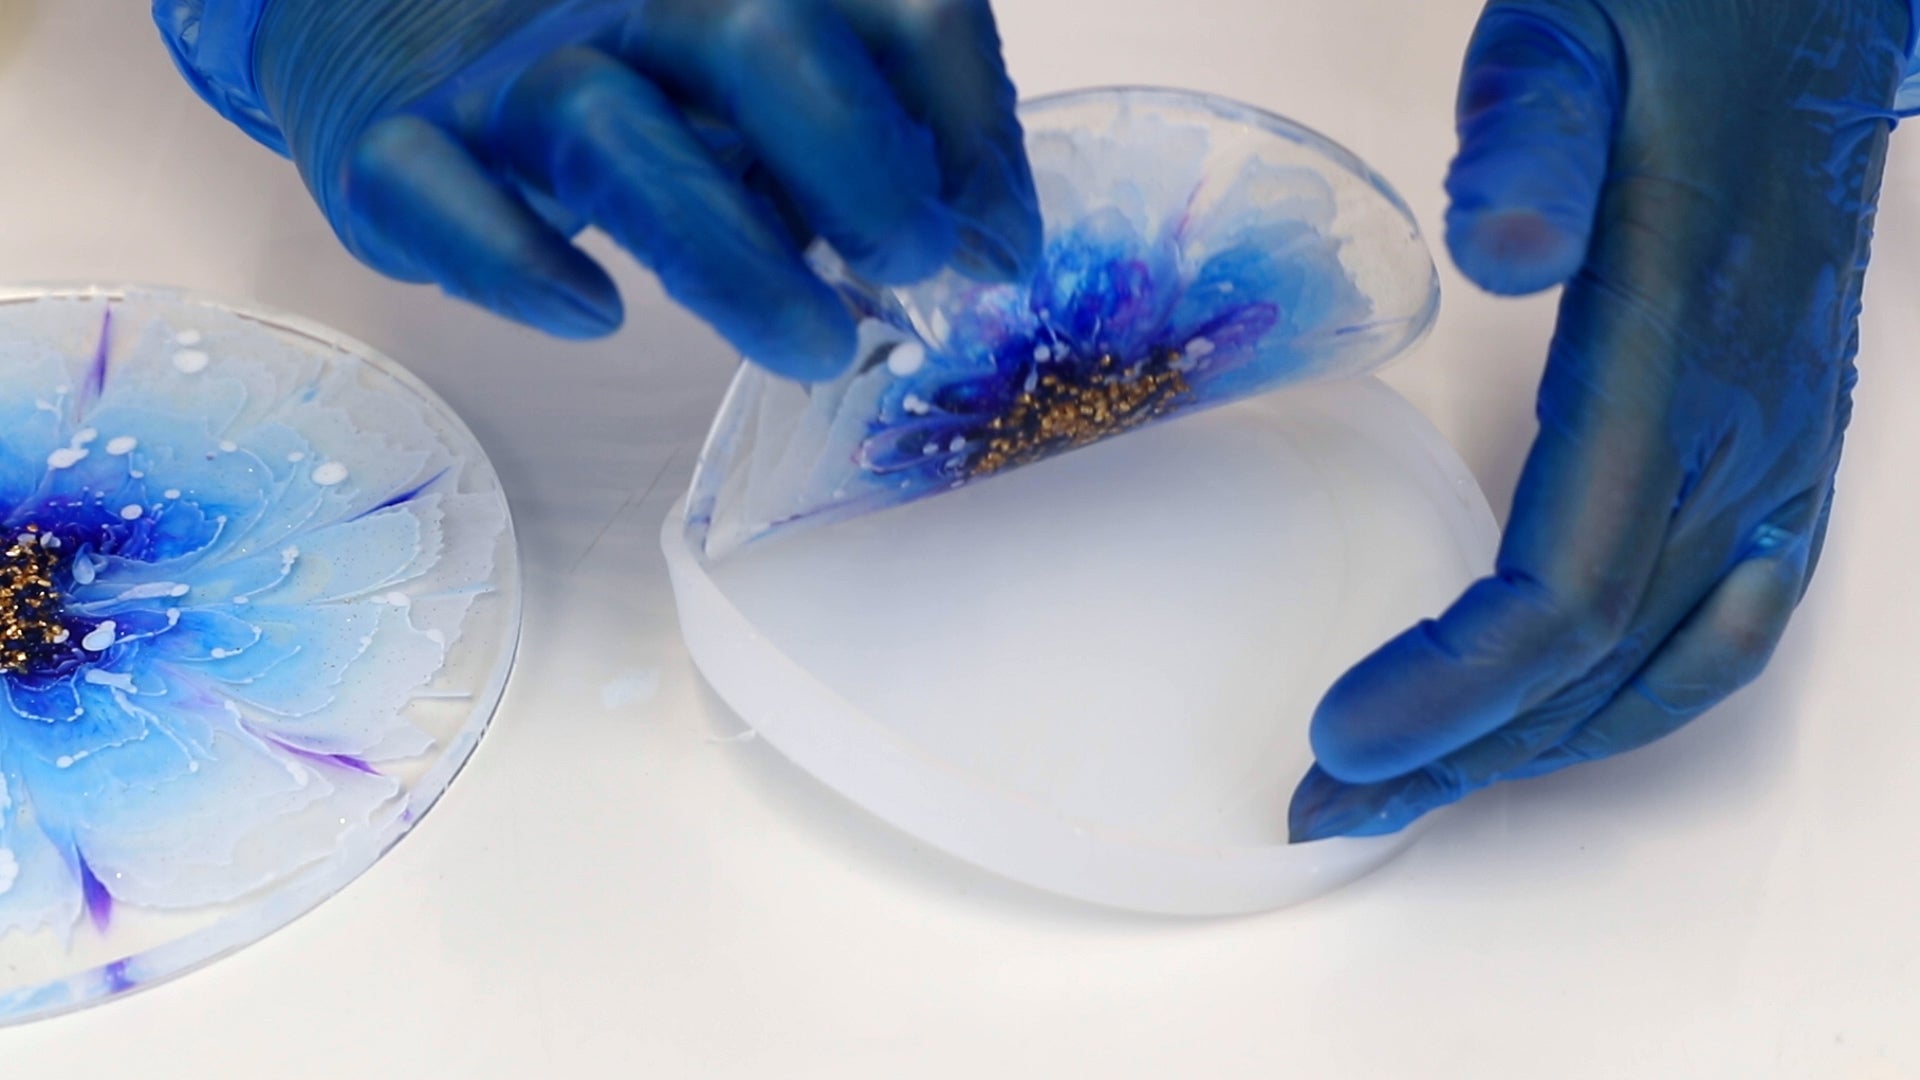
Starting in the center of the flower, create 5-6 rows of petal shapes using the piping bag. The shape of the petal and design of the flower is completely up to you.
💡TIP: If you need some inspiration, use a photo of your favorite flower or a real life flower as reference!


💡TIP: You'll notice the white resin will start to sink. Touch up as needed, if you missed a spot or notice the white has sunk too much. 
Use the heat gun once more and then allow the resin to sit for a few minutes.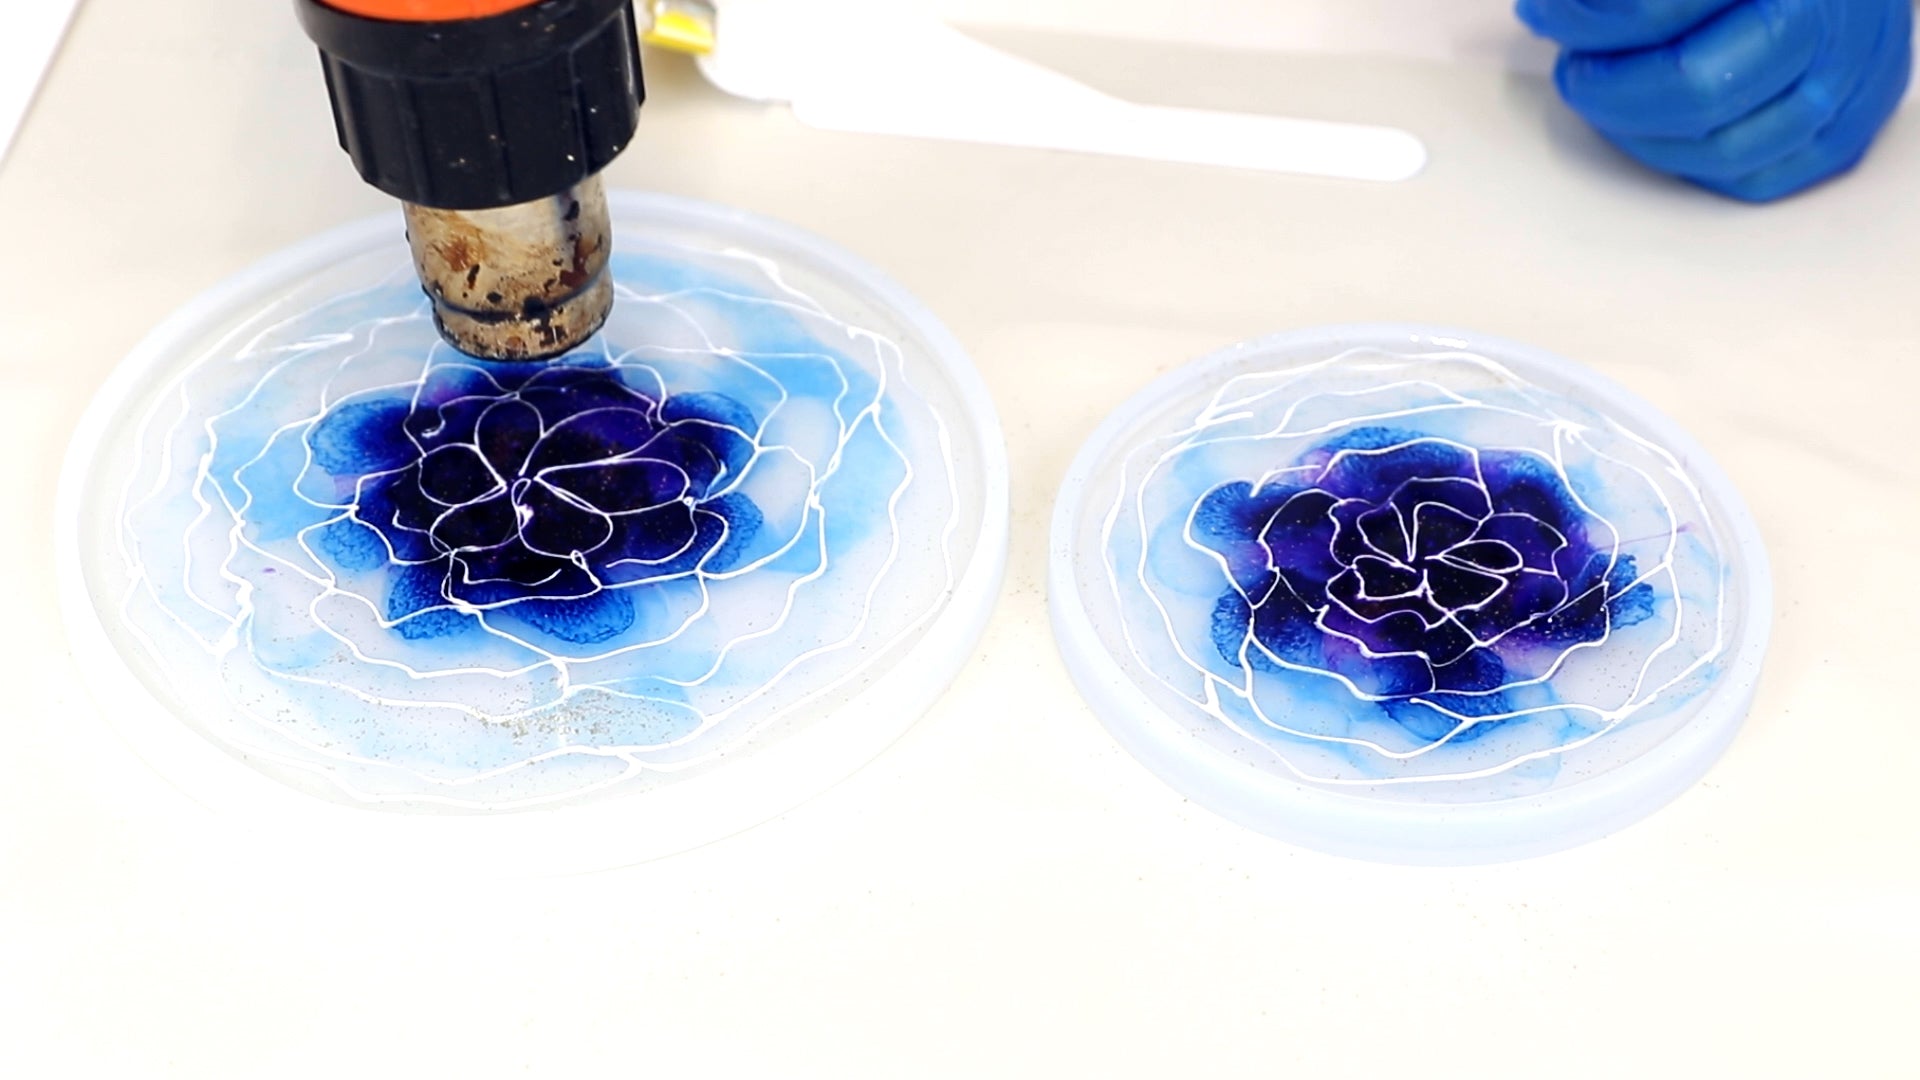
Step 7: Shape the Flower
Dip a toothpick into the resin at the center of the mold to get a little purple resin on the tip. Starting at the edge of the mold, drag the toothpick toward the center.
Keep going around the center, spacing your lines evenly, until you have about 12 lines forming a flower pattern. Don’t worry about tiny imperfections—they add character and soften as the resin settles. 


If you see empty spaces, touch up the petals with a little more white resin from the piping bag.
Use the heat gun one more time to eliminate surface bubbles.
Step 8: Cover and Wait 24 hours
Cover with a dustcover and leave it until the next day. 
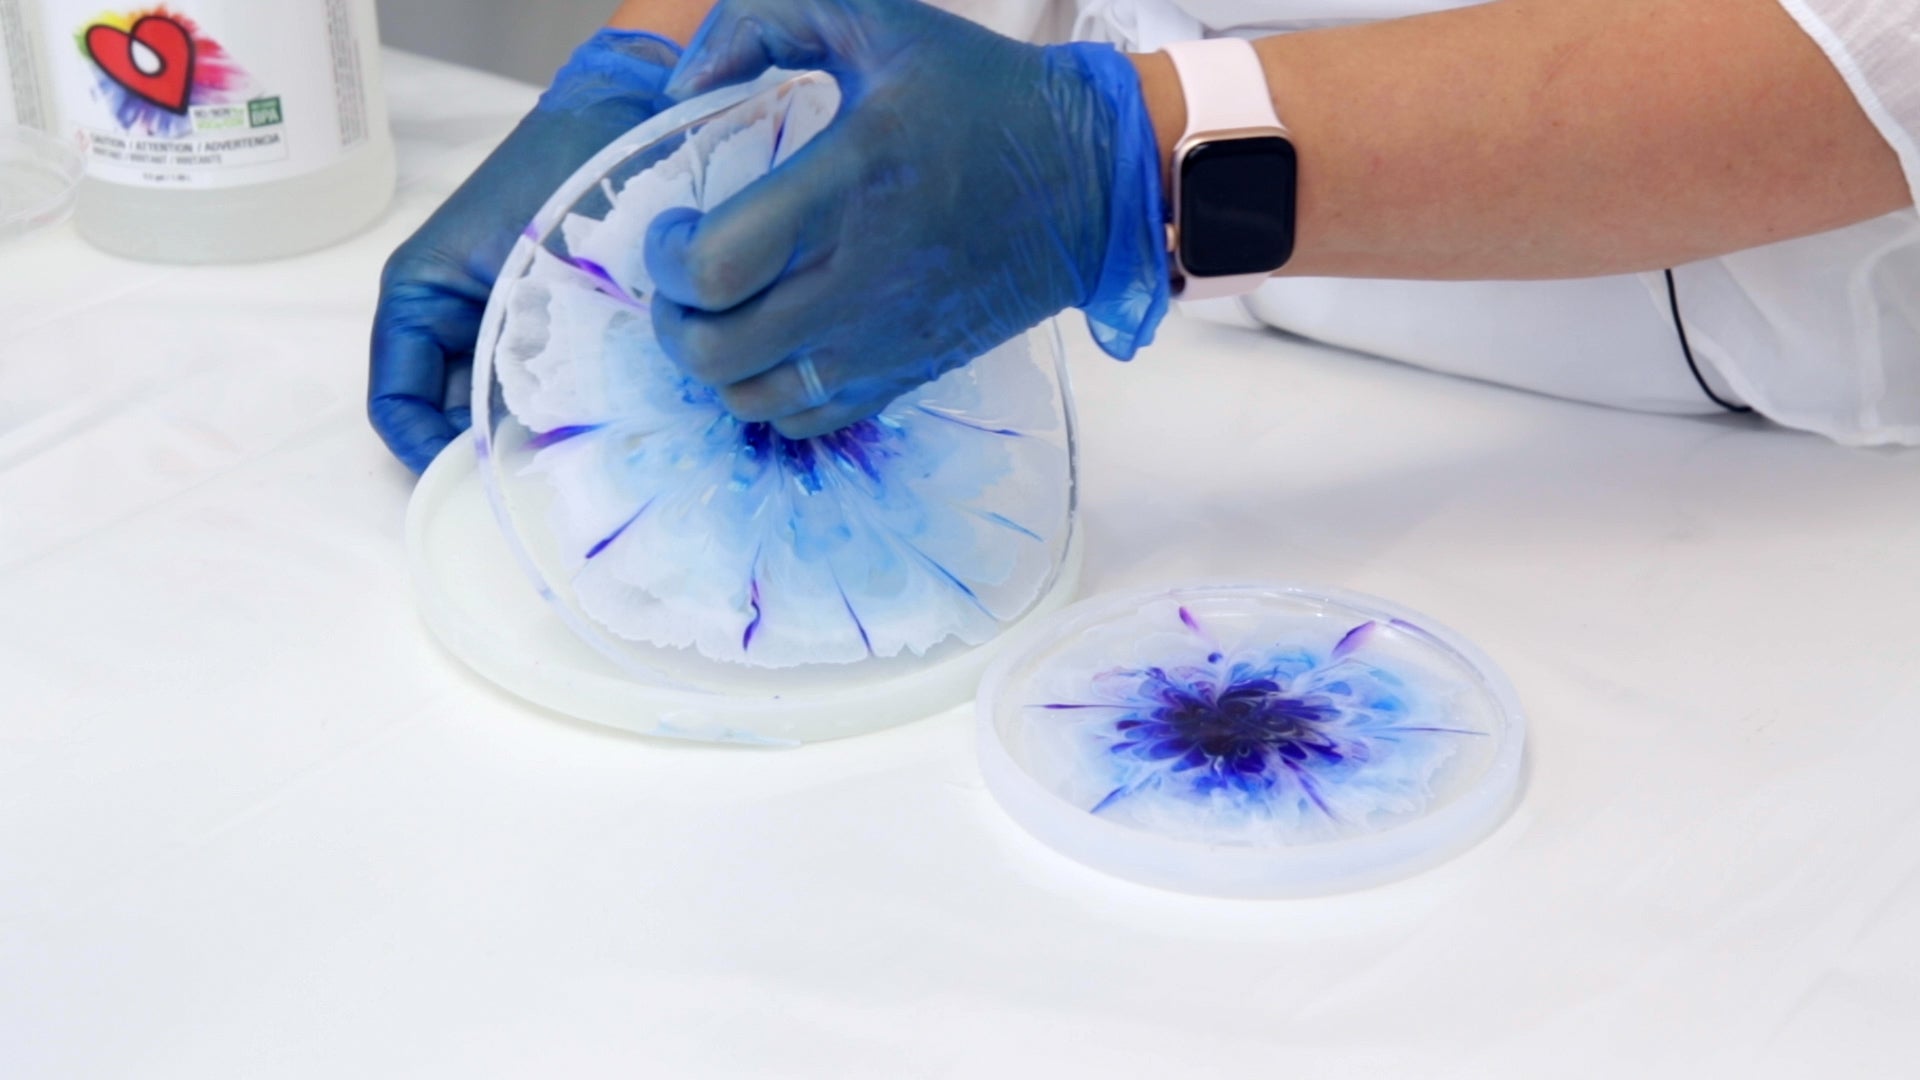
Step 9: Unmold the Coasters
When you first pop the coasters from the mold, they'll be a little bendy. This is because they haven't fully cured yet. Set them somewhere flat, for up to a week to finish hardening.
💡TIP: If you want to transform the coaster into a trinket dish, find a shallow plastic bowl to lay the bendy resin into. Allow it to cure and after a few days, it will take on the shape of the bowl.

Once your coasters have cured, they are ready to use, to gift or even sell as part of your own resin business! Each one is a unique work of art: you can leave them as they are or you can use a gold leaf paint marker to finish off the edges for a little extra sparkle.
We hope you've had fun learning how to create Resin Bloom Coasters!
Made an art piece using ArtResin?
Tag us on Instagram with @art_resin for a chance to win a 32 oz kit!
See our tutorials below for more resin project ideas:
- Introduction to Resin Art
- How to Make an Epoxy Resin Tumbler
- How to Resin a Coaster
- How to Make a Pen Blank
- How to Create Resin Petri Dish Art
- How to Make a Charcuterie Board
- How to Make a Custom Resin Tray
- How to Make a Tiered Resin Tray
- How to Resin a Puzzle
- How to Resin a Board Game Table
- Best Resin Craft Ideas
ArtResin: The Original Epoxy For Resin Art.
