DIY resin keychains are a fun and popular craft project, particularly for resin beginners. Easy to personalize, they're a great way to express your creativity and are perfect for gifting or selling.
Are you interested in learning how to make your own resin keychains at home? Artist Meg Dion, known for her resin keychains, geode phone grips, and floral wall hangings, recently dropped by the ArtResin studio to share her techniques. Her easy-to-follow tutorial features useful tips and techniques for anyone looking to craft resin keychains of their own.
Let’s get to it!
Supplies
- ArtResin epoxy resin
- Disposable nitrile gloves
- A graduated plastic mixing cup
- A mixing stick (such as a wood or plastic craft stick)
- Heat gun
- A dust cover (such as a clean cardboard box, plastic tote or deli tray lid)
- An assortment of pressed, dried flowers & leaves
- Gold or silver leaf to add sparkle
- Tweezers
- A silicone alphabet mold (reversed so that the bottom will ends up as the top)
- Toothpicks
- A sanding block
- An electric drill and a small drill bit
- Jewelry eye pins, and keychain hardware (including a jump ring)
- 2 pairs of jewelry pliers to open and close jump rings
Step by step
1. Choose Your Dried Flowers

When creating a resin keychain with dried flowers, it's important to handle them delicately to prevent ripping or damage. Use a pair of tweezers to place them carefully beside the letter you'll be working on.
Once you have your flowers selected, it's time to mix your resin and start pouring!


2. Measure and mix the ArtResin
Wearing gloves, measure the ArtResin according to the label instructions. To make 4 letters, Meg. prepared 50 ml total (25 ml of resin + 25 ml of hardener).
Mix the resin and hardener together slowly for 3 minutes. If desired, use a heat gun on the resin periodically throughout the mixing process to eliminate bubbles. For detailed instructions, please see our blog How To Measure and Mix Epoxy Resin and Hardener.

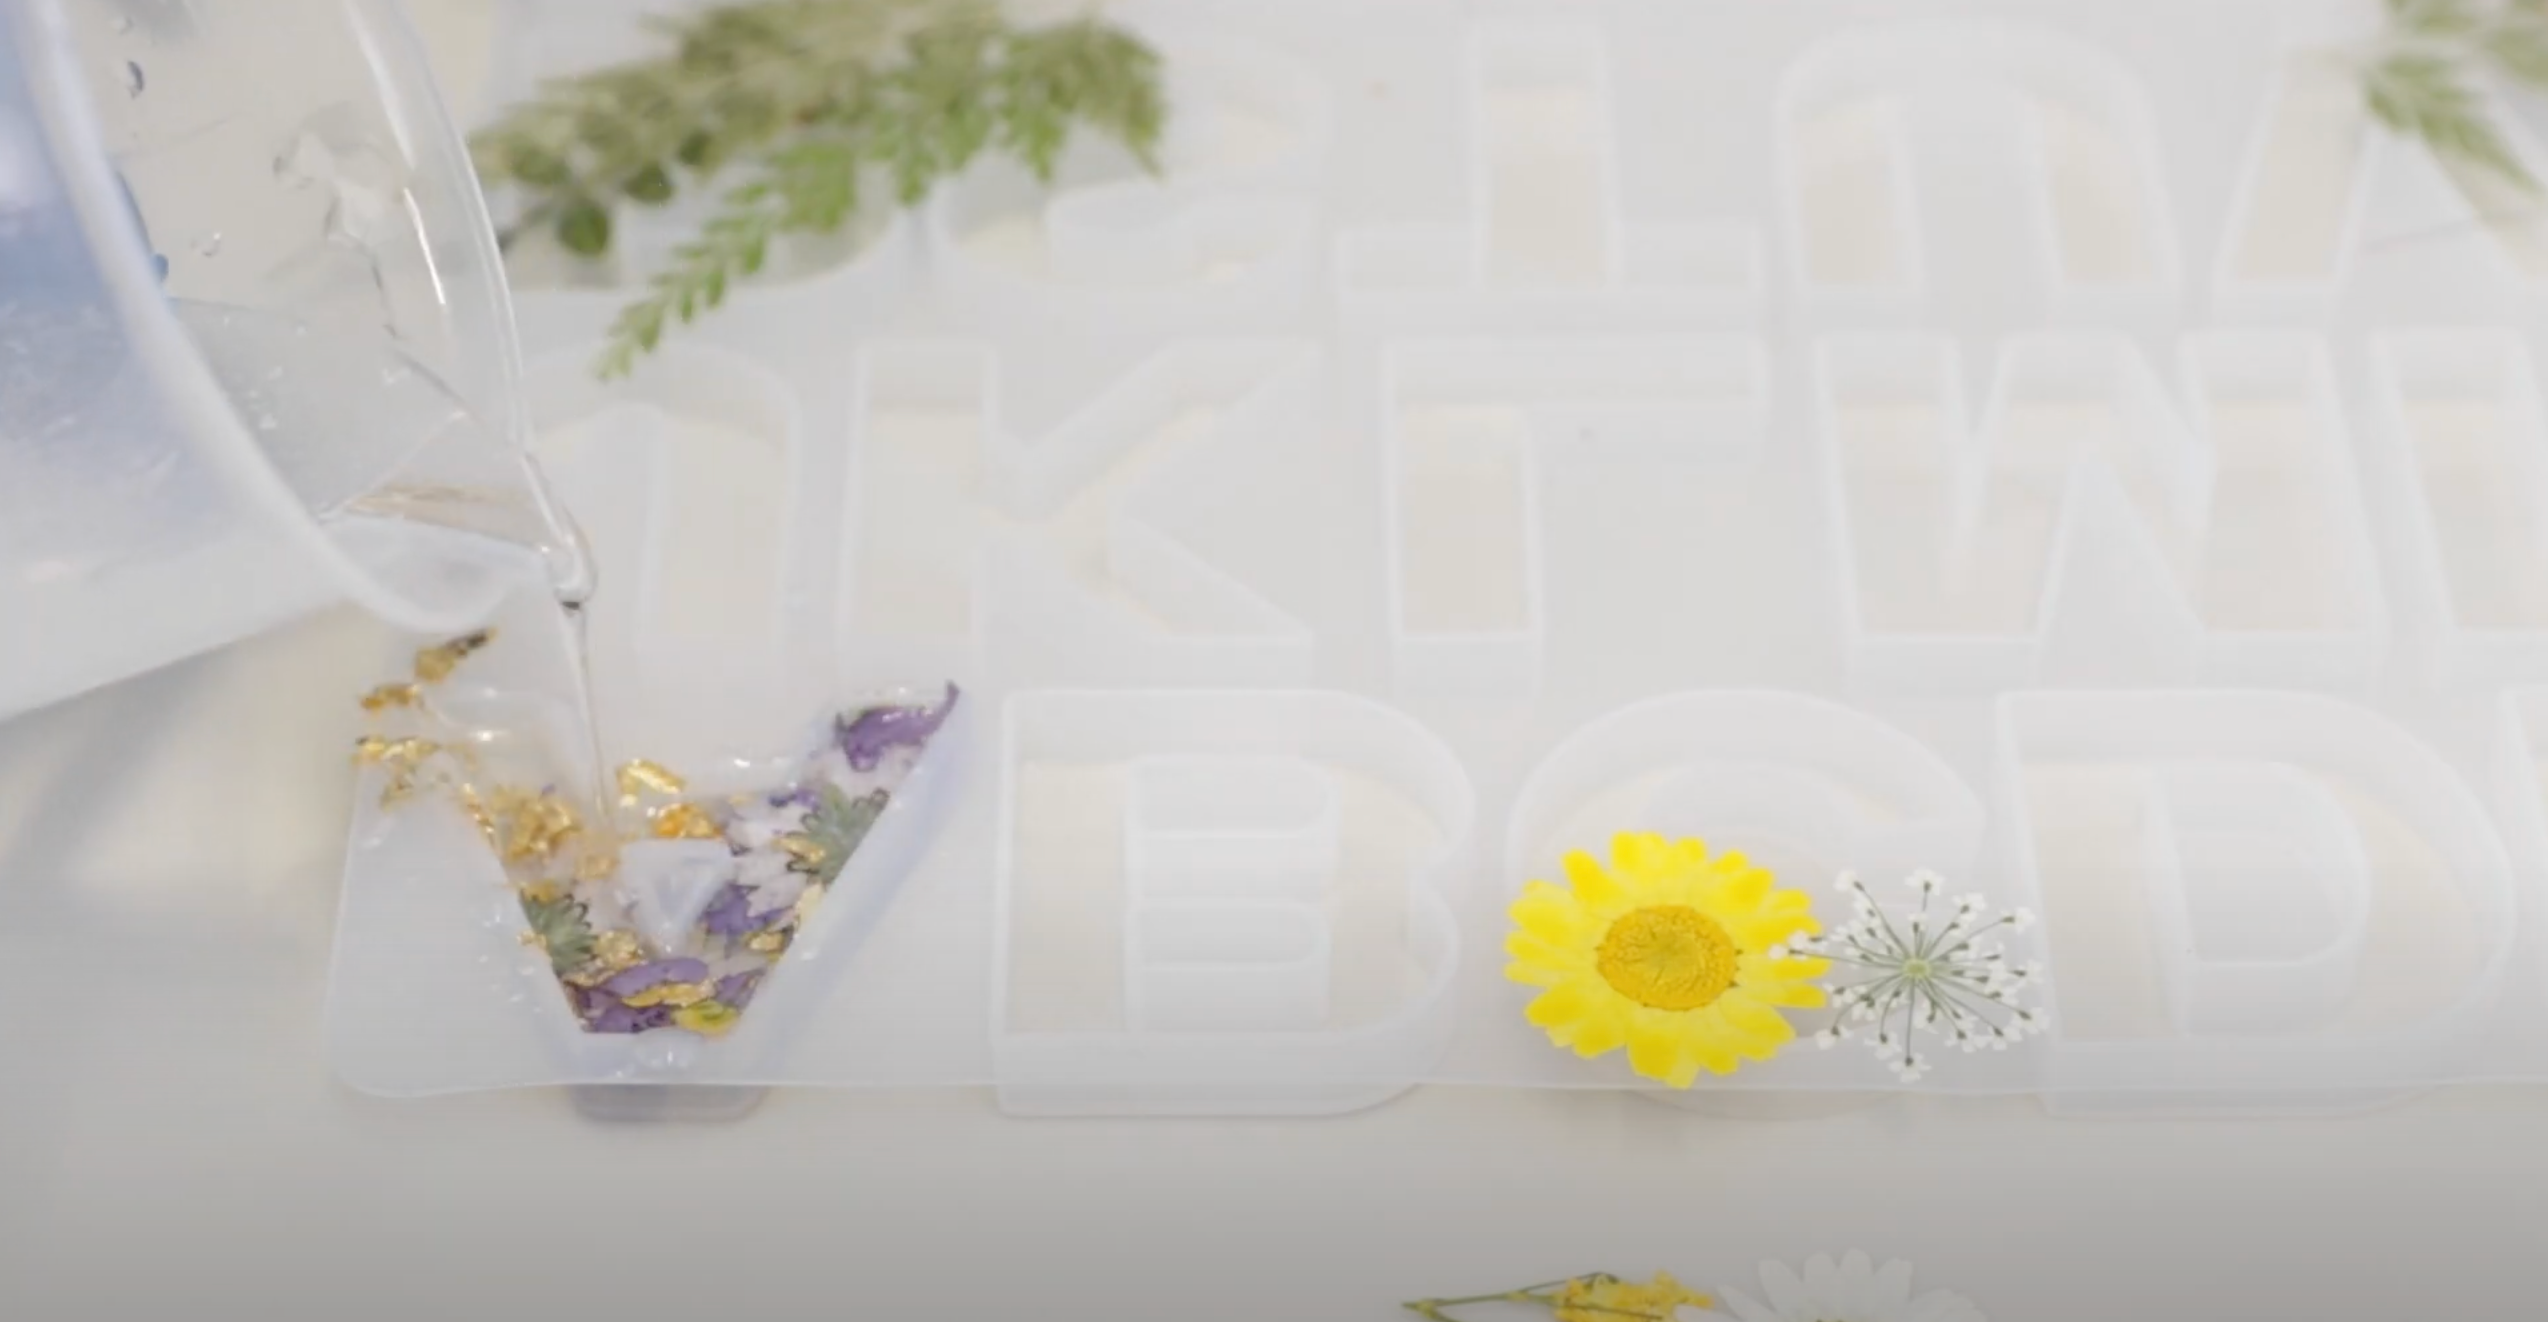
3. Pour the ArtResin
For a flawless finish, Meg recommends pouring the resin into mold first, filling it half way (ensuring the base is evenly covered) and then applying the flowers on top. This technique will help prevent air pockets from forming in between the flowers and the mold.

Next, run a toothpick along the perimeter of the mold to release air bubbles that might have settled in the resin.

Once the resin has been poured, it's time to add the flowers on top, and then pour the remaining resin over them. This technique will ensure that your flowers are evenly and securely embedded in the resin without any air pockets or gaps.
4. Add the Dried Flowers
Use scissors to cut large flowers into smaller pieces to fit into the mold. Drop the flowers where you want them using tweezers. 
Use a toothpick to push the flower pieces down into the resin to eliminate air bubbles underneath.
Drop in small flowers and petals to fill in empty spots, using a toothpick to break them up and move them into place within the mold.

5. Add Gold or Silver Leaf
Drop a small piece of gold or silver leaf into the resin, using a toothpick to break it up and move the pieces into place.

6. Top Up the Molds with Remaining Resin
Top up the mold with the remaining resin to cover the flowers and gold leaf, once you’re happy with how your design looks.
7. Cover and Wait 24 hours
Cover the mold to prevent dust from settling into the wet resin and allow to cure for 24 hours.
Learn how to clean your tools in our blog How To Clean Up Epoxy Resin.
8. Unmold and Sand

Sand rough edges smooth using a sanding block or an emery board. Or, while the resin is still flexible, you can carefully trim rough edges using a deburring tool. Do not use a deburring tool on fully cured resin.


9. Attach the Keychain Hardware
Drill a small hole for the eye pin with an electric drill and a small drill bit.

Attach the eye pin, screwing it in by hand and then using pliers when it becomes difficult to turn.


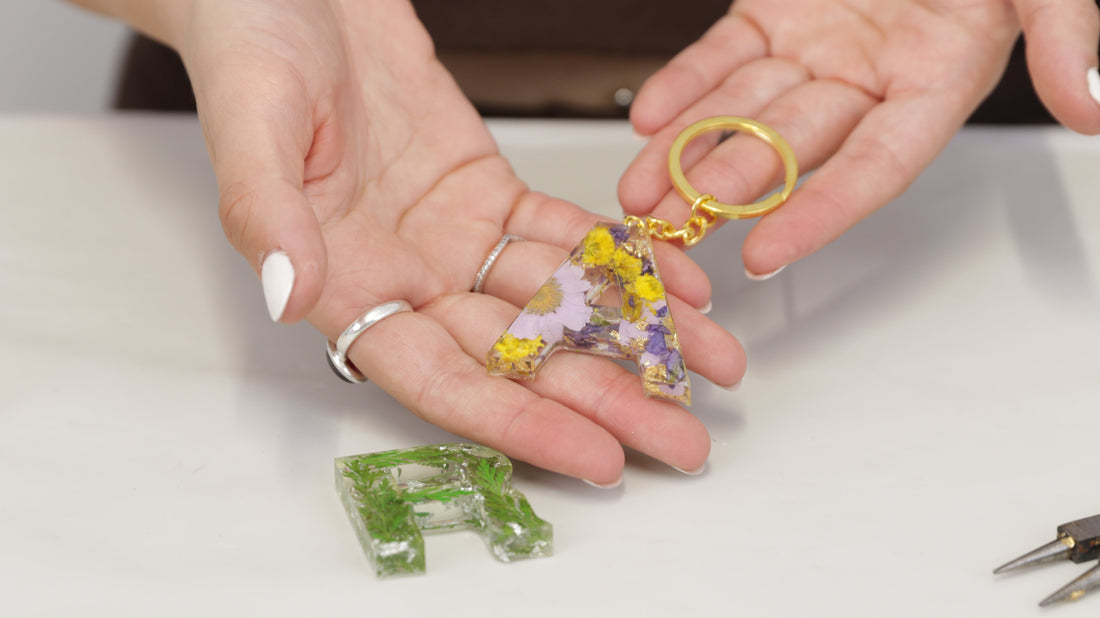
Open the jump ring on the keychain and attach it to the eye pin. Using two pairs of pliers, securely close the jump ring. Allow the resin to sit somewhere flat to finish curing for at least 48 hours more, until it is rock hard, before putting into use.


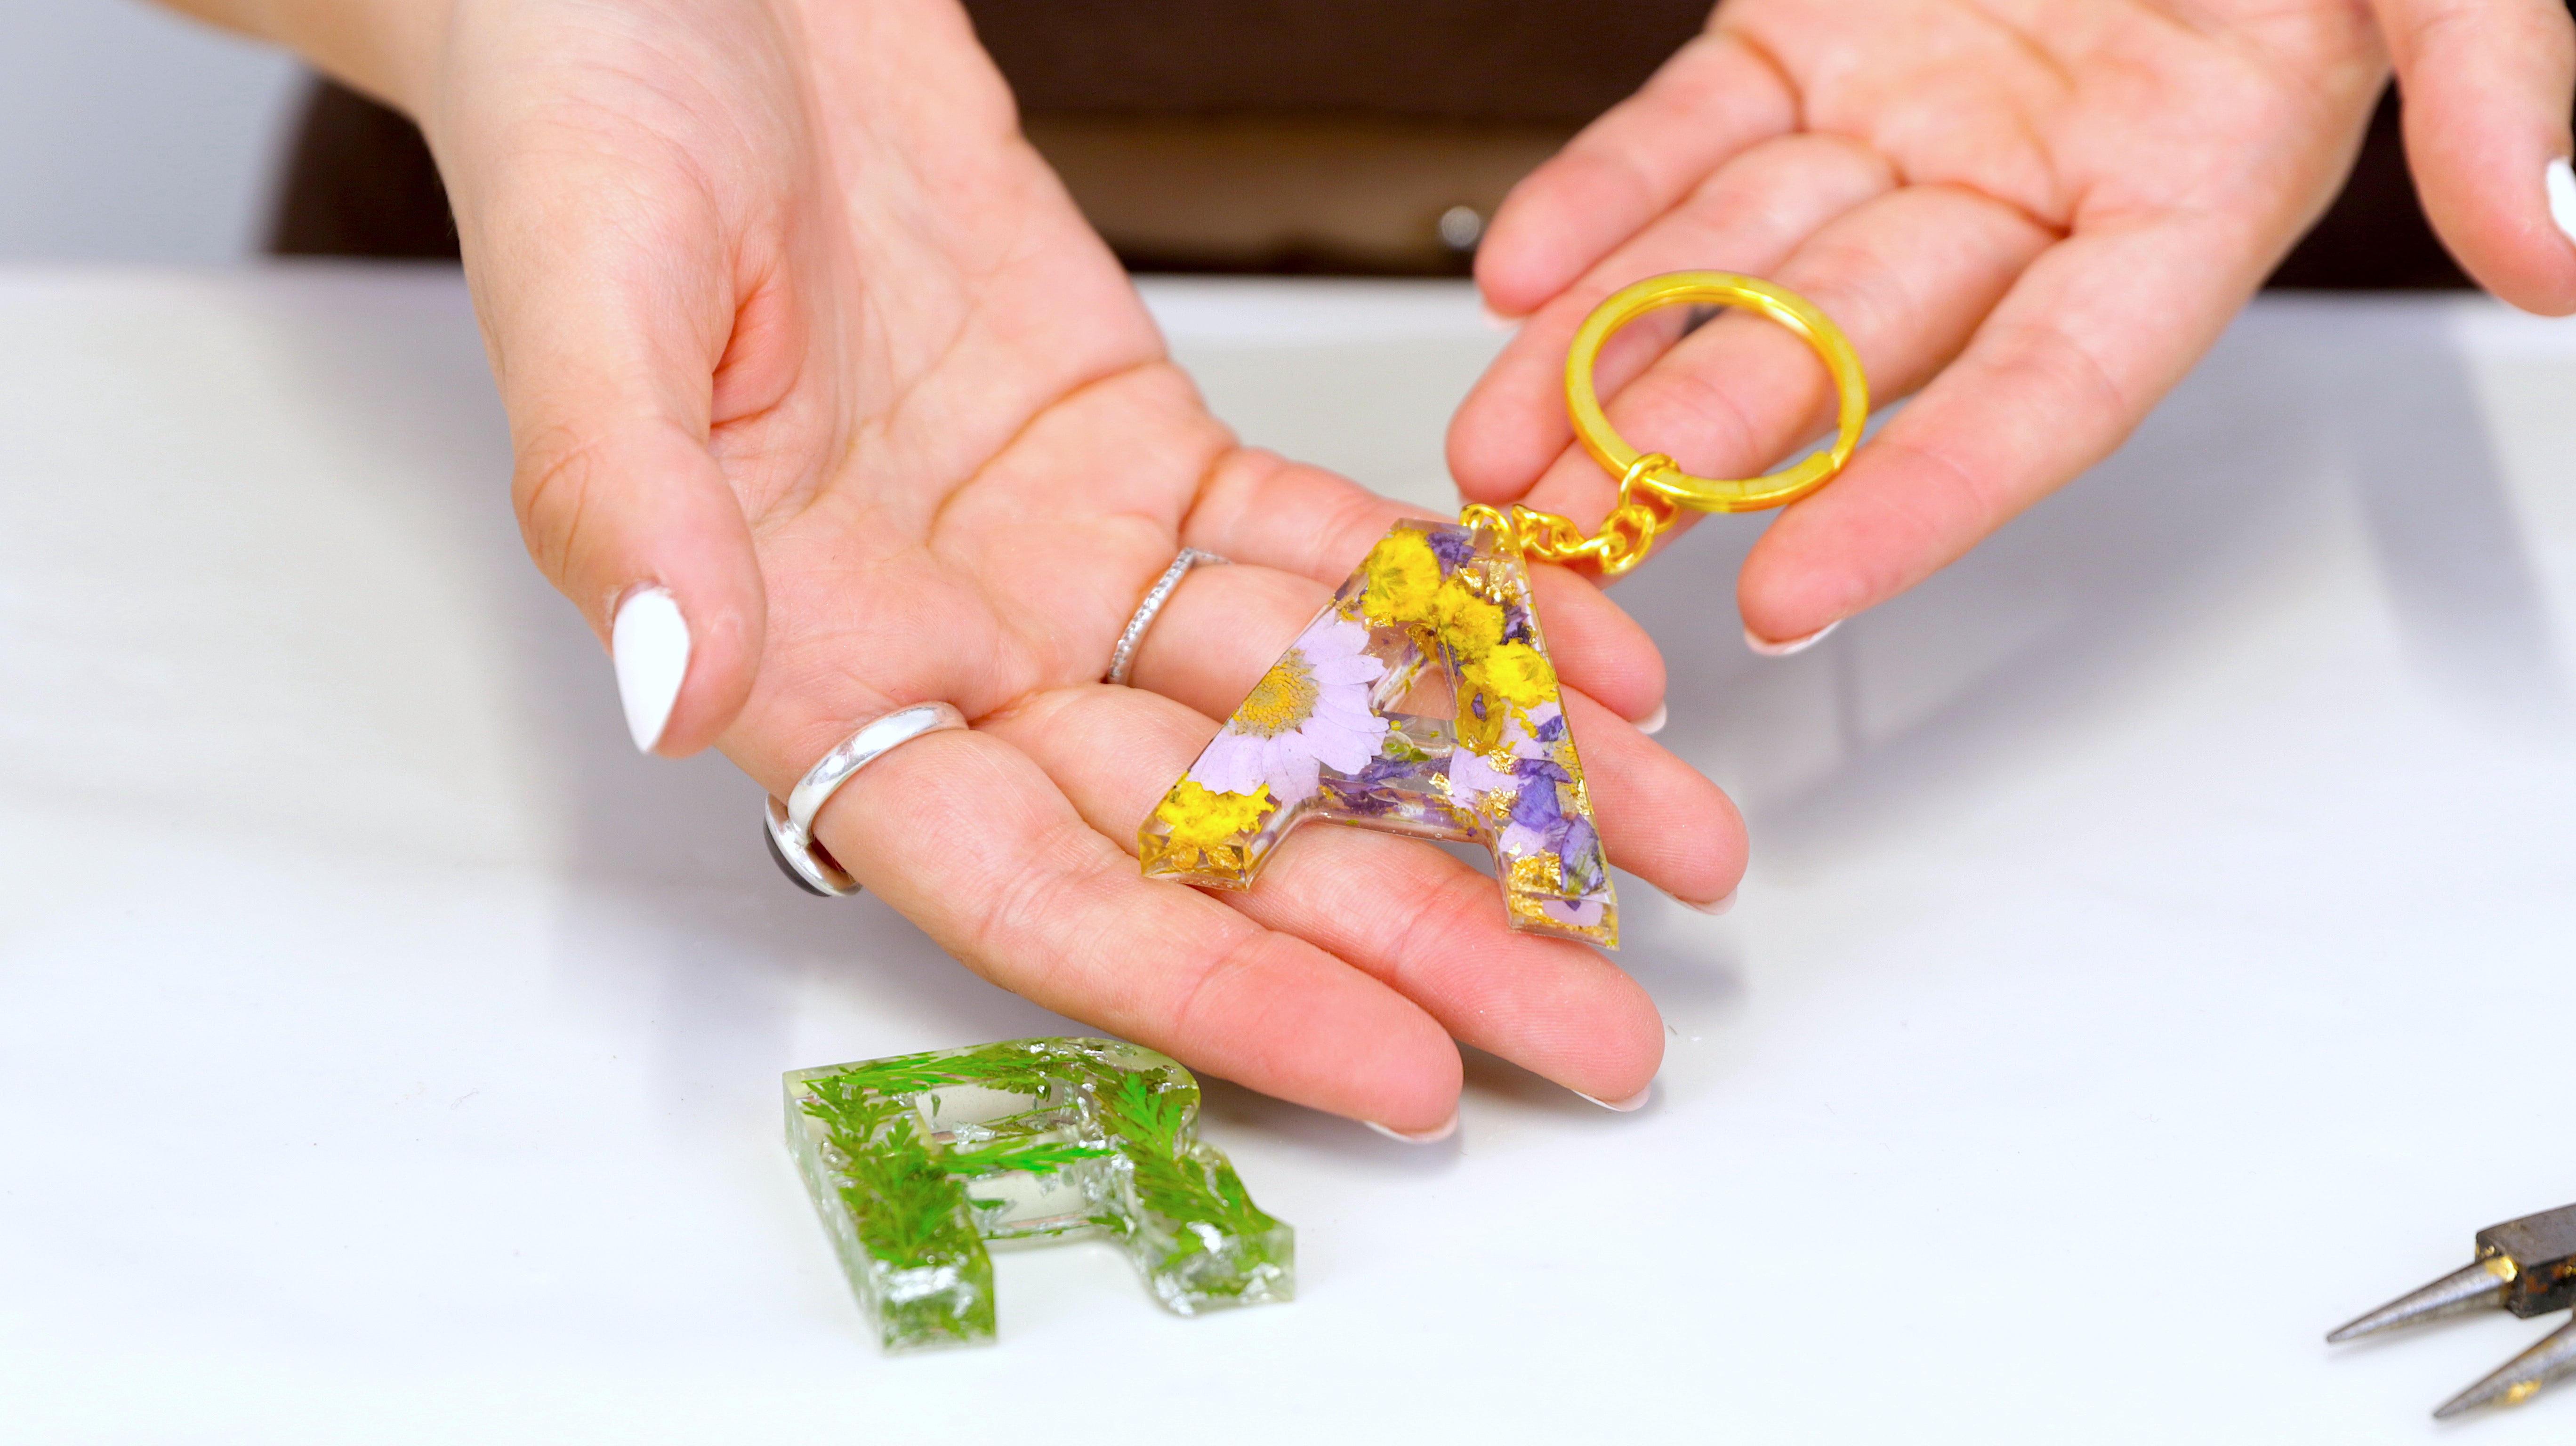
Ta-da! You've successfully crafted your very own personalized resin keychain - a fantastic DIY project that you can proudly treasure for yourself or offer as a handmade gift to someone special.
To see more of Meg's work:
Visit her Etsy shop: www.etsy.com/ca/shop/megdionart
Watch her on YouTube: www.youtube.com/c/MegDion
Follow her on Instagram: @megdionart
Interested in selling your resin keychains? Learn all you need to know in our blog Which Resin Art Sells Best and Where To Sell Your Resin Art.
Do you want to learn more about using resin on accessories? See below our how-to tutorials:
- How To Make Resin Jewelry
- How To Resin A Bracelet
- How To Make A Resin Geode Phone Grip
- How To Make Resin Pens
ArtResin: The Original Epoxy For Resin Art.
