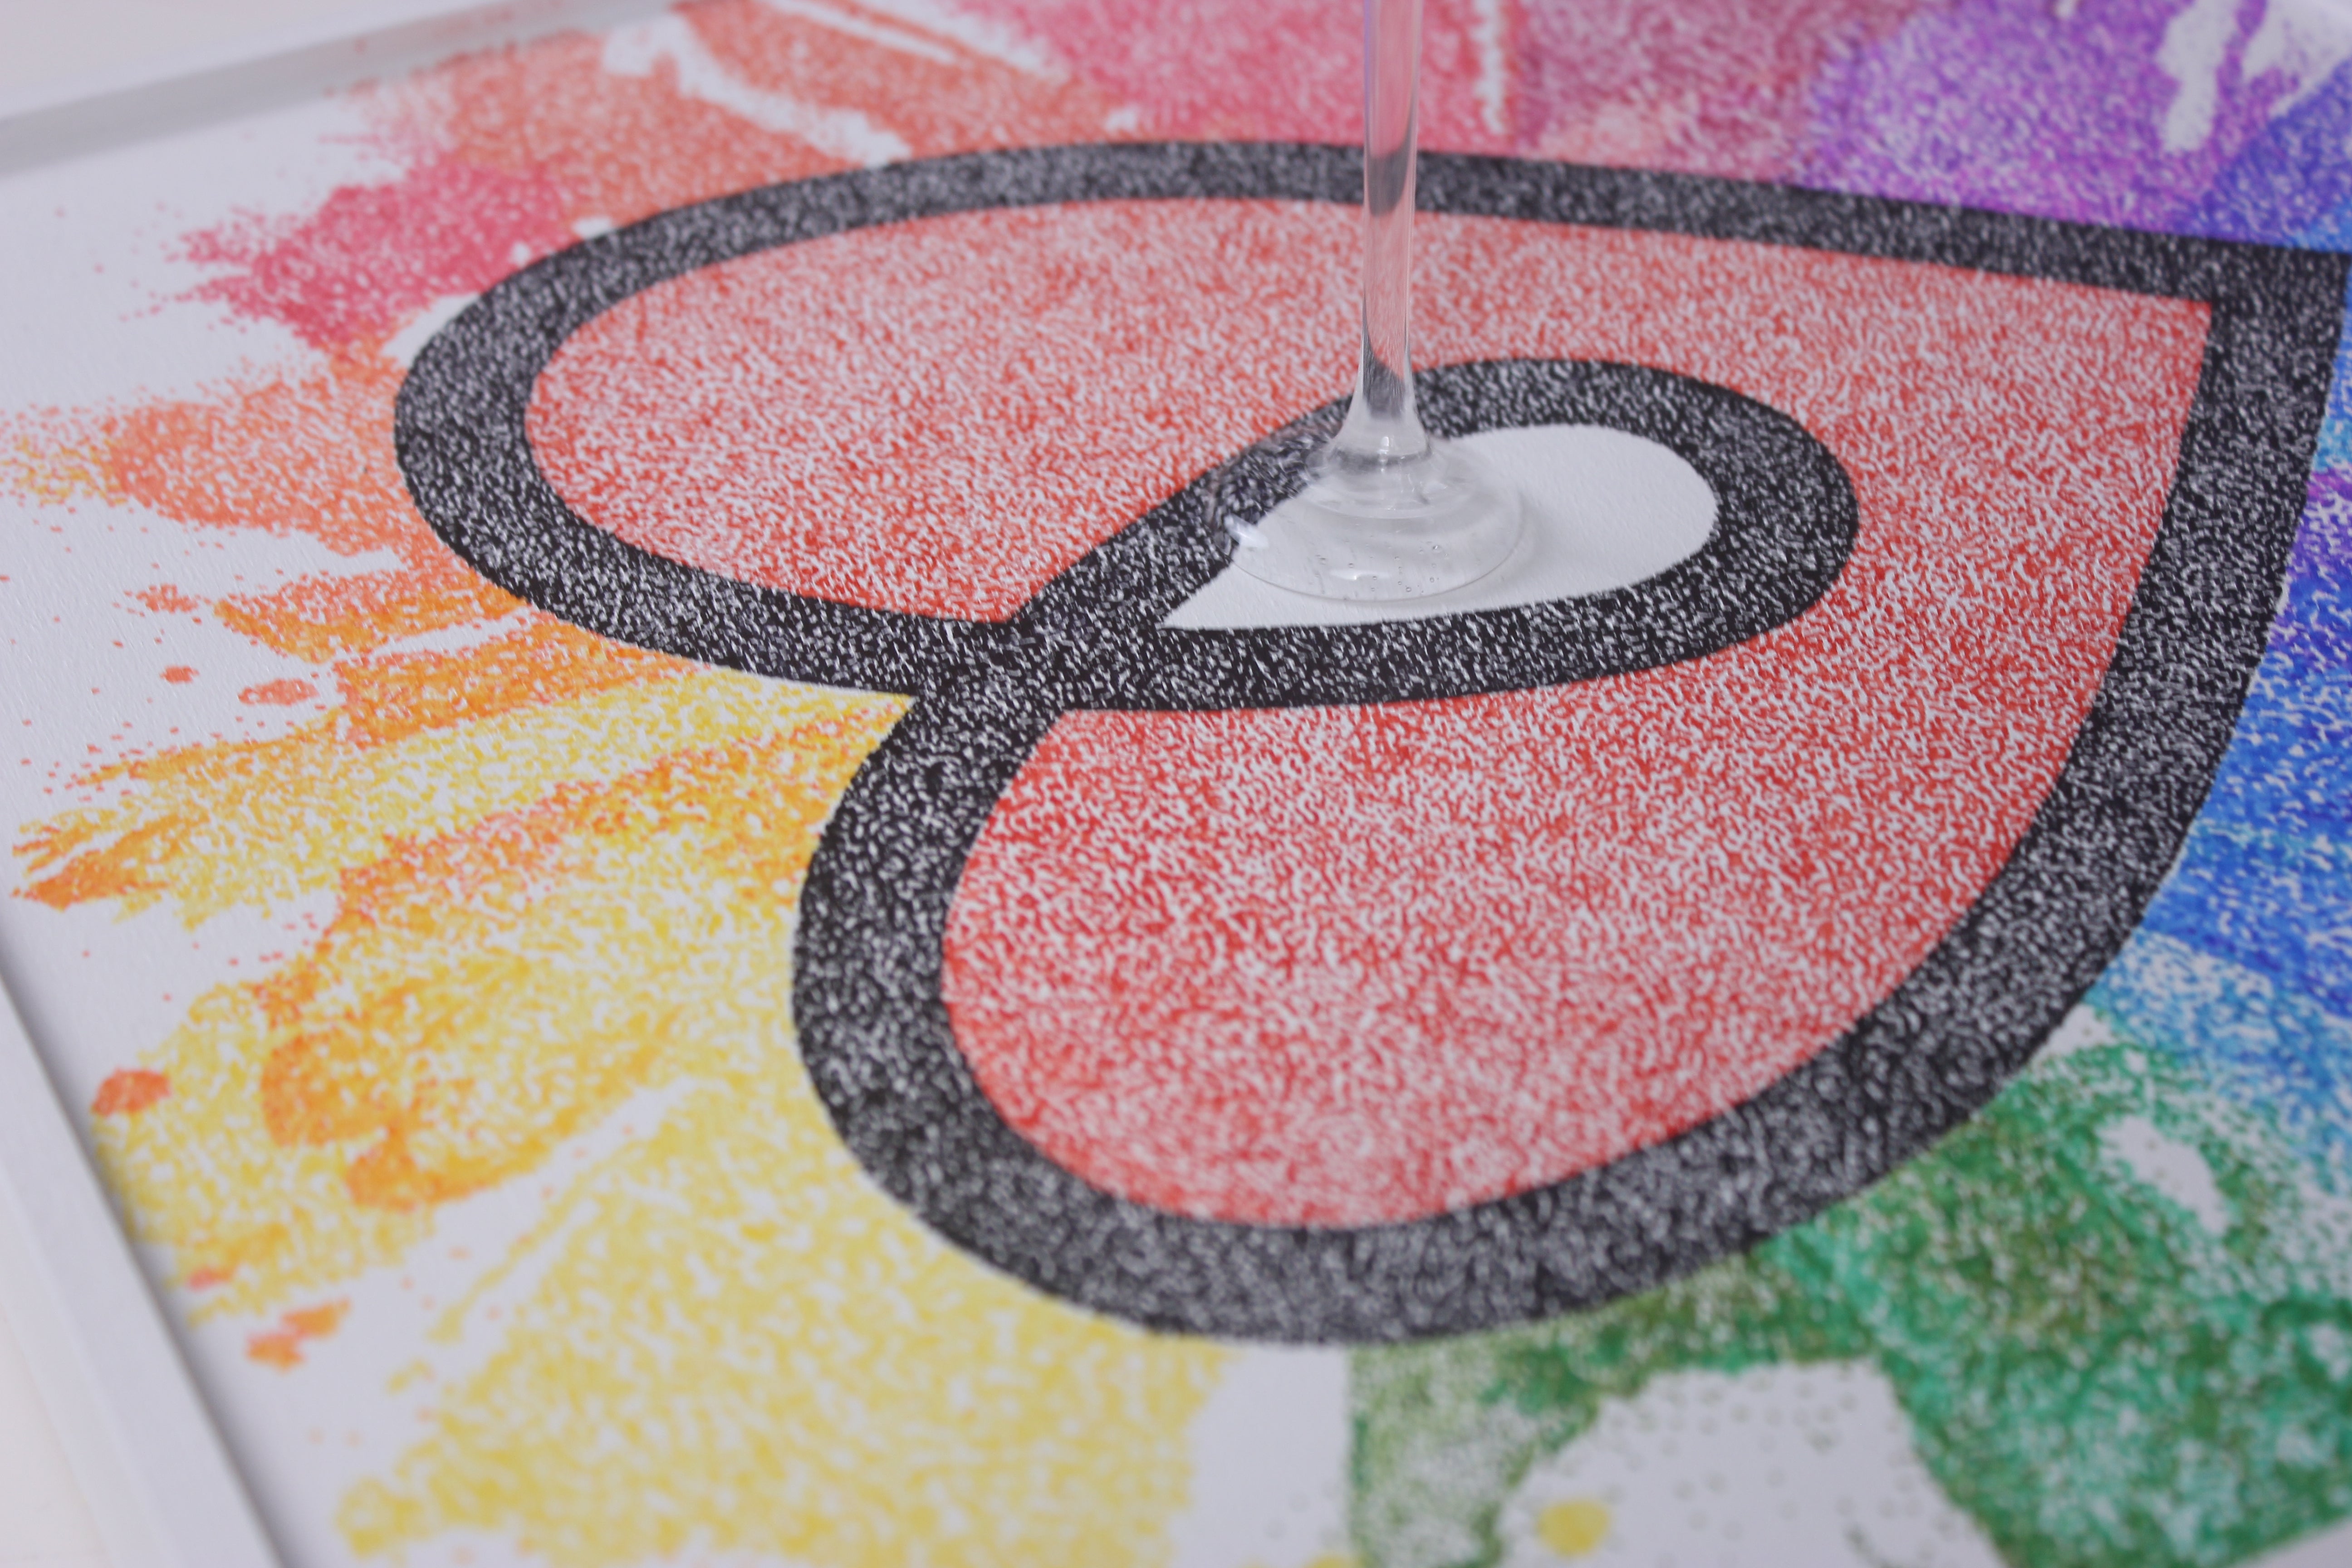
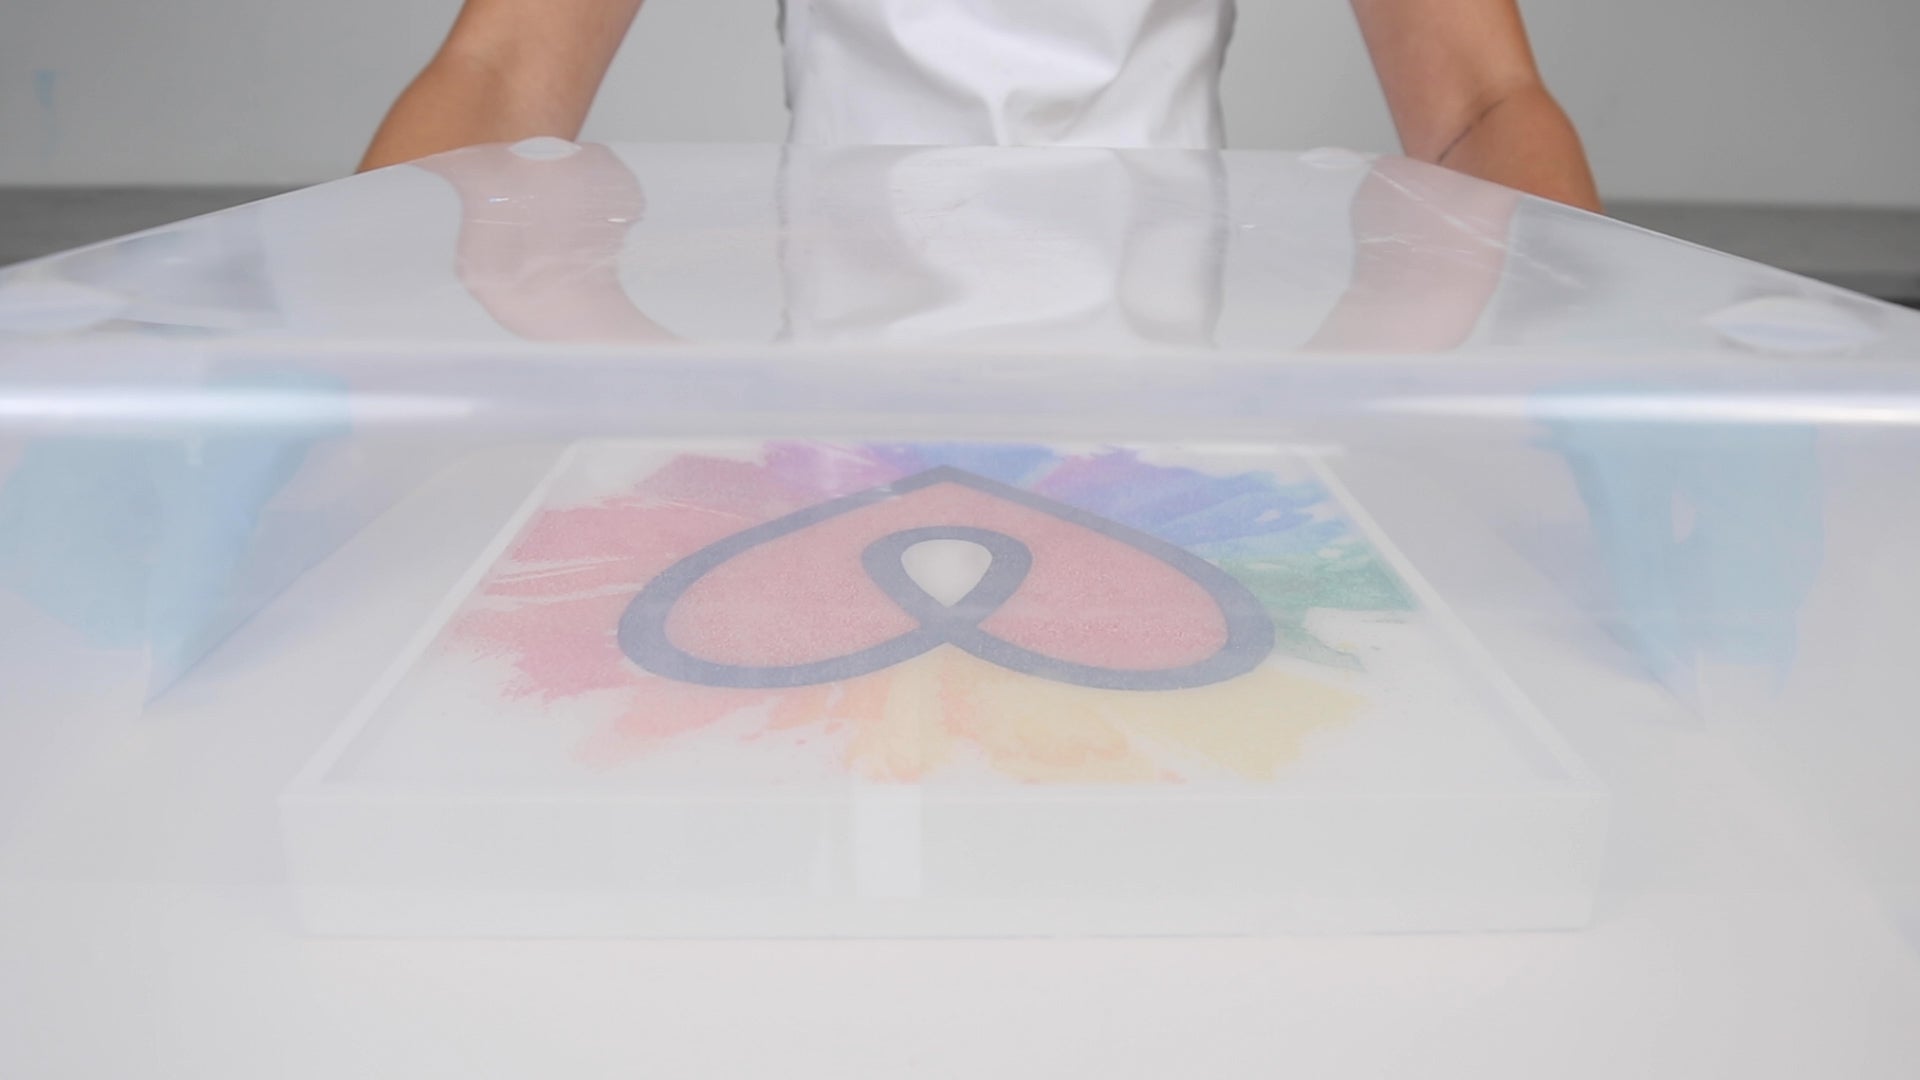
We love using wooden art panels here at ArtResin - they allow you to apply your dots directly to the panel and to pour your resin right on top. A panel with a raised lip contains the resin and makes for an easy pour with clean edges.
Join ArtResin's Hannah as she creates an easy and fun pointillism piece with a glossy resin finish that takes her work from good to gorgeous.
Let's get started ....
What You'll Need:
- A 12 x 12" wood art panel painted white
- a selection of markers
- ArtResin epoxy resin
- A pair of nitrile gloves, a stir stick and spreader
- a measuring cup with easy to read measurement lines
- a handheld torch like our Artist's Torch
- toothpicks
- a clean, empty plastic tote to protect your piece while it dries
Browse our resin art tools & accessories.
Steps:
1. Apply your Dot Pattern
Apply your dot pattern directly onto your painted wood panel. You can trace your design and fill it in, like Hannah did, or create your own freehand work - it's up to you!
💡TIP: You can draw your design on paper first, then mount the finished drawing to the panel using an even coat of adhesive. For best results, smooth the drawing out with your hands or a brayer to ensure an even bond to the panel with no air pockets. Seal your artwork using a spray sealant safe for felt tip marker - allow the sealant to dry before applying ArtResin.


Resting your hand on a piece of paper helps keep your artwork clean while you finish off your design.

We're ready to resin!
2. Use Resin Calculator
Using our Resin Calculator, simply enter the length and width of your piece to determine how much ArtResin you’ll need. A standard 1/8" coating for a 12" x 12" panel requires 5 oz resin (2.5 oz resin and 2.5 oz hardener).

3. Measure Accurately
Wearing gloves, measure accurately (by volume) precisely equal amounts of resin and hardener. Stir thoroughly for 3 minutes total, ensuring you scrape the bottom and sides of your mixing container as you go.
💡 TIP: for our very best measuring and mixing tips, read the blog How To Measure And Mix Resin And Hardener.


4. Pour Resin
Pour the ArtResin onto the center of your piece and spread it out to the edges. You can tilt the panel to spread it or use a plastic spreading tool. You'll have about 45 minutes of working time before the resin gets too thick to work with.
💡TIP: Read our blog How To Pour And Spread Epoxy Resin for more resin tips and techniques!


5. Remove Bubbles
Remove bubbles with an Artist’s Torch, holding the flame a couple of inches above the resin surface just long enough to pop the bubbles, keeping the torch moving from side to side at all times. After torching, inspect your piece in the light and remove any bits of dust with a toothpick.
💡TIP: if you're nervous about using a torch, don't be! Read our blog with all you need to know about How To Use A Torch On Epoxy Resin.

6. Cover your piece
Cover your piece with a plastic tote or a cardboard box (with the flaps cut off). Let it sit for 24 hrs until it’s dry to the touch.

7. Wait 24hrs
Wait 24 hours and then admire your work!
💡TIP: the resin will be dry to the touch at the 24hr mark. You can hang your artwork on the wall at this point, but if you're packing and shipping your artwork, please wait at least 72hrs until the resin has fully cured.

Wasn't that fun?
We hope this tutorial inspired you to create your own pointillism piece.
Post any comments or questions, below - we'd love to hear from you!
Do you want to learn more about resin art techniques? See our how-to tutorials:
- How to Resin Marker Pointillism
- How to Make Ocean Resin Art
- How To Create A Black Resin Ocean With A Gold Crackle Shoreline
- What Is Selective Embellishment?
- How to Make Resin Flow Art
- Create Lacing and Cells in Resin
- How to Make Epoxy Resin Matte
- How to Make Mandala Resin Art
- How to Make Resin Art with Dried Flowers
- How to Resin Mixed Media Paintings (Step-by-Step Tutorial)
- How to Resin Collage Art
- How to Resin Spray Paint
- How To Make A Resin Crystal
- How to Resin A Glossy Photo
ArtResin: Made For Artists, By Artists.
