Making a tinted resin window painting is a fun, easy DIY project and a great way to recycle an old curbside window frame into a beautiful piece of art!
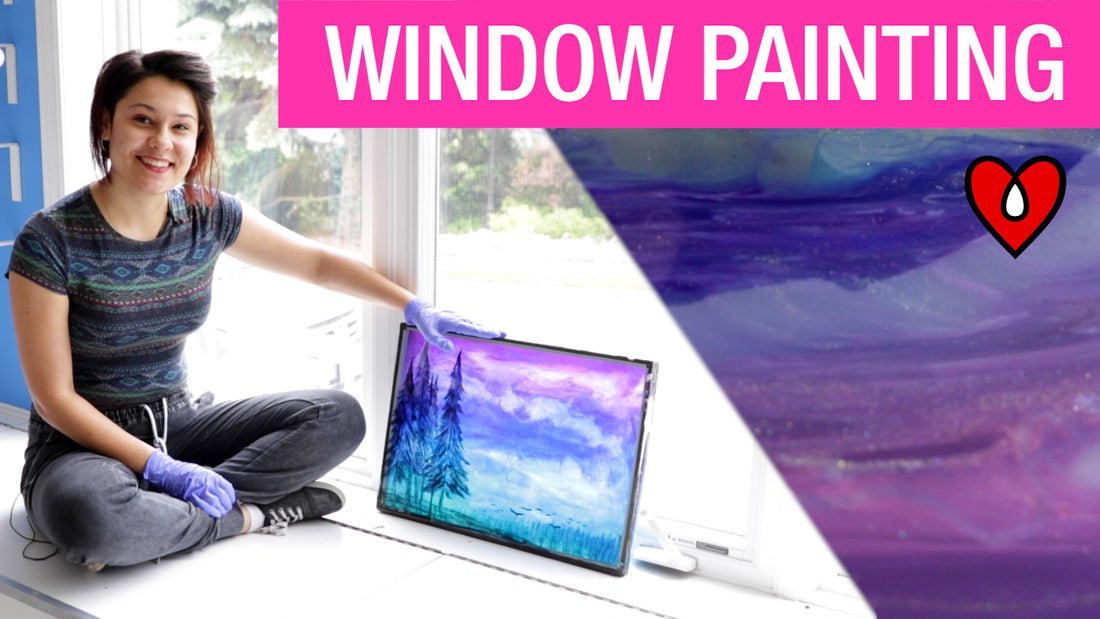
It's easy to create your own personalized work of art! ArtResin's Jasmine shows you how to paint your own unique design onto a window frame or floating picture frame and accent it with simple washes of tinted resin to add colour and glow to any room. What's even cooler? As the daylight changes, so too will the radiant effect.
Here's what you'll need:
- a double paned window frame (or use a floating picture frame)
- ArtResin epoxy resin
- art materials for your design: we used calligraphy ink, acrylic paint marker, and glitter but you could use alcohol ink, acrylic ink, acrylic paint etc
- paint brushes, including disposable foam brush
- aluminum tape to create a dam
- ResinTint liquid colorants
- nitrile gloves
- plastic mixing cups and stir sticks (one for each colour of tint)
- a plastic drop sheet to line your work surface
- stands to prop your piece up on
- level
Browse our resin art tools & accessories!
Let's get started!
1. Preparing The Window Frame:
Ensure the glass is perfectly clean and that the frame is in good shape before you start, repairing any damaged areas. If the frame is made of wood, patch any holes, sand down the frame, if necessary, and paint it (as raw wood may absorb the resin.)
2. Creating Your Design:
Your design can be as complex or as simple as you'd like but keep in mind that you don't want the composition to fill the entire window: leave some space for your washes of color.
- If you choose to paint a landscape, as we did, divide your design between a foreground, a middle ground and a background.
- Using the ink or paint of your choice, start with the foreground - this will become the front of your window. The objects in the foreground (trees, in our case) should be the largest to create a sense of space in the painting. Overlap the trees to help create even more depth.
- Allow your ink to dry, then flip the painting over to paint the background on the other side.


Now paint the middle ground and background.
- For the middle ground, Jasmine painted silhouettes of birds flying low in the sky.
- For the background, she painted a forest of trees: the background elements should be the smallest items in your painting with the least amount of detail to indicate that they're far off in the background. Using a lighter, more translucent touch with the ink also helps to imply distance, as opposed to the darker, high contrast trees in the foreground.

Once you're happy with your overall design, allow the background to dry. Next, use an acrylic paint marker to fill in detail on the foreground trees to increase the contrast and definition. 
3. Prepare For Resining
When your painting is complete, you can prepare the piece for resining.
- First, prop it up on stands over a plastic lined work surface.
- Use a level to ensure your piece is perfectly horizontal.

Apply aluminum tape all the way around your piece, creating a dam to contain the resin pour. Burnish it with your hand or a popsicle stick to ensure you have a good bond between the tape and sides of your frame.

4. Apply The ArtResin
Measure equal amounts, by volume, of resin and hardener and mix thoroughly for at least 3 minutes, scraping the bottom and sides of the mixing container as you go.
Divide the resin equally among your cups. Allow one cup per color, making sure to reserve some clear resin in your mixing cup.
Use ResinTint to tint each cup of resin, mixing and matching to achieve the colors you wish to use. Jasmine chose to create an evening sky by using pink, purple, teal, and lilac, with highlights of glitter to create a canopy of stars.


ResinTint is a highly saturated pigment based colorant, so it's always best to start with less than you need, adding more as necessary. Using the mixing stick, pull some of the tinted resin up the side of your cup to see how saturated the color is. If the tint is too translucent, add a little more until you're happy with what you see.
💡 TIP: No matter which colorant you choose to use, don't add more than 6% of the total combined volume of resin and hardener. Adding more than 6% will throw off the delicate balance required for the resin and hardener to cure, and you may end up with resin that doesn't harden.

Pour your resin layers, color by color. Feel free to be creative and loose as you pour, allowing the pattern to find itself as the layers blend into each other. Use the spreader to create a wash of color and to help ensure the resin covers the entire window. To create the look of clouds, pour the lilac in thin lines throughout, blending with a spreader to soften the lines.


Next, apply the glitter layer. The glitter is heavy and will sink to the bottom, so ensure that it is distributed evenly, being mindful not to apply too much glitter in one spot. 
Next, apply the clear resin selectively over your piece: clear resin helps to open up cells in the tinted resin and creates variations in the translucency of each color.
The last step is to create an organic effect by gently blending the colors. You can do this by blowing on your piece or alternatively, you can use a hair dryer or heat gun.
5. Torch Out The Bubbles
Since ResinTint is non-flammable, you can remove bubbles with a small butane torch, like our Artist's Torch. Run the torch quickly and evenly over the resin surface, keeping the torch in motion at all times. A few quick passes will do it.

6. Wait 24 Hours
Allow it to cure overnight - the next day it will be dry to the touch and you can hang it on your wall! It will be fully cured in 72 hours.
We hope you enjoyed this tutorial and that it not only inspires you to get creative, but that it helps you to see the potential in items otherwise destined for the landfill.
Have you upcycled an old window or other piece of junk into Recycled Art?
We'd love to hear - let us know in the comments below!
Do you want to learn more about resin craft ideas? Check out our tutorials:
- Introduction to Resin Art
- Resin & Alcohol Ink: 2 Secret Weapons For Petri Dish Art
- Resin & Alcohol Ink Wood Coasters: A Step-By-Step Tutorial
- How To Make A Resin Geode Phone Grip
- How to Resin Your Home Wall Decor
- How To Make Resin Keychains
- The 20 Best Resin Crafts To Make
ArtResin: The Original Epoxy For Resin Art.
