
Resin is waterproof once it's cured. But before then, moisture is one of its biggest enemies.
There's nothing more disappointing than checking next day on a pour you were excited about — only to find it has cured cloudy, soft, or with surface imperfections.
What Moisture Does to Resin:
-
Cloudy or hazy areas that reduce clarity and dull the finish.
-
Amine blush (a waxy or greasy surface film)
- Ripples, waves, divots or pock marks on the surface
- Soft or tacky spots that don't fully cure
- Weak adhesion to the surface or delamination later on.
- Bubbles or foam trapped inside the resin
The good news is that most moisture-related resin problems are preventable once you know where they come from.
Let's walk through the 4 most common ways moisture gets into epoxy resin — and what it actually does when it shows up.

4 ways moisture can get into epoxy resin
Moisture can sneak into resin in a few common ways:
1. Water contamination: from wet tools, damp measuring cups, water baths, or water based colorants like acrylic paint.
2. Wet surfaces: Applying resin over wet paint, wood, or other materials that aren't fully dry.
3. Damp inclusions: Adding flowers, leaves or other organic materials that still contain moisture.
4. High humidity: Working in humid conditions where moisture in the air affects the cure.
1. What happens if water gets mixed into epoxy resin?
If water gets into your resin or hardener (from wet tools, open containers in a water-based colorants) you might see anything from a few bubbles to full milky, cloudy appearance.
💡 TIP: This is why acrylic paint isn't always best for tinting resin. Some paints contain a high water content, which can even cause the resin to get prematurely thicken or flash cure.
The following samples demonstrate how water can affect a resin cure. The resin is all from the same batch, but contaminated with varying amounts of water.
Clockwise from left:
1. No water: Properly cured and clear, with a few micro-bubbles from the thick pour.
2. Water flicked over the resin with a wet paint brush: bubbles, divots and hazy areas.
3. Water added with a dropper: deep channels, trapped water leaking out and soft resin.
4. Water mixed into the resin: a milky appearance from thousands of bubbles, an uneven pockmarked surface, and significantly more bendy than the other samples.
![]()
To prevent this:
-
Dry Tools: Make sure your tools, mixing cups, molds, substrates and work surface are completely dry before you begin
-
Water baths: If you warm your resin bottles in a water bath, keep the caps tightly closed, don't submerge the bottles, and dry them thoroughly before opening. Don't use a water bath with your resin or hardener in open containers.
-
Colorants: Avoid water-based colorants, such as acrylic paint, whenever possible. Instead, use powder pigments, resin pastes, or resin dyes like
ResinTint, which are specifically designed for epoxy resin.
💡 TIP: To learn more about tinting resin, see our blog How To Color Clear Epoxy Resin.
2. What happens if you apply resin to a wet surface?
Epoxy resin should never be applied over a wet or damp surface.
This includes wet paint, damp wood, or glue or sealant that hasn't fully dried. When moisture is trapped, it can lead to poor adhesion, bubbles, and an uneven cure.
The following two samples used ArtResin from the same batch over wood coasters painted with black acrylic paint:
The paint in the sample on the left was not fully dry and the resin cured with noticeable waves and ripples.
In contrast, the paint in the sample on the right was allowed to dry completely and the resin cured perfectly.

To get the best results:
- Let paint fully dry: Acrylic paint may feel dry to the touch, but it can take weeks to cure completely. Applying resin too soon can trap moisture and affect the cure.
-
Make sure wood is dry: Damp wood can interefere with the resin cure and may expand and contract over time, causing the resin to crack or delaminate. Use kiln dried wood if possible, or allow wood to air dry (approximately one year per inch of wood thickness.) A moisture meter is a good investment: aim for a reading of around 12%. Store wood indoors in a dry, climate-controlled space.
-
Follow recommended dry times: Allow paints, sealants, glues, adhesive sprays, gilding size, paint pens, gold leaf markers, and other wet materials to fully dry according to the manufacturer's instructions before applying resin.
3. Can you put fresh flowers in resin?
Yes, fresh flowers look beautiful in resin, but only once they're completely dry.
Fresh flowers contain moisture that will slowly release into the resin causing cloudiness, bubbles and a dull finish. The flowers will also decay over time.
In the sample below, fresh leaves and flowers were embedded in resin without being properly dried. The moisture they've released into the resin has created bubbles, a rippled effect, and a hazy cure throughout.

To avoid this:
-
Dry natural materials thoroughly: Dry flowers, leaves and other organic materials completely before embedding them in resin. Silica gel works especially well for preserving their color and shape.
- Seal porous objects: NLeaves, wood, paper and other natural materials can trap air that escapes into the resin as bubbles. A light coat of spray sealant helps keep air where it belongs — out of your resin.
💡 To learn more about sealing and sealants, visit our blog: Should I Seal My Artwork Before I Resin?
4. How does humidity in the air affect epoxy resin?
Humidity is simply moisture in the air - and it can have a big impact on resin curing.
High humidity can lead to amine blush, which shows up as a cloudy or slightly waxy surface film. It can also affect how smoothly the resin levels and cures.
💡 To learn more about Amine Blush, please see our blog Amine Blush: What Is It And How To Prevent It.
We tested two identical pours from the same batch of ArtResin to show the difference:
The first cured indoors, in a stable, air conditioned environment of about 78°F/25°C. It cured perfectly clear, as expected, with no surface imperfections. The surface is hard, dry and smooth.
![]()
The second sample cured outdoors, covered, with fluctuating rain conditions during the 24 hour cure. The temperature ranged from 75°-86°F/24°-30°C with humidity levels outdoors between 86-100%.
The resin cured with noticeable ripples and waves throughout and developed amine blush - the resin feels tacky and waxy, with quite a bit of resistance as you run your finger along the cured surface. 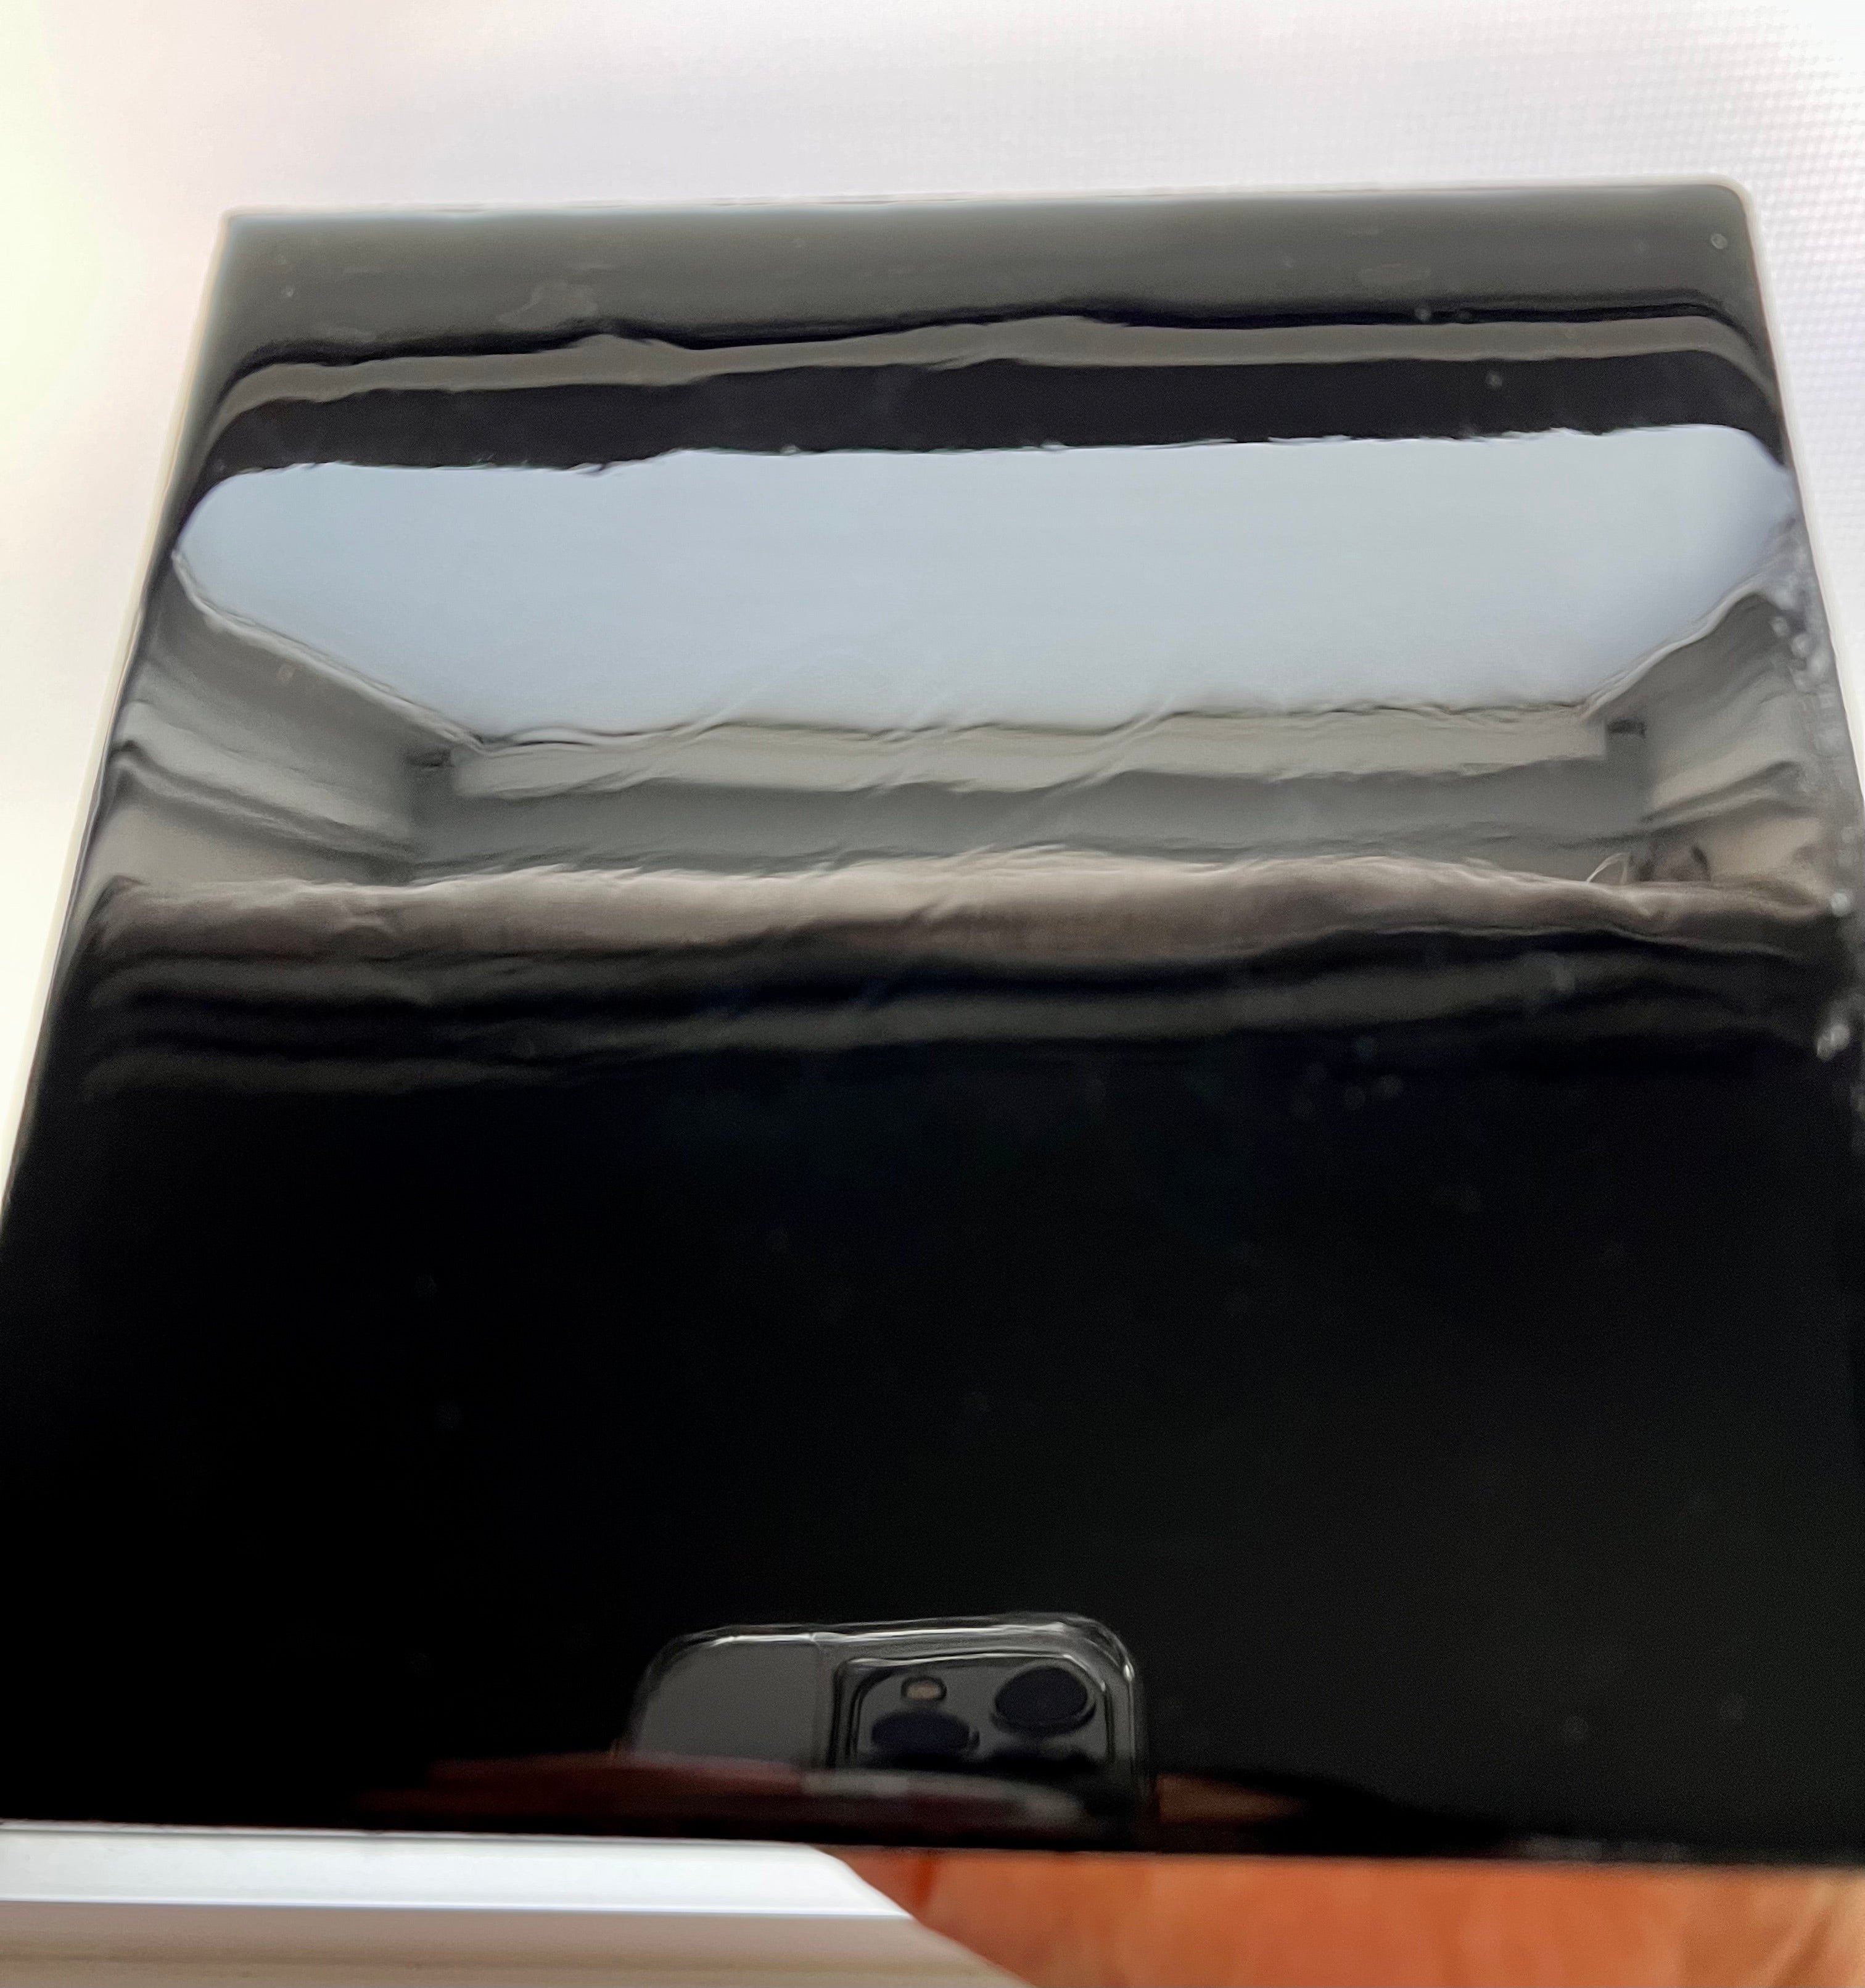
For best results:
-
Work in a controlled environment: Aim for humidity below 80% and ideally around 50%. If you're in a humid climate, air conditioning and/or a dehumidifier can make a big difference.
-
Cure resin indoors: Avoid working outdoors in unstable weather conditions. Work in an area where the temperature and humidity remain consistent for the first 24 hours.
💡To learn more about using epoxy resin in summer weather, please see our blog: How Does Hot Weather Affect Resin?

Final Thoughts:
Moisture is one of the most common causes of resin issues — but also one of the easiest to prevent.
By keeping your materials dry, your workspace controlled, and your colorants and inclusions intentional, you'll dramatically improve clarity, cure quality and overall results.
Simple adjustments make a big difference — and your resin will thank you for it!
Do you want to know more about epoxy resin? Read our guides below:
- How To Cure Epoxy Resin in Cold Temperatures
- How to Build a Resin Hot Box for Cold Weather Curing
- How Does Hot Weather Affect Resin?
ArtResin: The Original Epoxy For Resin Art.
