Resin phone grips are a fun, easy resin craft that allows you to add a personal touch to your phone. They're easy to customize and make a great gift item or product to offer for sale as part of a resin craft business.
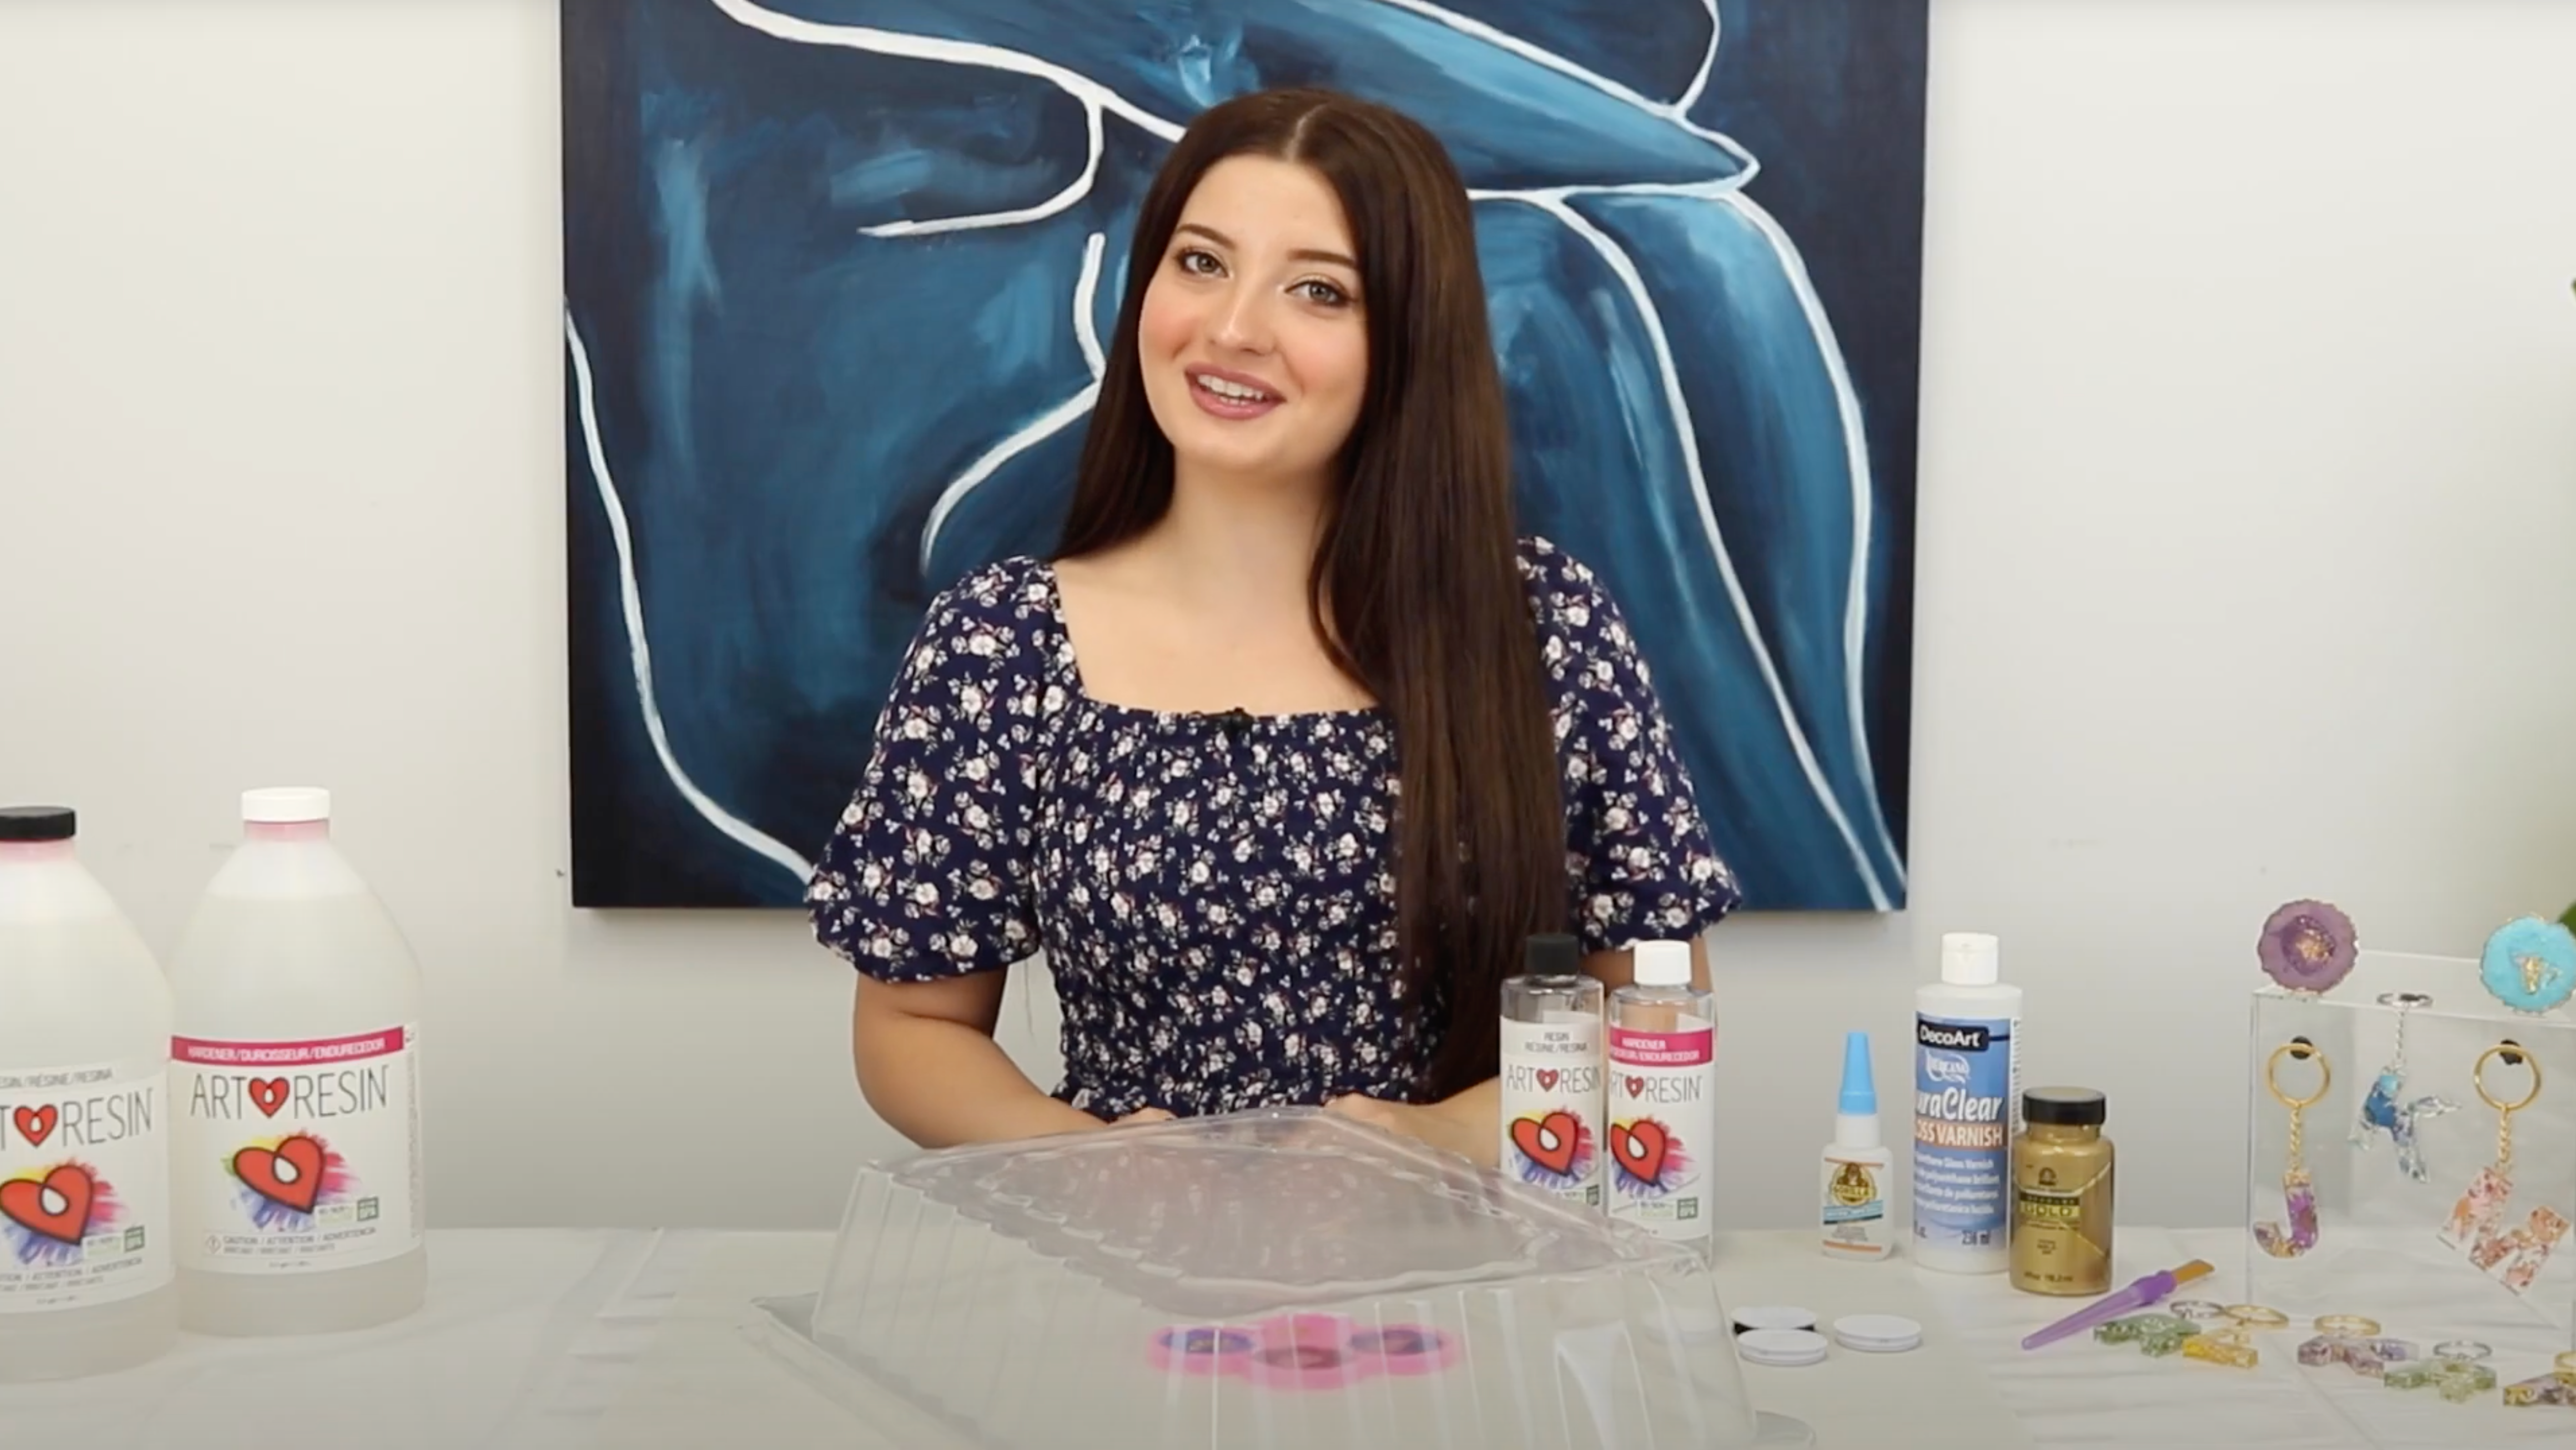
Resin artist Meg Dion dropped by the ArtResin studio to demonstrate how to make resin geode phone grips. Not only are they one of her preferred resin crafts to create, but they are also one of her best-selling items on Etsy!
Let’s do it!
Supplies
- ArtResin epoxy resin
- Disposable nitrile gloves
- A graduated plastic mixing cup
- A mixing stick (such as a wood or plastic craft stick)
- Resin colorants of your choice (mica powder, alcohol ink, resin tint etc)
- Plastic cups & mixing stick for each color you want to use
- Gold or silver leaf to add sparkle
- A small silicone geode mold (found on Amazon)
- Heat gun
- Toothpicks
- A dust cover (such as a clean cardboard box, plastic tote or deli tray lid)
- A gold leaf marker or gold paint and a small flat paintbrush for edging
- Gloss varnish to apply over the gold edging
- A blank phone grip base (found on Amazon)
- Super glue to attach the geode to the phone base
DIY resin geode phone grip instructions:
Step 1: Measure and Mix the ArtResin
Wearing gloves, measure the ArtResin according to the label instructions. To make 4 geodes, Meg prepared 50 ml total (25 ml of resin + 25 ml of hardener).
Mix the resin and hardener together slowly for 3 minutes. Scrape the sides and bottom of the mixing container to incorporate all of the resin and hardener. Mix slowly to avoid creating too many bubbles. If desired, use a heat gun on the resin periodically throughout the mixing process to eliminate bubbles.
For detailed instructions, please see our blog How To Measure and Mix Epoxy Resin and Hardener.

Step 2: Pour clear ArtResin into the mold center
Meg recommends starting the geode by pouring a small amount of resin into the center of the mold first.

Use a heat gun to zap any surface bubbles.

Next, add a little gold leaf to the resin, using a toothpick or a craft stick to break it up into smaller pieces.


Step 3: Tint the remaining ArtResin
Set out one cup for each color you'd like to use. Pour a little prepared ArtResin into each small cup, add the colorant of your choice and mix well. Meg used a small amount of blue, burgundy, pink and purple mica powder to tint her resin.
For more information on what colorants you can use to tint resin, see our blog How To Color Clear Epoxy Resin.

Regardless of the colorant, it's always best to start with less colorant than you think you need, checking the saturation by lifting a little up the side of the plastic cup. Add more if necessary, making sure you don't add more than 6% of the total combined volume of resin and hardener: that is, if you have 100 ml of prepared ArtResin, don't add more than 6 ml of colorant. 
Step 4: Pour the tinted ArtResin
Pour the resin around the perimeter of each geode mold, one color at a time, trying not to let the resin seep into the clear resin in the center. 
Quickly pass the heat gun over the resin after each pour to pop the surface bubbles. 
Repeat the process until you've poured resin into each of the molds.

Step 5: Cover and Wait 24 hours
Cover the mold to prevent dust from settling into the wet resin and allow to cure for 24 hours.
Learn how to clean your tools in our blog How To Clean Up Epoxy Resin.
Step 6: Unmold and Sand

Step 7: Paint the Edges


Step 8: Attach the Geode to the Phone Grip Base
Using a few dabs of super glue, carefully attach the geode to the phone grip base. 

Hold it in place for about 30 seconds to ensure a tight bond.

Attach the phone grip to your phone by peeling off the adhesive's protective layer and attaching it to the back of your phone exactly where you'd like it.


To see more of Meg's work:
Visit her Etsy shop: www.etsy.com/ca/shop/megdionart
Watch her on YouTube: www.youtube.com/c/MegDion
Follow her on Instagram: @megdionart
Do you want to learn more about using resin on accessories? See below our how-to tutorials:
- Introduction to Resin Art
- How to Make Resin Jewelry
- How to Resin Pencil Crayon
- How to Make Resin Geode Art
- How to Resin Paint Marker
- How to Resin a Bracelet
- How to Use Resin Over Cricut Decals
- How to Make Resin Keychains
- How To Resin Marker
- Best Resin Crafts
ArtResin: The Original Epoxy For Resin Art.
