Petri dish art is a fascinating type of fluid art made by dropping alcohol ink into epoxy resin. The end result looks like a magnificent science experiment, with colorful tendrils, blobs, and squiggles magically suspended in the cured resin.
If you've ever tried making petri dish art, you'll know it can be a bit unpredictable, so we're sharing some techniques to help you get more specific results.
If you've ever thought that achieving those beautiful petri dish effects was just down to random luck, this blog is for you!

Edmonton, Alberta artist Lilian of @magnetficent has perfected the art of the resin petri pour. In this blog, she expands on the basic petri dish techniques, sharing how to get specific effects using two secret weapons: the number of resin layers and timing.
Lilian makes 4 different sample pieces, varying the number of layers and the timing of the inks, and compares the results:
Sample A: Single layer pour - adds ink immediately
Sample B: Double layer pour - adds ink immediately
Sample C: Single layer pour - waits 25 mins before adding the ink
Sample D: Double layer pour - waits 25 mins before adding the ink

💡 See if you can guess which method is Lilian's favorite.
Are you ready to create your own magical looking petri dish art?
Let's get started!
Petri Dish Art Supplies You'll Need:
- ArtResin epoxy resin
- Alcohol Inks in a few colors that blend nicely together (Lillian used teal and blue)
- White Ink Sinker
- A mixing cup
- A silicone mold with a shiny interior
- A mixing stick and pair of disposable gloves
- A dust cover to protect your pieces while they cure
Prepare the Resin
Wearing gloves, prepare the ArtResin by measuring equal volumes of resin and hardener in a mixing cup. Stir well for 3 minutes, scraping the sides and bottom of the mixing container to ensure every part is thoroughly blended.

Let the resin sit for a few mins to allow the bubbles to rise to the surface.

Use a heat gun (not a flame torch) to get rid of air bubbles.
Sample A: Single Layer Pour - No Wait Time
In this sample, Lillian fills the resin mold and adds the alcohol ink drops immediately, while the resin is at its most runny.
First, fill the mold with resin, being careful to leave some space for the inks. Next, drop the teal ink in and let them spread.


Next, add the blue ink drops, allowing them to spread.
Touch up any areas that need it with more teal or blue ink.

Then apply a layer of white ink sinker, and allow it to drop. 

Repeat these steps by adding more teal and blue ink and another layer of white.

Touch up areas that may need it with more teal and blue drops, followed by white.
Allow the ink to drop, then cover and allow to cure.

RESULT:
This method results in a stringy pattern with a noticeable amount of white dots. Because the resin is at its thinnest consistency right after pouring, the white ink easily pushes the blue and teal through, hitting the bottom of the mold with very little resistance.


Sample B: Double Layer Pour - No Wait Time
In this sample, Lillian pours the resin in two separate layers, adding alcohol ink immediately after each pour.
First, fill the mold half way with resin.
Then add in the teal and blue drops, allowing them to spread after each addition.

Next, add a layer of white and allow it to drop


Next, fill the remainder of the mold with clear resin, leaving a little room for the ink.

Follow up with teal and blue drops, allowing them to spread, before adding another layer of white. Cover and allow to cure.


RESULT:
This method creates a jellyfish-like pattern. The second resin pour interrupts the inks as they're sinking to the bottom of the mold, giving the strings more of a wave effect, with less white dots.


Sample C: Single Layer Pour - 25 Minute Wait Time
For the third sample, Lillian filled the mold with resin, but waited for 25 mins before dropping the ink.
First, fill the mold with resin, being careful to leave some space for the inks. Next, drop the teal and blue ink in, let them spread.

Next, add a layer of white, and allow it to drop. 

Follow up with another layer of teal and blue, followed by white


Touch up around the edges as needed with teal and blue, followed by white and allow the ink to drop. 

Cover and let cure.
RESULT:
This method creates a coral-like pattern, with defined branches rather than a string or jelly-fish effect. Since the resin had 25 minutes to thicken up, it's much more difficult for the ink to hit to the bottom, resulting in clearer look and less white spots than the previous two methods.

If you add enough white ink sinker to method C, it will create these cute mushroom heads!
Sample D: Double Layer Pour - 25 Minute Wait Time
For this sample, Lillian half fills the mold and waits 25 minutes before adding her ink. She then fills the remainder and adds more ink.
First, fill the mold halfway with resin and wait for 25 minutes. Then add in a layer of teal and blue ink and allow it to spread.

Next, add a layer of white ink sinker and allow the ink to drop.


Fill the mold with clear resin and allow the ink to settle.

Add a second layer of teal and blue ink, allowing it to spread. Follow up with a layer of white ink sinker and let the ink drop.


If the mold isn't quite full, you can add a little more resin, followed by an ink touch up.


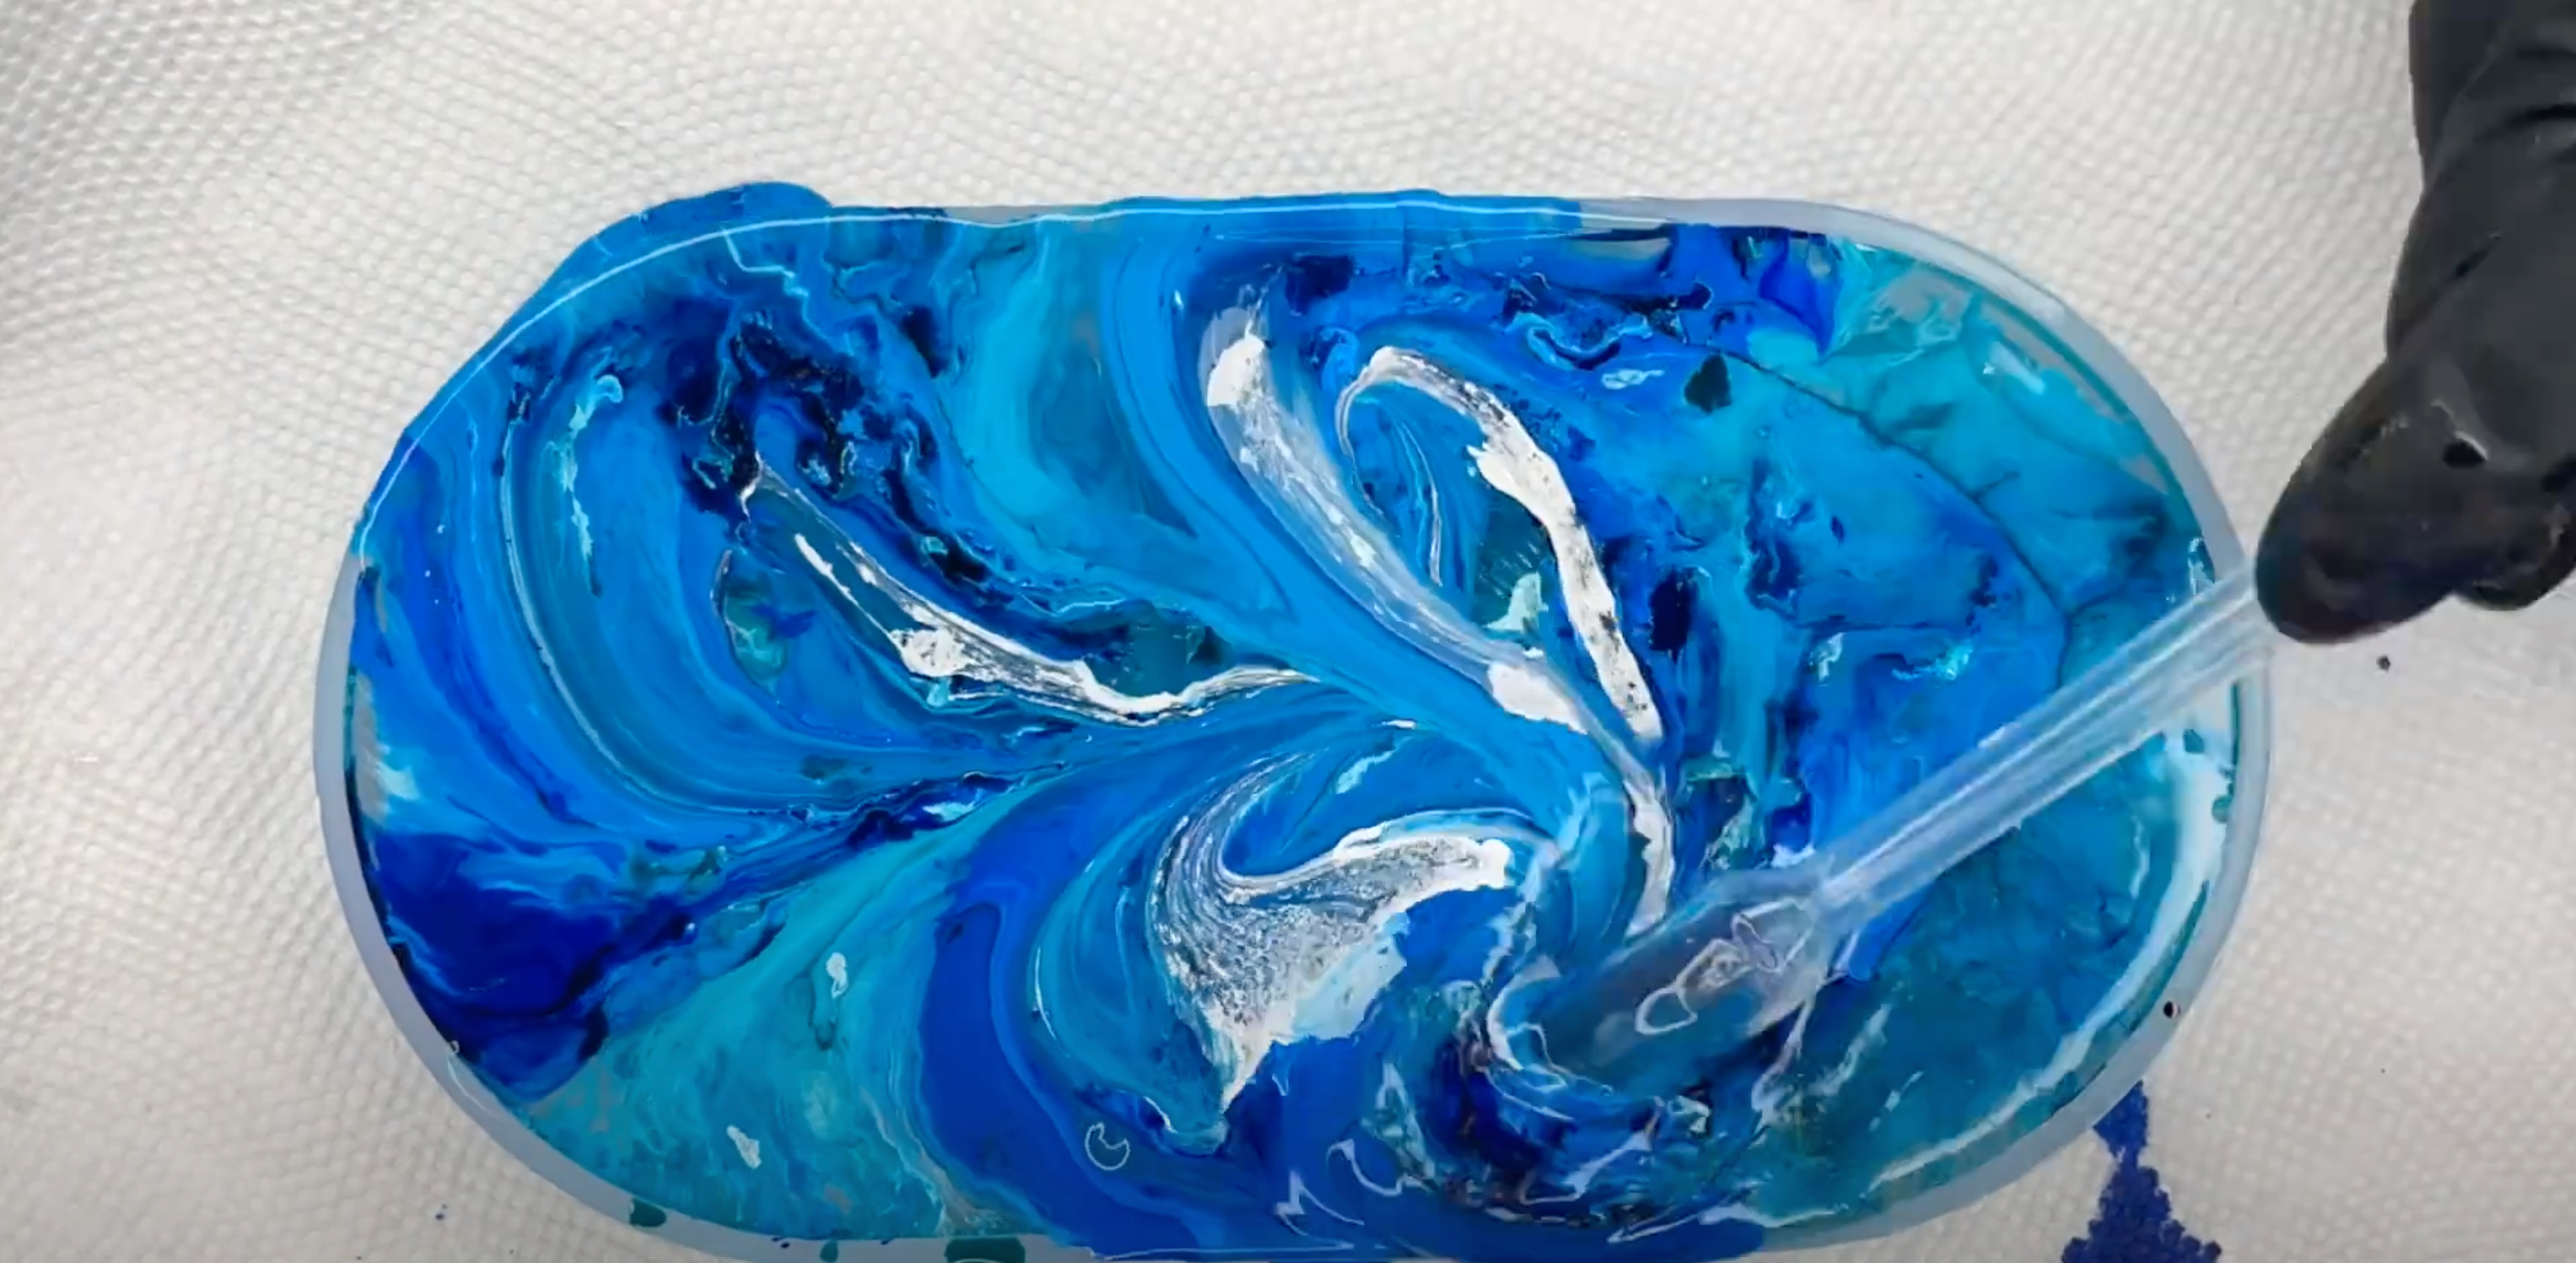
Give the resin a swirl with a plastic stir stick. Since the resin has thickened, the ink won't spread as far, so swirling encourages some movement. Cover and let cure.

RESULT:
The jellyfish pattern in this method is very apparent, with a thick wave effect from the second resin pour. Since the resin had sat and thickened up, the inks faced more resistance as they travelled through the resin. This gave them a chance to blend with each other so there is much less white ink on the bottom of the mold.


There you have it! 4 different looks for resin and alcohol ink petri art.
Which one is Lilian's favorite petri dish method?
If you guessed 'B', you're right! Depending on what the project needs, B is Lilian’s usual method.
Which is your favorite?
To see more of Lilian's work:
Follow her on Instagram: @magnetficent
Visit her Etsy shop: www.etsy.com/shop/magnetficentart
Watch her YouTube videos: Magnetficent
ArtResin: Made For Artists, By Artists.
