Alcohol ink is a fun and colorful medium for both beginner and advanced artists. Versatile and easy to work with, alcohol ink art is just as fascinating to look at as it is to make. Artist Jessica McGaw is here to share some of her favourite tools, tips and techniques so you can make alcohol ink abstracts of your own.
Jessica demonstrates the basics of applying alcohol ink to yupo paper:
- A palette knife abstract.
- A fade effect done two ways.
- A ring effect with a blowdryer.
- A foam brush gradient.
- A drippy ink technique.
- Using isopropyl alcohol to create texture.
- A textured gradient with plastic wrap.
You can cut these alcohol ink abstracts into shapes and incorporate them into a collage or enjoy them exactly as they are. Either way, go with the flow and enjoy!
1. Palette Knife Abstract
This technique uses a palette knife to push the alcohol ink around the page.

What You Need:
• ArtResin® Alcohol Ink in 3 colors
• disposable gloves
• plastic lined work surface
• yupo paper
• palette knife
Choose 3 colors of ink: a good rule of thumb is to choose 2 colors that blend well together, and a third as a complimentary color that will pop. Jessica chose to use pink, yellow and blue: the pink and yellow will create orange, the blue and yellow will create green and the blue and pink will create purple.

Apply a generous amount of yellow ink to the paper and use the palette knife to drag it across the page. This should be a quick, forceful push to disperse the ink and create texture. Spread all the ink out so that there are no pools of ink remaining.
💡TIP: Leave some blocks of white for the remaining two colors.

Using slightly less pink ink, repeat the same process. The pink will blend with the yellow to create some areas of orange. Work quickly when you’re spreading the ink so that it doesn’t have a chance to pool.


Repeat with a small amount of blue ink: don’t use too much of the complimentary color or it may dominate the piece and/or the colors may become muddy.
💡 TIP: It may look busy but that's ok. If you're cutting it up to use in a collage, you'll be focusing on small areas so don't worry if you don't love the color or composition.

2. Fade Effect - Two Ways
This technique creates a fade with a nice gradual gradient and a wispy effect. These type of fades can be used to create flowers or to create abstract elements in your art piece.

What You Need:
• ArtResin® Alcohol Ink
• disposable gloves
• plastic lined work surface
• yupo paper
• pipette or needle dropper bottles
• 99% isopropyl alcohol
• handheld air blow tool
• cotton pads, to soak up extra ink or alcohol
The first technique involves dotting ink on yupo paper and allowing it a moment to dry. 
Next, add some isopropyl alcohol into the centre of the ink drop, tilting the paper as you apply. This will create guidelines for the ink to follow. 
Use a hand blower tool to spread the ink out slightly and dry it up. Soak up any excess ink with a cotton pad.

Drop 99% isopropyl alcohol with a pipette to dilute the ink spot, using the hand blowing tool to slowly fade the ink out and create a wispy look. Dab up excess ink as needed with a cotton pad. If you have some concentrated areas of ink, add a little more isopropyl alcohol and repeat the process, tilting and guiding the ink at a different angle. Eventually you’ll end up with a faded out look.

The second fade technique starts in much the same way, by applying a small dot of ink to the yupo paper. Add 99% isopropyl alcohol to the center of the ink spot, using the hand blower to fade the ink out.
When the ink has dried out a bit, add a little more 99% isopropyl alcohol. Using the pipette, drop the isopropyl alcohol into the center of the spot and out onto the page, creating guidelines for the ink to follow. 
Then, use the hand blower to blow the ink to follow the isopropyl alcohol guidelines you've created. Repeat these steps, fading out the edges as much or as little as you like. 
Dab up any excess ink with a cotton pad.
3. A Ring Effect With A Blow Dryer
What You Need:
• ArtResin® Alcohol Ink
• disposable gloves
• plastic lined work surface
• yupo paper
• pipette
• 99% isopropyl alcohol
• hair dryer

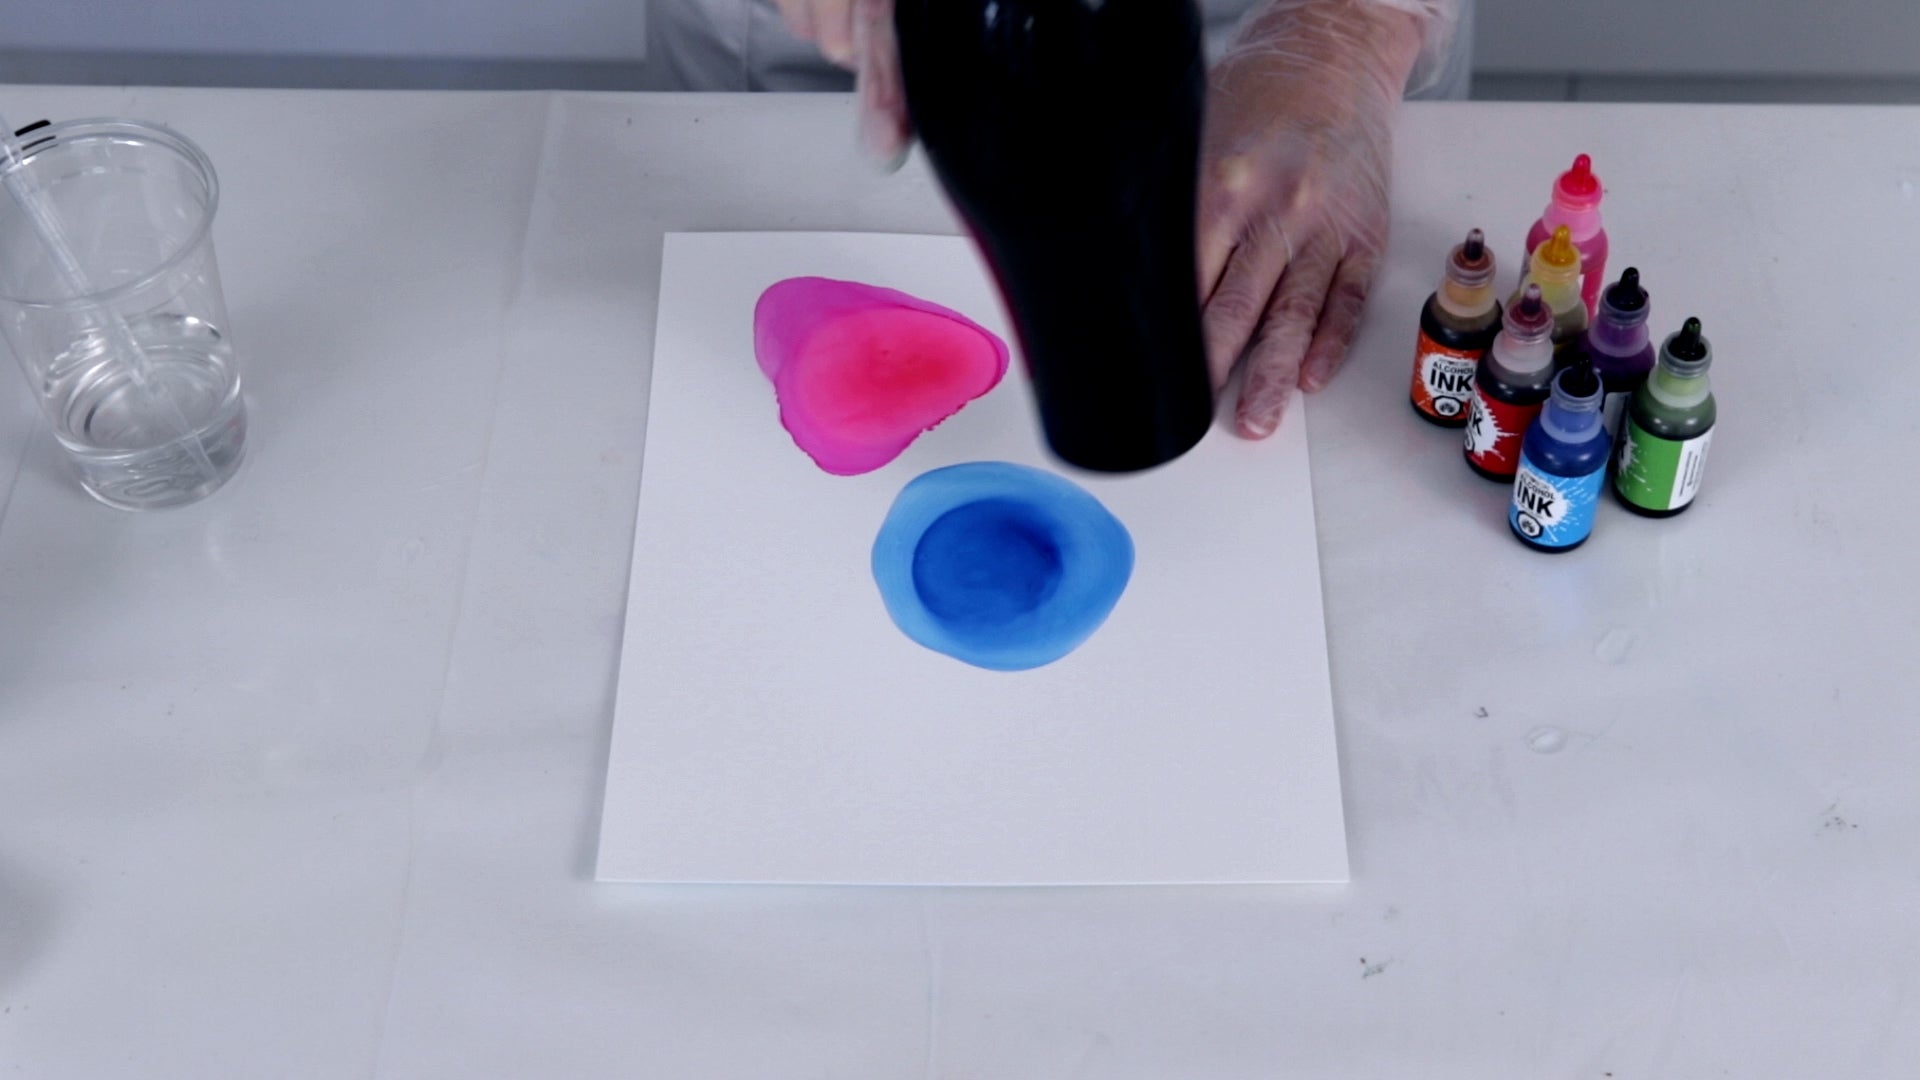
Using a pipette, place a dot of isopropyl alcohol in the center of the yupo paper. Follow with a dot of blue ink on top. 
Add a generous amount of isopropyl alcohol on top, swirling the page to help the ink and isopropyl alcohol blend together. It should be quite fluid so that as you tilt the page, it creates a circle. 
Use the blow dryer in a circular motion, starting with the outer edge of the circle and slowly bringing it towards the center as the ink dries. As the blowdryer dries the ink, it starts to create a subtle ring effect. Once the ink has dried, add more isopropyl alcohol to reactivate specific portions of the circle. Use the blowdryer to create another ring, creating intricate details in the lines.
💡 TIP: Don’t place the dryer directly on the ink; keep it angled off to the side.
Repeat the technique using various colors.

4. Ink Drips
This is an easy technique that uses gravity to create a soft, marbled effect.
What You Need:
• ArtResin® Alcohol Ink
• disposable gloves
• plastic lined work surface
• yupo paper
• 99% isopropyl alcohol
• pipette or needle dropper bottles
• foam brush
• cotton pads, to soak up extra ink or alcohol
Choose 2 colors that blend well together: we used blue and green. Start by applying some blue ink onto a sponge brush.

Using a pipette, add some isopropyl alcohol onto the brush to help the ink flow a little better.

Brush the blue ink and alcohol onto half of the yupo paper. Repeat the process on the other half of the paper with green ink, slightly overlapping the blue.

Add some blue ink drops along the top of the green side of the page. 
With the pipette, add some isopropyl alcohol on top, tilting the page and allowing the ink to slide down.
Add more isopropyl alcohol to the top of the page to help the ink flow down the page more easily, or to any areas where the ink is concentrated. Use a cotton pad to dab up any excess ink that pools at the bottom of the page.
Flip the page and allow the ink to flow the opposite way. As it dries, it will create an interesting dripped effect.
5. Create Different Effects With Isopropyl Alcohol
Use isopropyl alcohol and a needle dropper to create texture in the ink.

What You Need:
• ArtResin® Alcohol Ink
• disposable gloves
• plastic lined work surface
• yupo paper
• needle dropper bottle
• 99% isopropyl alcohol
• pipette
• handheld alcohol ink air blower
• cotton pads, to soak up extra ink or alcohol
• foam brush
You’ll need two colors that blend well for this technique - we used blue and green. Drop green ink onto a sponge brush, followed with a bit of isopropyl alcohol on top to help the ink flow.


Create a wash over the entire page in green.

Repeat the process with blue ink. Apply much less ink to the sponge brush in order to create a very light wash: you simply want to add a little interest to the green.

Once the inks have dried, use a needle dropper to apply isopropyl alcohol to create texture. Start by creating a series of dots, side by side, along the page.

Draw a series of lines to create a different texture.

Stipple the isopropyl alcohol to create an irregular texture.
Finally, add drop of isopropyl alcohol along the top. Tilt the page, guiding the ink down to create a drip effect.
6. Foam Brush Gradient Wash
Use a foam brush to create a colorful, gradient wash.
What You Need:
• ArtResin® Alcohol Ink in a few colors
• disposable gloves
• plastic lined work surface
• yupo paper
• 99% isopropyl alcohol
• foam brush
Load a few different colours that go well together onto a foam brush. Use as many or as few colors as you wish. We used a rainbow inspired palette of pink, yellow, green, blue, and purple. Saturate the foam brush well. 

Add some isopropyl alcohol to the foam brush to help inks better flow on the yupo paper. The more isopropyl alcohol you add, the more diluted the inks will be.

Drag the brush along the page in any shape or pattern you wish to create a gradient. Jessica chose to follow an S shape to create a fun, rainbow effect. 
You can overlap if you would like the color a little more saturated.

7. Plastic Wrap Mosaic
This technique creates several beautiful textures at once. The variety makes it a great method to use for a large piece or to cut up and use in a collage.
What You Need:
• ArtResin® Alcohol Ink in 2 colors
• disposable gloves
• plastic lined work surface
• yupo paper
• pipette or needle dropper bottles
• 99% isopropyl alcohol
• cotton pads
• foam brush
• plastic kitchen wrap
Choose two bright colors that blend well together: Jessica chose to use yellow and pink. Dot the yellow ink straight onto the yupo paper.
Brush the dots out into lines using a foam brush loaded with a small amount of isopropyl alcohol to help the ink flow. The ink should be fairly saturated so that the page is slightly wet.
Repeat the same process using the pink ink. Overlap the yellow ink slightly to create an orange blend.
Wash the brush out in the isopropyl alcohol, using a cotton pad to squeeze out the excess. 

Apply a few drops of pink alcohol ink to the bottom of the page and brush it through with the clean foam brush. The clean brush will maintain the pink color.
Gently lay a piece of plastic wrap on top of the ink, crinkling it slightly. The ink should be fairly saturated and tacky so that the wrap will cling. Press down on some areas to make it cling more and lift it from areas you don’t want it to cling to. You can even pick the wrap up and reposition it, but make sure it is contact with the entire page.
💡TIP: work quickly as the ink dries quickly. If you find the page isn't wet enough by the time you apply the plastic wrap, simply apply a bit more ink and alcohol using the foam brush or a cotton pad.

After the ink dries (overnight or when ink isn’t moving anymore), peel off the plastic wrap to reveal the cool mosaic effect!
To find out how to incorporate these alcohol ink abstracts into a collage, or to learn more alcohol ink and yupo paper techniques, please watch Jessica's full tutorial: How To Paint With Alcohol Ink On Yupo Paper.
Please leave any questions in the comment box below. We hope you've learned something new - thanks for watching!
For more information on using alcohol ink and resin, please see our friend Jane Monteith's book The Ultimate Fluid Pouring & Painting Project Book, available on Amazon.com and Amazon.ca.
ArtResin: Made For Artists, By Artists.
