When you're making custom molds, a simple box is the most effective way to contain the silicone. The box can be made from objects around the house, like a milk carton or a plastic container, or you can build one out of plexiglass, cardboard or foam core. Whether you use a ready made box or you build your own, make sure your mold box checks off the following:
- it's sturdy
- it's leak proof
- it has a plastic lined interior so that your mold pulls away with ease
- it's big enough to leave enough some space around your object
We're going to show you a couple of quick and easy options using objects from around the house or if you prefer to DIY it, we'll show you how to build your own custom mold box.
Let's get started!
Option 1 - Quick and Easy
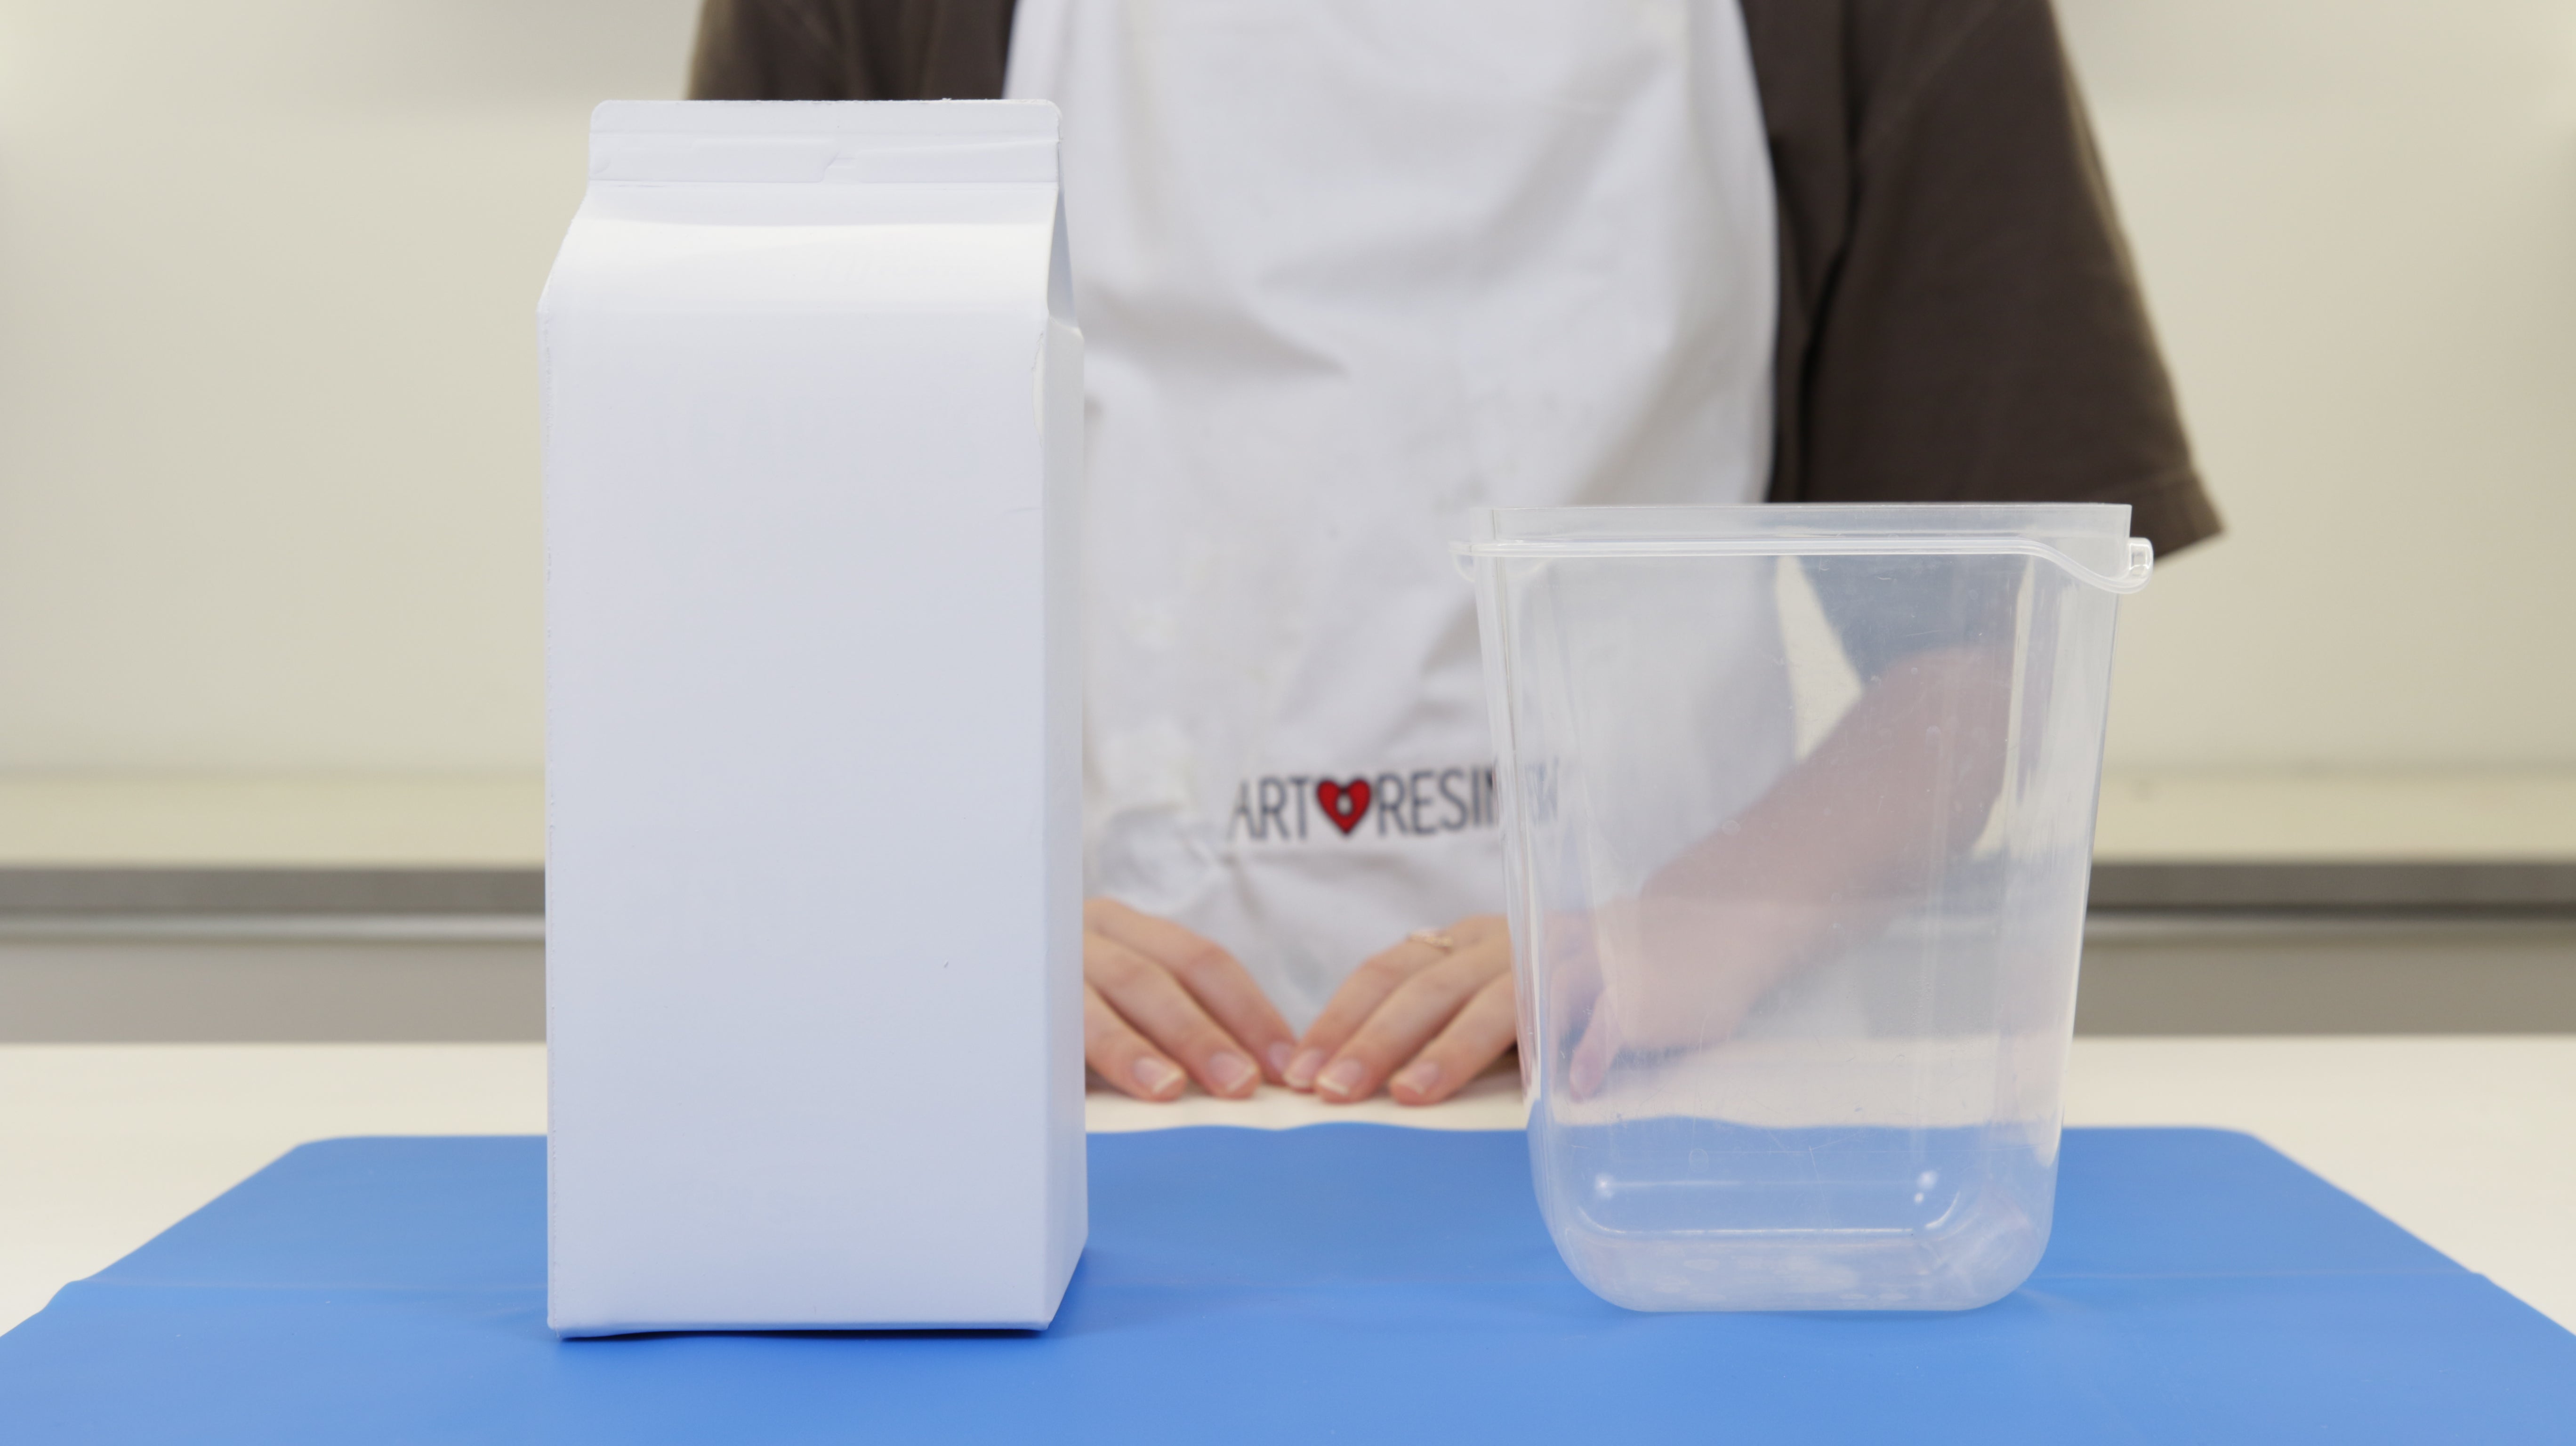
If you don't have time or the desire to build your own box, you can make an effective mold from items easily found around the house.
Plastic containers
Plastic containers are sturdy, re-usable, leak proof, waterproof and allow the mold to easily release once cured. They come in a variety of shapes, sizes and heights to suit any object you wish to mold.
Small cardboard boxes are another great option
Small cardboard boxes are sturdy and come in a variety of sizes to fit most objects. The cardboard will absorb the silicone so to prevent this, you'll have to line the interior of the box with a good quality tape like packing tape or sheathing tape (Tuck Tape). This will also help the mold pop out of the box with ease.

Empty milk cartons are an even better option
Empty milk cartons are stable and plastic lined, which means they won't leak or absorb the silicone and will easily pull away once the mold has cured. We used a milk carton to clone our King Tut figure, cutting it about an inch taller than King Tut and using the bottom half.

Option 2 - Build Your Own Box
If you need something sized specifically to fit an object, it’s easy to build a custom box. You've got a couple of options here:
- you can make a single-use box out of cardboard or foam core
- you can use plexiglass for a box that can be used again and again

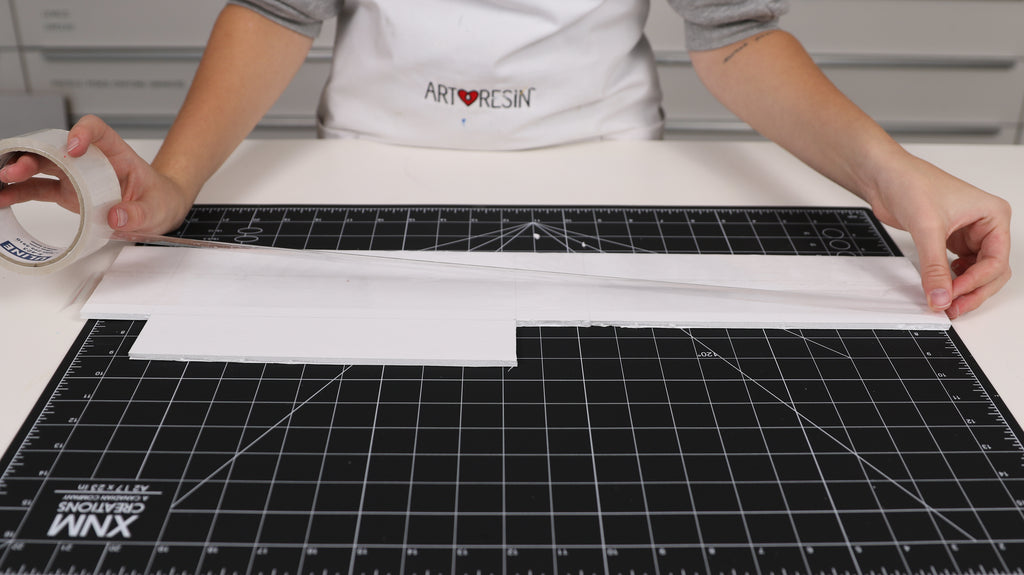
Cardboard Or Foam Core:
You can build a box out of cardboard or foam core, but you'll want to line the inside of the box with tape as well as the sides and corners. The tape will not only make the box waterproof and leakproof, but allows the finished mold to easily pull away after the silicone has cured.

Plexiglass/Acrylic Sheets:
Building a box out of plexiglass takes a little more time but it's worth the effort since you can re-use the box over and over again.
What You'll Need:
- cutting mat or safe surface to make cuts
- 5 sheets of plexiglass acrylic sheets (leave protective film on)
- ruler
- utility knife
- hot glue gun, tape or silicone gel
- Mold Making Supplies
- object you wish to make a mold of

1. Determine the size of box you’ll need to fit the object you want to cast
You'll need to leave about 1/2 - 3/4" of space on each side of your object to capture every detail and to ensure the walls are strong and durable enough to re-use the mold again. Cut your pieces to size with your utility knife. You will need 4 identical sized pieces for the walls and a smaller piece for the base.

The plexiglass sheets are fairly thin so they cut easily and snap off with a little pressure.
Once your pieces are cut to size, remove the protective film.

2. Build your Box
We're ready to build! Fasten the walls together, securing them with the glue gun. Ensure that the glue is thoroughly applied along the seams: any holes or gaps can allow the silicone to leak out or shift during the curing process.
💡TIP: you can use tape to fasten the walls together, but we recommend a wide, high tack, good quality tape (we like sheathing tape, like Tuck Tape). You want to ensure there are absolutely no gaps where the silicone can seep out. You can also use silicone gel, but we prefer a hot glue gun since the glue dries so quickly.

You can place your object inside the box as you're building to ensure you've left enough room all the way around it. Once all the seams have been glued, set your box aside and allow the glue to dry.
3. Pouring Your Mold
Now you're ready to have a little fun with Mold Making Material! In this example, we're going to make our mold using a milk container cut to size. Place a little dab of glue on the base of your object to secure it, and place it down onto the base of the container, ensuring it is centered.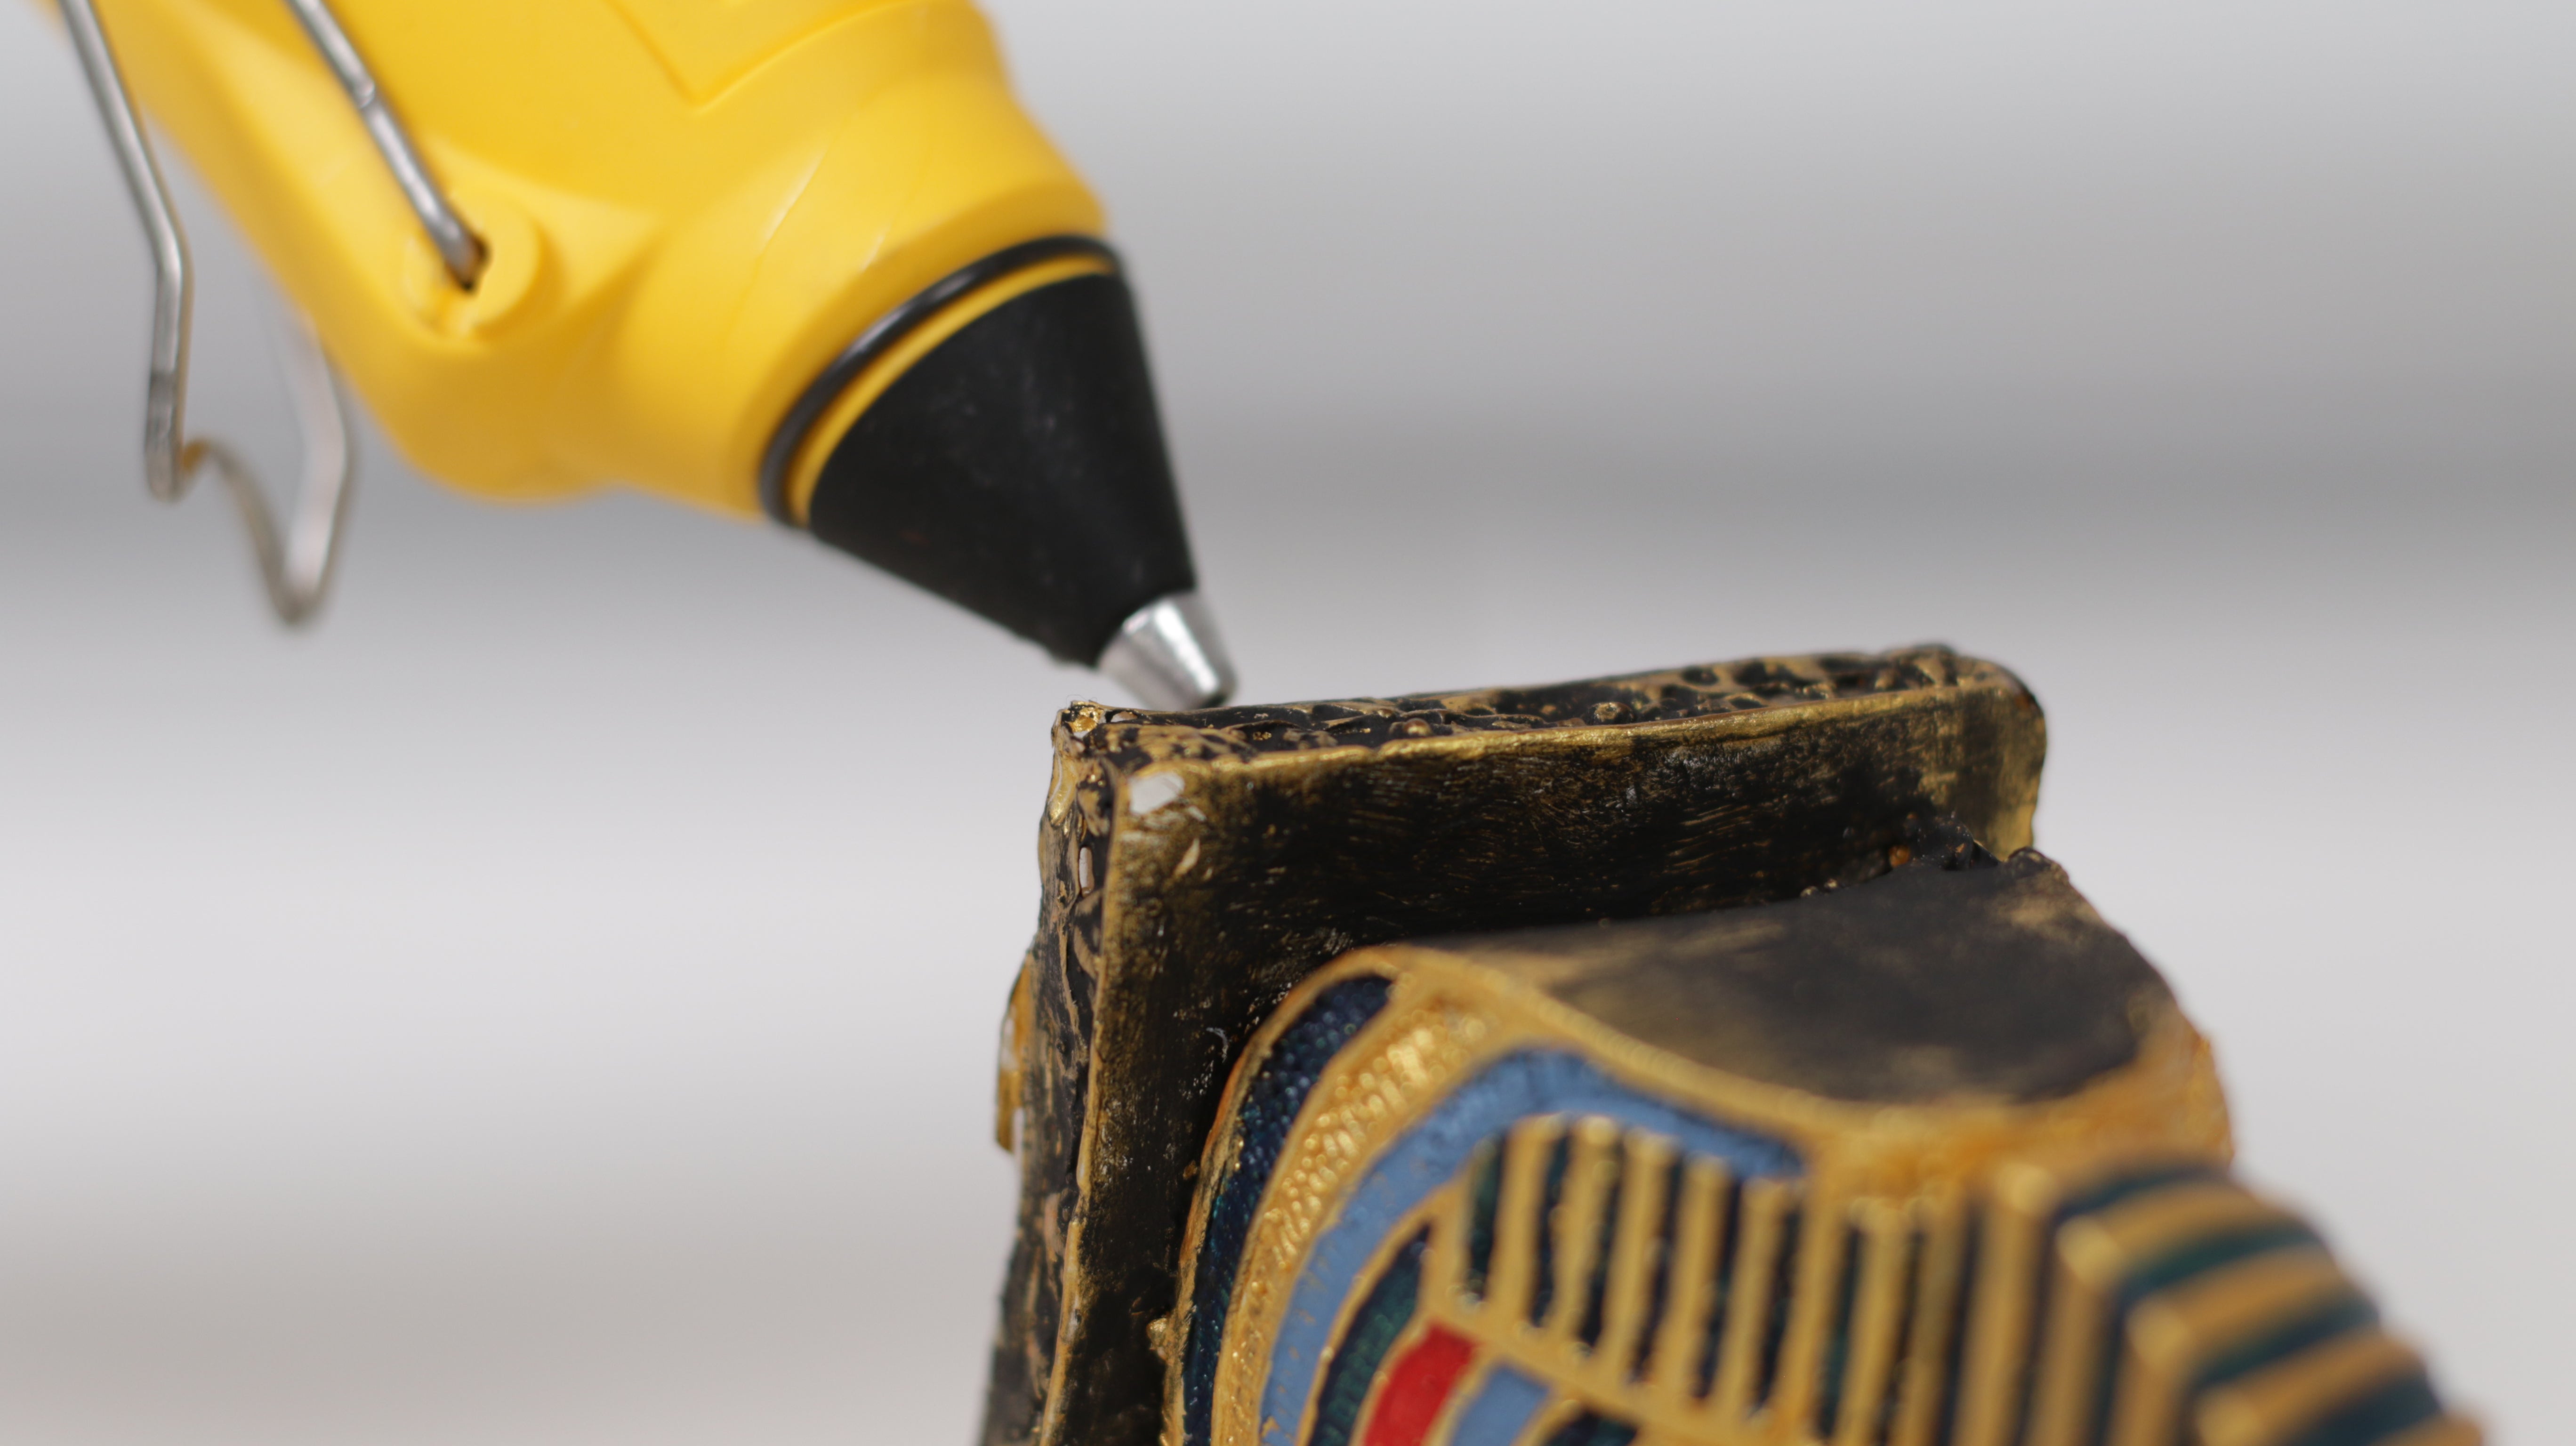
Pour equal amounts of Part A and Part B into your mixing container.

The 2 parts of the Mold Making Material kit are actually 2 different colors (white and dark blue) so you'll know when the mixture is thoroughly mixed when the color becomes a consistent medium blue.

Next, pour the mixture into your container and over your object.

4. Let it Cure
Then, sit back and let the mold cure: 3-4 hours at room temperature will do the trick.

Once time has passed, you can poke the top of the silicone to make sure that it is not sticky anymore before removing it from the box.

5. Pull the whole mold out
Cut the box open and pull the whole mold out before removing the object.

Remove your object from the mold by carefully wiggling it out.

Congratulations, your mold is complete and you are now ready to make exact replicas of your object.

You can use many different substances to fill the mold, such as cement, plaster, polyurethane, soap, clay, polymer clay, play dough and wax, but we recommend ArtResin epoxy resin in combination with our line of ResinTints.
💡 TIP: You can also use Mold Making Material for food safe molds to create personalized shapes out of chocolate, candy, ice, butter and more! Just remember, molds made for use with food should ONLY be used for food. For more information, see our blog Make Your Own Food Safe Silicone Molds.

So there you have it. The possibilities are truly endless!
Good luck in your mold making adventures. Try not to box yourself in and stay creative.
Learn more about the mold making material and read our guides about mold making:
- How to make silicone molds?
- One part vs two part molds
- How to use a mold?
- Shiny vs matte silicone molds