Have you ever wished that a resin artist could show you exactly how to apply ArtResin epoxy resin, step by step?
Good news, friends!
I'm Rebecca Zak, ArtResin's co-founder, and I'm here to show you how to get the perfect pour, in 7 quick and easy steps.
Welcome to our brand new series, ArtResin 101 - it's the ultimate guide on how to use ArtResin! It's kind of like, "ArtResin for dummies" except that doesn't sound very nice, so we'll just say "ArtResin for intelligent people who are being brave and trying something new and unfamiliar". LOL!
In this series, I'll share the best practices, tips and tricks to help you get a flawless finish.
For those who can't wait to get started and just want a quick walk-through, this is the video for you ... ArtResin 101 - In Short
And for those of you who are more detail oriented, who want to see everything from prep to clean up with nothing glossed over (ha.. no pun intended) ... then you're going to LOVE our full length version: ArtResin 101: How To ArtResin Step By Step
And for those of you who prefer the written word, we haven't forgotten about you! :)
Here's how to ArtResin - in 7 easy steps!
1. PREP WORK
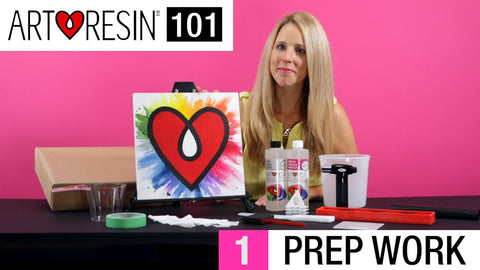
So, you've heard the expression, "it's all in the prep work" ...
Well, this is true for epoxy resin too!
Getting your work surface, artwork and tools ready to go means you won't lose precious working time trying to find what you need.
To get started with ArtResin, the first step is to prep your work space and your artwork.
Here's how:
GATHER YOUR TOOLS:
- a few garbage bags or a large, clear, vinyl shower curtain
- stands to prop up your piece ( use pyramid stands or even large lego blocks )
- painter's tape
- a level
- a measuring cup
- a mixing container
- a mixing stick
- a spreader
- a disposable brush
- a pair of disposable gloves
- toothpicks to fish out bits of dust or hair
- an Artist's Studio Torch
- ArtResin epoxy resin
- your artwork
- a box big enough to cover your artwork
PREP YOUR ARTWORK:
Make sure your work is completely dry and free of any dust or debris before applying ArtResin
REINFORCING A LARGE CANVAS:
If your work is on a large canvas, you'll want to reinforce it at the back with some cardboard. Resin can be heavy so reinforcing the back will prevent the canvas from sagging and prevent the resin from pooling in the centre.
SEALING:
If your artwork involves ink, paper, or anything that has the potential to bleed or absorb wet ArtResin, we always recommend erring on the side of caution and pre-sealing your piece with an appropriate sealant.
Read more details about sealing.
TAPING:
If you plan to resin the sides of your artwork, tape off the bottom of your artwork with painter's tape to catch any drips. If you plan to allow the ArtResin to dome i.e. sit neatly on top of your artwork without going over the sides, you can tape off your edges for a little extra insurance :)
PREP YOUR WORK SURFACE:
Lay out a few garbage bags, or a clear vinyl shower curtain over your work surface.
Next, prop your piece up on stands and make sure it's level.
Read how to prepare your work surface.
2. MEASURE
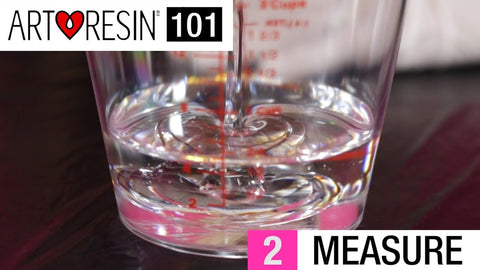
Determine how much ArtResin epoxy resin you'll need using our online Resin Calculator
With gloves on, pour ( by volume ) precisely equal amounts of room temperature resin and hardener into a mixing container.
👉 TIP - the ideal working temperature for working with ArtResin is 75-85 F or 24-30 C
3. MIX
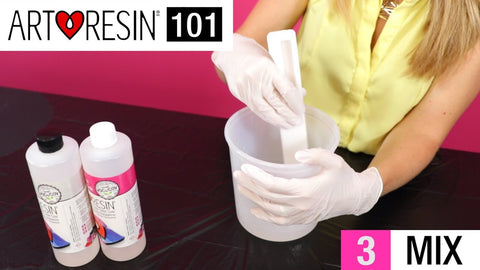
Stir your equal amounts of resin and hardener mixture thoroughly, for at least 3 whole minutes, making sure to scrape the bottoms and sides as you go.
👉TIP - Scraping the sides and bottom is essential and ensures that everything in your mixing vessel catalyzes and that no unmixed resin or hardener is left stuck to the sides. If unmixed resin or hardener is stuck to the sides and gets poured out onto your artwork, you could end up with soft wet spots or sticky resin! This is also why we don't recommend scraping the sides and bottom of your mixing vessel when you pour your ArtResin onto your artwork ( like you normally would if say, you were scraping a mixing bowl of cake batter into a cake pan ).
Remember ... scrape when you stir, not when you pour!
4. POUR & SPREAD
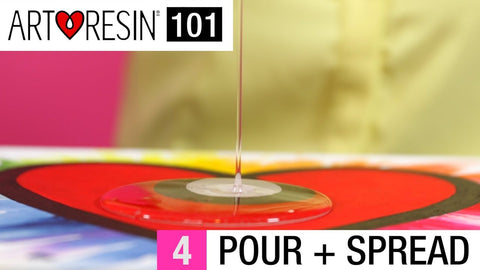
Now's the fun part!!
You'll have about 45 minutes of working time to spread your ArtResin before it starts to cure and gets too thick to work with.
Starting in the center, pour your ArtResin onto your artwork.
Use a plastic spreader to spread your ArtResin to the edges - we love the reusable spreaders in our Accessory Kit!
👉TIP - You can spread your ArtResin right over the edges, using a gloved finger to wipe off any excess resin. Or for a real pro finish, try doming your ArtResin, which is just nudging your ArtResin right to the edge of your piece without going over, allowing it to sit neatly on top of your artwork.
5. TORCH & FINISH
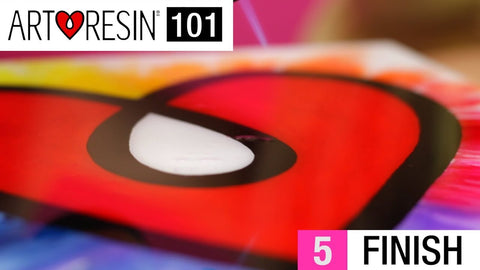
We highly recommend using a torch to pop bubbles for a flawless finish - nothing beats a flame for really zapping out bubbles! For small pieces, we love our handheld butane-fuelled Artist's Studio Torch. For larger pieces, our Artist's Propane Torch Head can't be beat!
Look at your artwork at eye level under a good light source so you can spot any missed bubbles or stray bits of dust or hair. We love keeping toothpicks handy for this purpose!
Read how to use torch in your resin.
6. COVER & WAIT
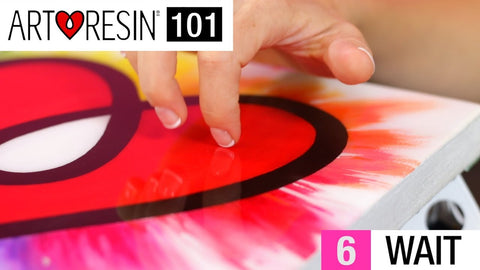
Cover the piece with a box to fit your artwork and wait.
In about 24 hours, your piece will be hard to the touch. After 72 hours, it will be fully cured and ready to display!
7. CLEAN UP
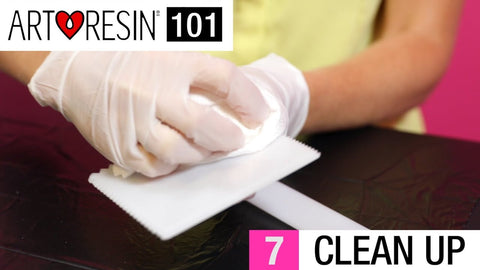
High fives! The creative part is done.
While your artwork is drying and everything looks awesome, don't forget the last important step ... cleaning up!
CLEAN UP YOUR TOOLS
Wipe down your tools, mixing jug and measuring cups promptly after use with paper towels. Spritz with rubbing or denatured alcohol and wipe your tools down again for a final clean.
Read how to clean your mixing cups & tools.
CLEANING YOUR HANDS
If necessary, wash skin promptly using an exfoliant cleaner. Orange hand cleaner from the hardware store works very well, or you can make your own dry scrub using poppy seeds or coarse salt mixed with a little dish wash soap.
Read how to clean resin from your hands.
💡TIP - Do NOT use rubbing alcohol to remove ArtResin from your skin. Alcohol breaks down ArtResin, yes, but it also allows your skin to absorb it. Best to save the alcohol for your tools.
REMOVING TAPE
If you've taped off the underside of your piece, remove the tape carefully no later than 24 hours after you've poured.
AND VOILA! Your masterpiece is ready!!
And there you have it!
7 easy steps for a perfect ArtResin pour.
Do you have any tips or tricks that have worked for you?
Do you want to learn more about using epoxy resin? Read our guides below and get informed:
- How To Apply Epoxy Resin
- Can I Use Epoxy Resin On Fabric
- Can I Use Epoxy Resin As A Glue
- What Materials Can I Use Epoxy Resin On
- Why Should I Use Support Blocks When Using Epoxy Resin
- Can I use Epoxy Resin Over Paper?
- Can I Embded Objects In Clear Resin?
- Can You Put Epoxy Resin On Polymer Clay?
- Can I Use ArtResin To Make Coasters & Hotplates?
- Can I use Epoxy Resin Over Organic Material Natural Objects?
- How To Use 10 Gallon Pro Bulk Kit?
We'd love to hear in the comments below!!